Formaldehyde Test Kit
These formaldehyde testing kits are one part of our multi-pronged Indoor Air quality monitoring efforts.
Follow active development on the tag 'formaldehyde.'
| Table of contents |
|---|
| Goals | The goals of formaldehyde testing |
| What data should we collect? | data we'd like to know about formaldehyde and its sources |
| Electronic Monitoring | electronic sensors for formaldehyde detection |
| Chemical-reaction-based testing | prepared reactions either for lab testing or field testing |
| from published method to a DIY test | moving from a published reaction test to a DIY kit & development needs |
| Calibrating Flow | calibrating an aquarium pump for use with single use formaldehyde testing tubes |
| data recording & verification | how are we going to verify that we collected the data? |
| DIY kit | parts in a low-cost DIY formaldehyde testing kit |
| Assembly | assembling and calibrating a DIY kit |
| Lending Library Kit | designing a ruggedized kit for heavy field work and borrowing |


Lending Library Kit
Goals

particle board, mdf, hdf, hardboard, and plywood may all release formaldehyde -image @warren
Our goal is to measure formaldehyde at typical environmental exposure levels found in homes and workspaces that are irritating and potentially carcinogenic over the long-term, a range from 8-600 parts per billion (ppb) or 0.008 - 0.6 parts per million (ppm), but usually below 150ppb. Read more in Formaldehyde Exposure.
We are also interested in short measurement periods, i.e. an hour or less, so that environmental factors such as ventilation, or the operation of a formaldehyde-generating process or appliance can be correlated.
We would like to produce data comparable between sites and control for false positives (other gasses detected by the method). Being able to calibrate the sensors consistently and inexpensively is therefore critical.
What data should we collect?
Here is @Nshapiro's list of information he'd want along with a test result, in groupings by priority:
A
- Date of test
- Test start time (We will probably want start times to be the same-ish, between 1:30pm and 3pm with a preference of 2pm)
- Test end time
- Tube serial number (test tubes don't yet have serial numbers)
- Read out on tube (PPM)
- Zip code
- Temperature (F)
- Humidity (can't perform test if under 10 or over 90)
B
- Housing Type: Manufactured, New (less than 5.5 years), Passive Green, Other _____
- My exterior windows and doors have been closed for 24 hours (this is for homogeneity control, easier than having them document each open window/door which would be the other option) (yes/no check box)
- My HVAC system has been blowing air ___% of the time during this test
C * Other observations (much blank space)
@warren and @Nshapiro made a series of photo cards with this info:


@mathew made a smaller one so that someone could write on it on top of his Lending Library prototype.


Stickers for serial numbers?

Existing Methods
Electronic Monitoring
Inexpensive electronic monitors are usually not very in the .008-.1ppm range most likely to be found in homes, can be difficult to keep in calibration, and often respond to other gasses as well. A review of current electronic sensing techniques is available through the NIH.
@Nshapiro and some anonymous collaborators are using an RKI FP-30 formaldehyde meter along side their DIY formaldehyde meter.
Chemical-reaction-based testing
Passive
We've focused on chemical-reaction-based testing as better documented systems. The two most common methods for detecting formaldehyde in the home involve passive collection of the chemical via a badge (8 to 48 hour test time). These methods require samples to be sent back to the lab for analysis. The send-it-to-the-lab model introduces three problems:
- expensive high pressure liquid chromatography is required at the lab (HPLC, which cost ~$30,000).
- the possibility of contamination during transportation and analysis.
- the cost of testing the transportation process for contamination.
In order to ensure the accuracy of a send-it-to-the-lab test you need to purchase two additional tests, known as a “field blank” and a “trip blank,” to ensure that your sample wasn’t contaminated.
- Three active sorbent samples with Home Air Check costs $217.50.
- Three passive badges with ACS costs $123.
not exactly low cost...
active
An alternative to these passive systems is to actively pump air through a sorbent material (30 minutes to 8 hours) that traps formaldehyde. Pumps can be very expensive, from $500-$3000, but the single-use sorbent materials can be inexpensive. @Nshapiro noticed one such published methodology and set out to replicate it:
Dannemiller et al. replaced expensive pumps with calibrated 100-gallon aquarium pumps and used Kitagawa 710 formaldehyde detection tubes, which have a detection range of 10ppb-480ppb with +/-10% accuracy, and a test period of 30 minutes, making them close to meeting our ideal testing range.
The kitagawa tubes cost $7 each in quantity, and the Tetra brand Whisper 100-gallon aquarium pump costs between $25-$55 depending on the retailer.

from published method to a DIY test
Dannemiller et al. have access to a professional lab to calibrate their equipment, and their written chain of custody (where everyone who handles a sample signs a piece of paper) is taken on trust because they're academics. A DIY test will be conducted without access to lab equipment and without the implicit trust of a credentialed scientist. We have to create new systems for both.
In order to convert the published methodology of an aquarium pump and Kitagawa 710 formaldehyde tube into a fully usable kit we need a minimum of:
- a method of pump calibration
- a means of data recording and verification
...but it would also be useful to have:
- a means of easily attaching the Kitagawa tubes to the pump
- a timer and automatic shutoff to guarantee proper pumping time
Calibrating Flow
how good is good enough?
How precisely do we have to measure and control the flow of the pump, and how often do we have to take a measurement of the pump? Do we have to measure the flow through each different Kitagawa tube, or can we use the same used reference tube and then run multiple tests without re-calibrating? Does the pump have a "warm up" period or is the flow consistent from startup and throughout operation?
Dannemiller et al.:
Pump performance was also validated by measuring the flow rate through the permeation tubes from four different pumps and from the same pump over time. The pump flow rate remained constant over the time period required for sampling. In addition, the slight variations in measured pump flow rate (262–350 mL/min) on different sampling dates in the field did not significantly affect the value of formaldehyde readings after sampling time correction to maintain a constant sampling volume (p=0.687).
Its nice to know that data can be corrected after collection for +/-20% variations in flow, but this statement is a little confusing to unpack-- are the slight variations in measured pump flow rate different from pump-to-pump, or variations in the same pump with the same calibration and the same Kitagawa 710 tube, or variations in flow between different tubes attached to the same pump? In @mathew's testing he hasn't seen significant day-to-day fluctuations from the same pump hooked up to the same Kitagawa tube, but did see variations in flow of +/- 10% between different tubes.
Dannemiller et al. failed to mention the actual means of calibrating pump flow rate on the sampling dates. What calibration method was used, how precise was it, and was each formaldehyde tube tested for flow or was the same standard tube used for calibration each time? Based on conversations between @nshapiro and the authors, we know that they used a NIST-traceable Mini-buck calibrator to calibrate pumps in the morning before the testing using the same standard reference tube and that the "time period required for sampling" over which they remained constant was a day, including travel between homes. At $1000 the MiniBuck is clearly not a DIY option, but it does measure flow at +/- 1%.

Using the bubble flow method (described below), @mathew was able to do multiple tests over several hours of running the pump and hasn't noticed any pump warm-up period. note 2
Dannemiller et al. also describe the timing of the tests as 'nominal' 30 minutes. Assuming that is +/-1%, or 30 seconds, then the authors measured flow rate was subject to +/-2% variation without accounting for flow variation between the different Kitagawa tubes. Trusting Dannemiller et al.'s results, we can effectively ignore the tube-to-tube variation and focus on the pumps' calibration and change over time. We're left with two questions:
- Can we measure flow accurately enough to limit flow rate variation to the +/-2% Dannemiller et al. had?
- How long do pumps hold their calibration?
Rotameter
A Rotameter is a conical channel with a float in it that measures the flow of a liquid or gas based on the ability of the gas to lift the float to a point where the gas or liquid can flow around the float.

Relying entirely on gravity and fluid dynamics, rotameters are mass produced, quite reliable, and allow instantaneous visual measurement, which are advantages over the other methods discussed here. They are definitely affordable but not very cheap. The rotameter used by @Nshapiro in his first formaldehyde test kit has a precision of +/-5% and cost $75 + shipping, making it the most expensive component of the system by far, but also easy to use. If measurements of airflow must be taken in the field, it is the simplest option.

Whether +/-5% precision is realistic in DIY field conditions remains an open question. potential problems with rotameters include: the rotameter needs to be vertical and may be subject to vibration, and the float must be read exactly head-on. In order to mitigate the effects of thermal expansion and contraction, the rotameter channel is often cut deep into a block of glass or acrylic, the meter lines are therefore 5mm-1cm away from the float:

Readings taken off-angle could result in an additional +/-5% variation in precision:


Under ideal conditions the rotameter is +/-5% and under poor field conditions looks likely closer to +/-10%.
bubbles
At once low-tech, low-cost and high-precision, the NIST standard for airflow is defined by measuring the time it takes a soap bubble to transit a graduated 1000ml glass buret. The $1000 Mini-buck mentioned above is calibrated exactly this way. A NIST-traceable 1000ml glass buret is several hundred dollars, but every watch and cellphone has a decent stopwatch, and we've found that good results can be coaxed out of a $5 polypropylene graduated cylinder with an air hose barb drilled into the side, a suggestion of @DavidMack that appears to have roughly +/-1-2% precision.
Here's a video walkthrough of the method:
While precise and inexpensive, the downsides of using the bubble method are that it is completely manual, exacting, and time-consuming. Each measurement of pump flow takes roughly a full minute to conduct. Zeroing in on the calibration for a pump using this method will take a half hour or more, as opposed to a few minutes using a real-time flow meter like the rotameter or an automated bubble system like the mini-buck.
That said, the process is straightforward. Hit start on the stopwatch when the bubble passes the first marker on the graduated cylinder and stop it when it passes the bottom one. With an appropriately-sized graduated cylinder, the 80-250ms human response time can be kept down to a small percentage of the bubble's transit time. Unlike with the rotameter, the angle one is viewing the bubble from and the levelness of the system are not important, since the bubble's edge is clearly visible at the wall of the cylinder:
The combination of price and precision makes the graduated cylinder method a great candidate for a low-cost DIY system that will see limited use. My limited testing showed 2% variation but +/-5% is more realistic across a range of mass manufactured graduated cylinders.
bags, orifice plates, and hot-wire anemometers, and other ideas unexplored.
@DavidMack suggested a field check of airflow that may be both cheap and easier to execute than the bubble method: the selection of a bag of a set volume with a pressure release valve. By measuring the time the bag takes to fill and pop the pressure release valve, airflow could be estimated. Durable bags from a low-stretch material would be needed.
@danbeavers has suggested using an orifice plate which would require precision measure of pressure but would be real-time.
@donblair, has suggested a hot-wire anemometer, a high-speed electronic wind-speed meter. its readout, combined with known dimensions of the air chamber its in, would produce price and automated real-time information on airflow. This is standard practice in the HVAC industry.
Calibrating for temperature and humidity
Adjusting for temperature and humidity is simple, since humidity has a limited effect on the results, and temperature is easy to measure. While accurately measuring humidity is expensive, we merely need to know that humidity is above 5% and below 90%, per the manufacturer's directions and can rely on a low-precision digital hygrometer/thermometer.
Temperature adjustments are well-known, and a temperature adjustment chart comes with the Kitagawa tubes. It requires using a calculator, and is not very easy to read. @mathew therefore made an expanded lookup table to make field measurements easier:

data recording & verification
Verification with network time stamps
In discussions between @warren @nshapiro and @mathew it was decided to try to collect information onto a card that could be photographed along with the test strip for a record. As well as collecting the information all in one place, the photograph, especially when taken with cell phone camera, can be used to make a traceable record of the test. By photographing the test setup before and after and sending that photograph through either the cell network or the internet, the communications containing the photograph will be time-verified by the network, providing 3rd party verification that the test period was within the time period that the test taker claims.
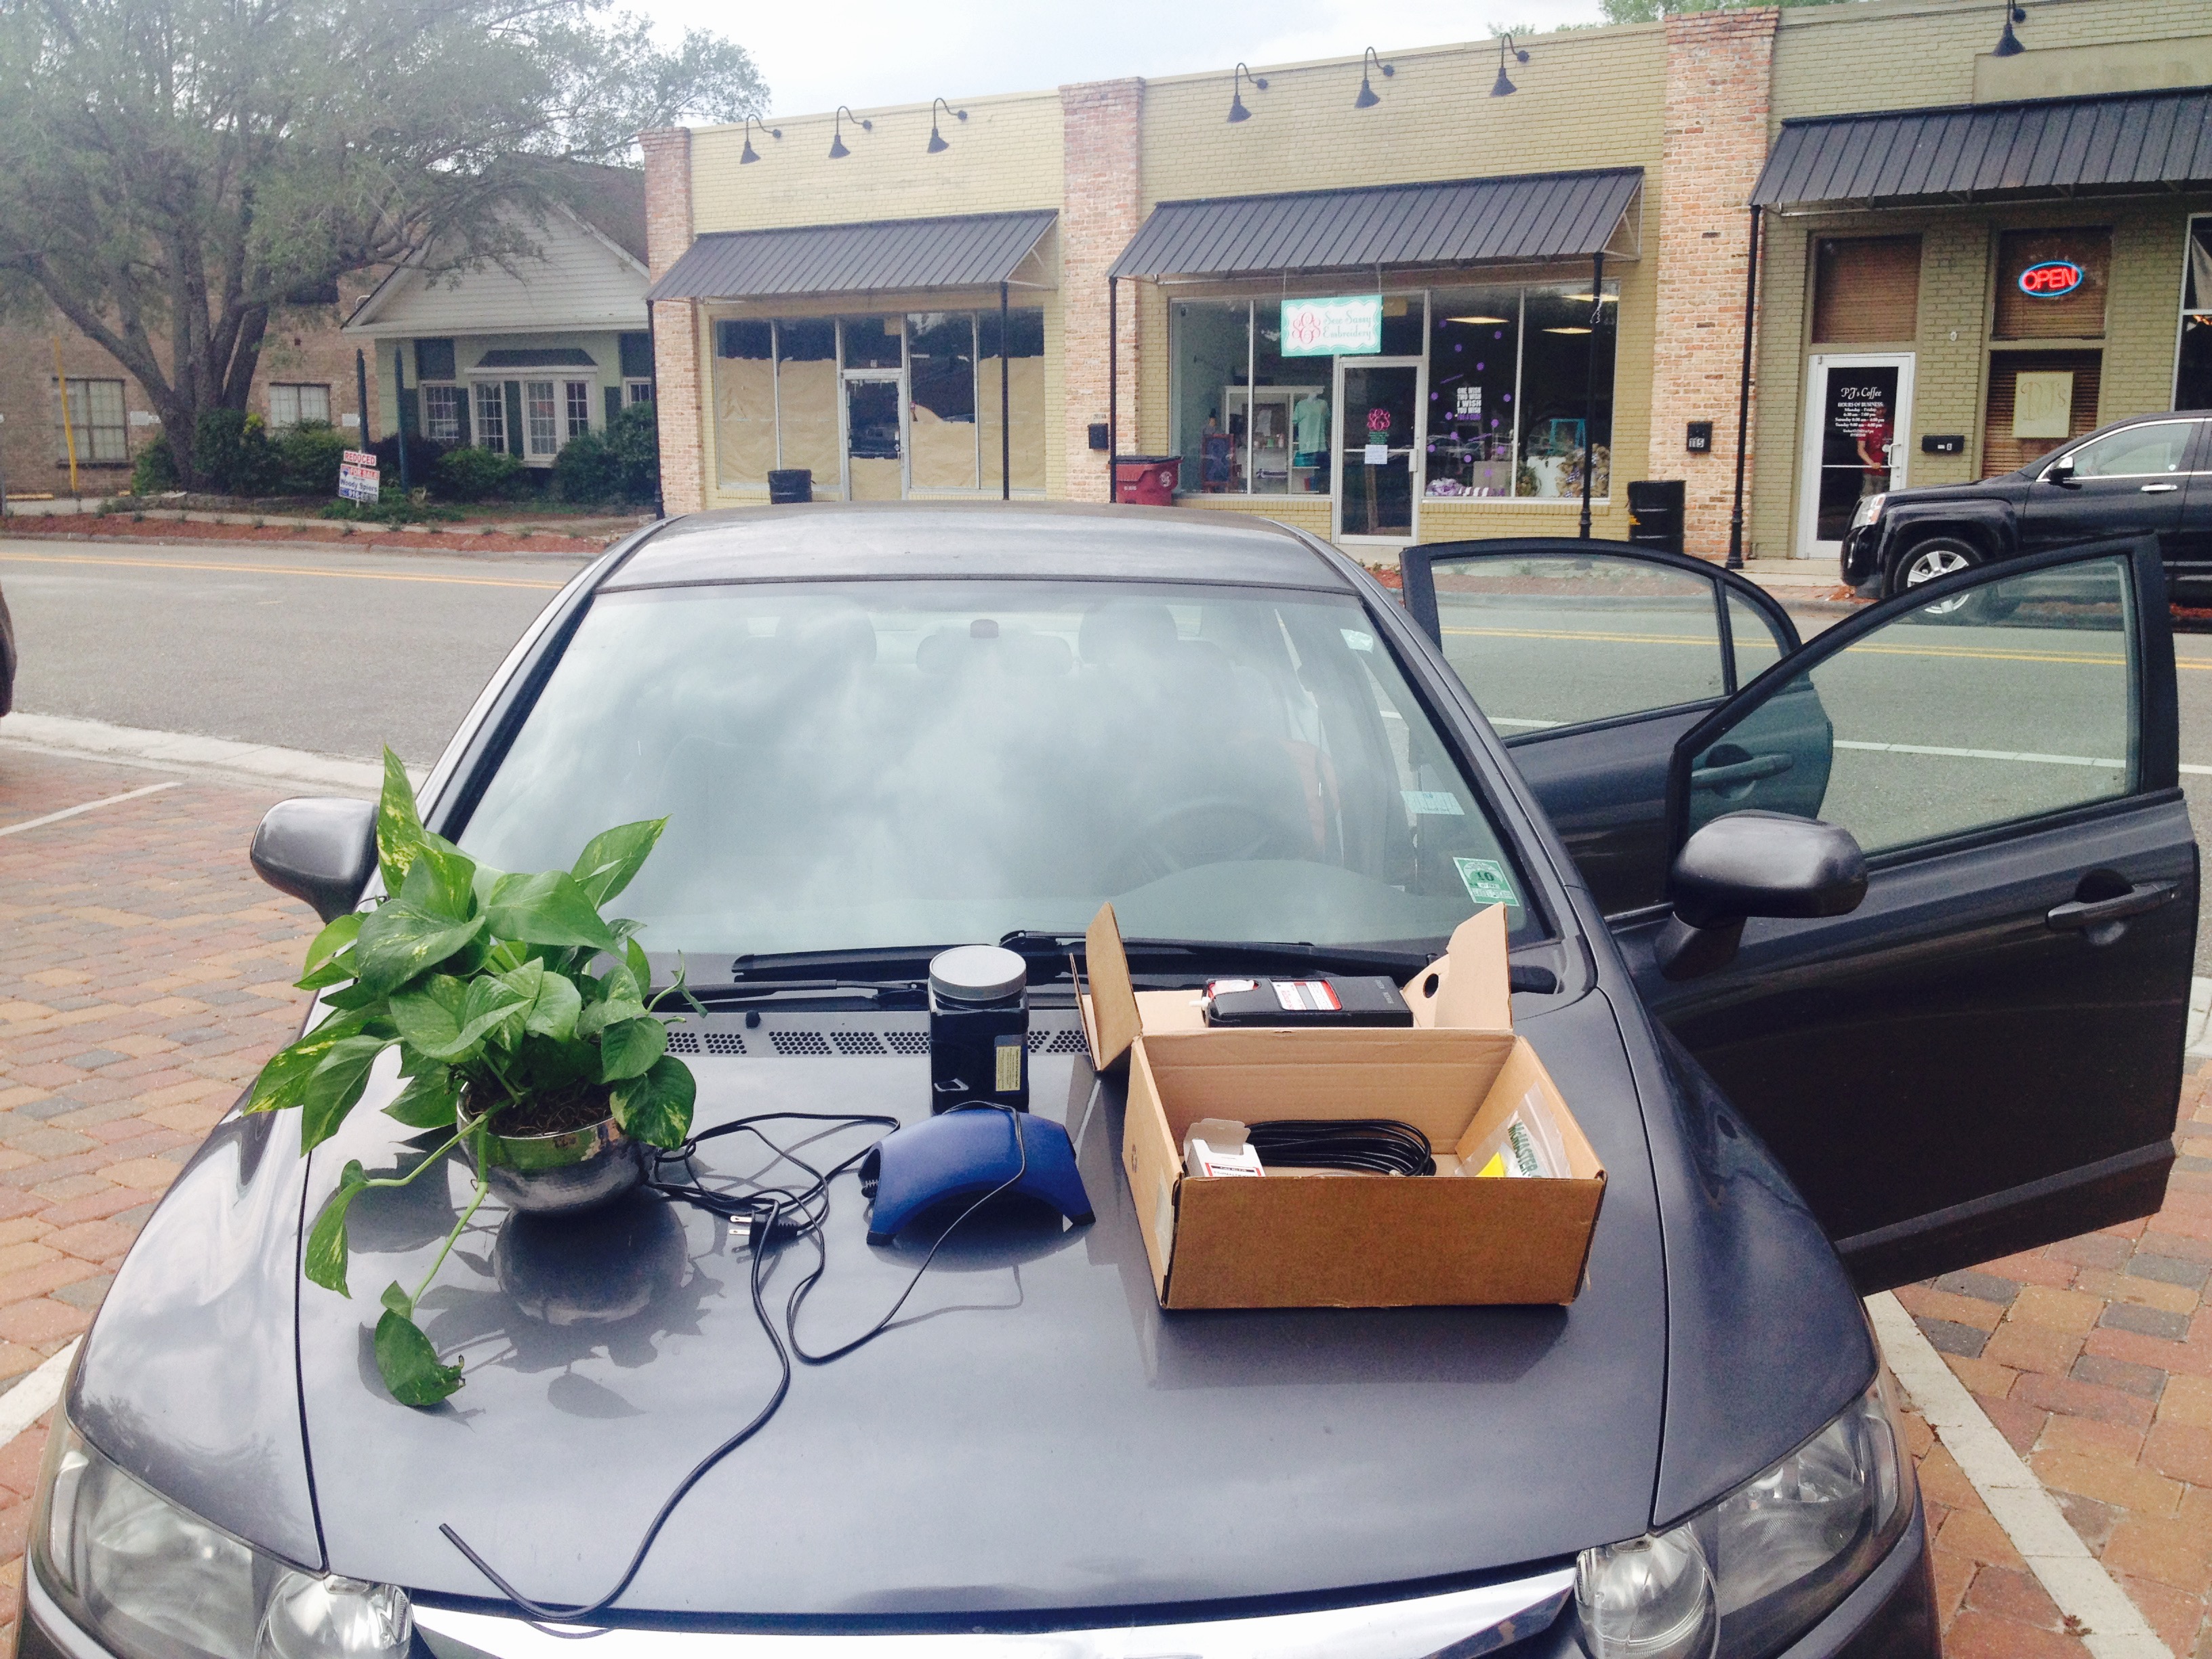
DIY kit

Parts:
DIY Formaldehyde Test Photo Card
- 1/8" valve (comes with air pump) or better quality brass or plastic conversion valves
- $7 Kitagawa 710 Formaldehyde tube (1 box of 20 tubes costs $129 + shipping).
- Heart shaped tube breaker that comes with 710 tubes
- Alternative for smaller orders without a tube breaker 20
- $0.50 3" of 1/2" brass tubing (hardware store) substitute--AA flashlight/laser pointer body
- $1.50 corundum nail file (drug store)
- $2.50 1 meter 1/8" PVC aquarium hose (bought from local hardware store)
- $12 AvianWeb Thermometer/Hygrometer or similar
- Alternative
- in a climate where humidity is well within the operational range of 10%-90%, use a weather report for humidity.
- Temperature Correction Lookup Chart(printout)
- optional (good for field work) Rotameter 0.1-1 LPM (Liters per Minute) or equivalent
- more precise option (slower)
- $10.50 250ml polypropylene graduated cylinder or equivalent
- $1.50 1/8" air barb (bought from local hardware store)
- $4 Bubble solution (drug store), or DIY bubble solution (some combo of sugar, soap, & water)
- 1 quart plastic yogurt container lid as bubble solution tray
- 1/2" PTFE plumbing tape (hardware store)
- optional stand and stoppers for easy attachment and bubble-catching-- recommended
- $0.50 #2 stopper with two 3/16" holes (part 2281-AA-1)
- $0.50 #3 stopper with 3/16" hole
- free 250ml glass bottle with wine-bottle sized (18mm) opening. shorter is better.
- optional filter for protecting the pump-- recommended
- Mcmaster filter or KMC HFO-0006
- requires 1/4" tubing and 1/8"-1/4" reducer barb fittings
Tools
- philips screwdriver
for graduated cylinder and bubbles method of calibration
- 3/8" drill bit
- hand drill
Substitutions: a #3 stopper with two 3/16" holes would be better for a soda bottle or other plastic bottle as a stand.
Assembly

pump conversion
We're going to convert the pump to suck air rather than blow by turning the valve around. remove the four philips screws on bottom of the pump then do this:

GIF by @nshapiro
reassemble! one side should now be a vacuum pump.
UPDATE
A single-sided pump has difficulty pulling more than 300ml through a formaldehyde test tube. Modified on both sides, it is capable of pulling 2+L/m of air through a tube or ten times as much. Joining both sides seems to more than double the pump's capabilities, which can be adjusted from 100ml/m to 2L/m which should accomodate a range of testing tubes, and is the same spec as the $1800 Draeger X-Act 5000. The pump came with a "T" to plug both sides together:

Filters for reliability (optional but recommended)
The air pump comes with an intake filter by default, by modifying it to be a vacuum pump (pulling air) rather than a pressure pump (pushing air), we bypass this intake filter. While in limited testing the pumps have held their calibration, fouling will definitely ruin the pump long-term.
Most bio lab-grade vacuum pumps have 1um filters inside that are $100+, which is more than 3x the cost of the pump. This guarantees a clean airflow out the end of the pump, but if we're only concerned with fouling the interior of the pump, I think a courser industrial-grade filter will do the trick.
I found a number of $3-10 filters that filter from 25-65um in McMaster-Carr and Grainger supply catalogs. The only brand I could identify was a KMC HFO-006, which is about $4 in quantity.
All the filters I found were for 1/4" hosing, rather than the 1/8" hosing that comes with the aquarium pump and fits the formaldehyde test tubes. I therefore had to order some 1/4" air hosing and two 1/8" - 1/4" reducer barbs.
here's what the air setup looks like:

valve attachment & tube holder
cut a small length of 1/8" tubing, attach to the small black screw valve that comes with the pump, and attach another roughly 50cm length of tubing to the other end of the pump. Push the 50cm tube into one of the #2 bottle stopper's holes:


Now calibrate your pump to 0.3L/minute:
Either with a rotameter,
and then check with the bubble method (assembly below)
Fill out the info card:
Run the pump with a kitagaway tube in it for half an hour:
Assembling the graduated cylinder and bubbles method.
Drill a 3/8" hole in the base of the graduated cylinder and screw in a threaded 1/8" brass barbed fitting straight, cutting threads into the plastic. Now back the valve out, wrap in teflon tape, and screw back in. test the airtightness I filled the cylinder with water and waited a few minutes to see if there were any leaks.

Lending Library Kit
public Lab is developing a Lending Library by mail of tools, and making ruggedized versions of the DIY kit, pre-calibrated before mailing.

Using the kit
open questions:
- filtering air coming into the pump?
- safer mount without an exposed end of the tube?