
Above: In the month since I used infrared photos to determine if deer grazing had reduced the vigor of the winter rye in my garden, the rye has grown three feet taller.

Above: I predicted that the grazed rye would have caught up to the rye protected all winter by fences, but it is still shorter where the deer had access to it all winter. There has been no deer grazing in the last month, so the difference is probably due to the head start enjoyed by the fenced in plants.

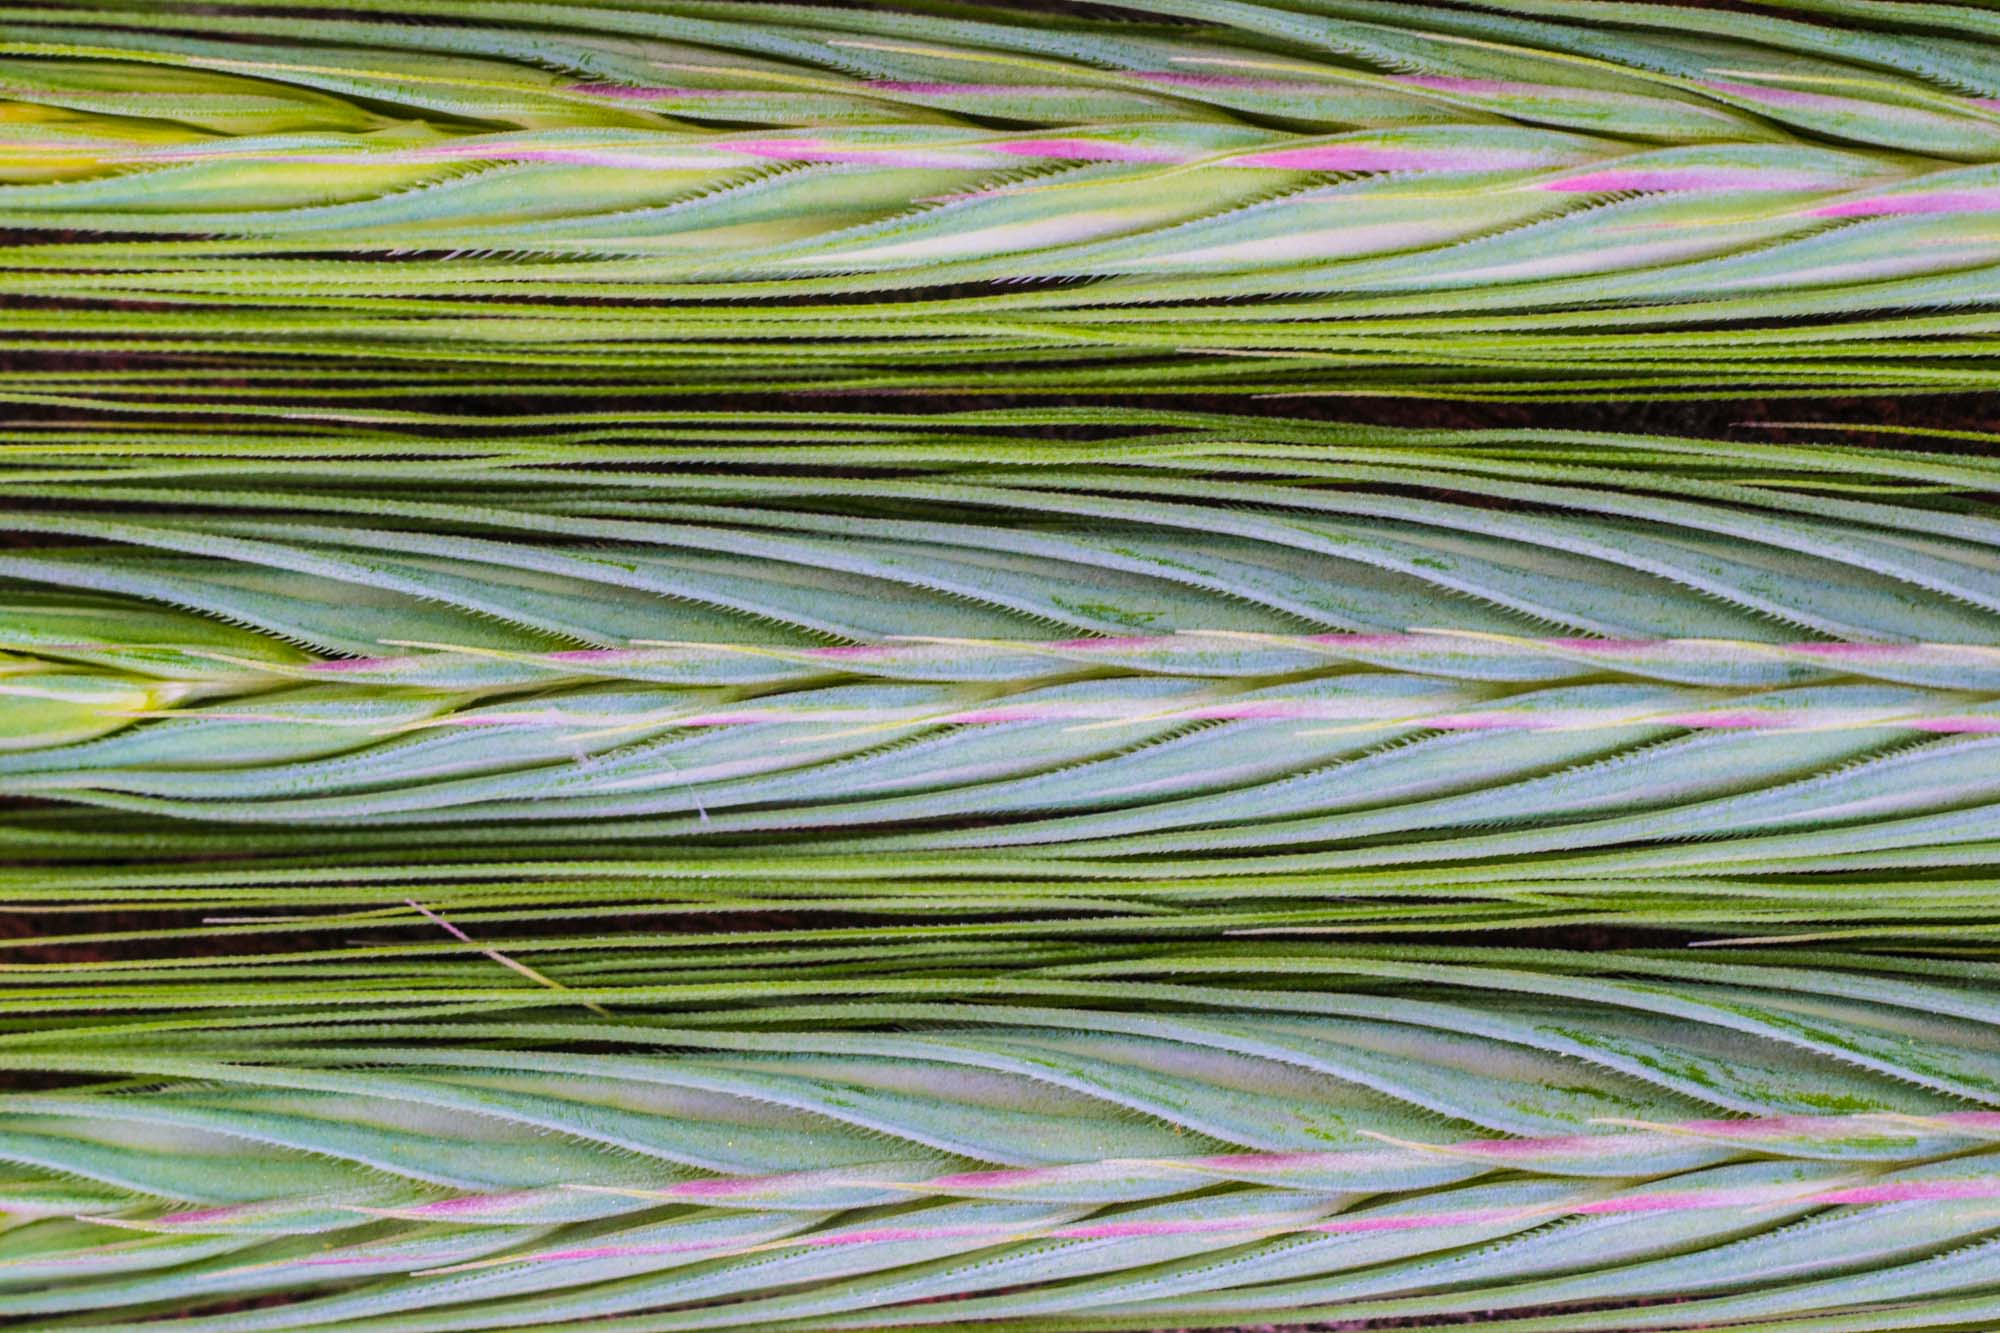
Above: Although the rye in exclosures seemed to be taller, it was the same color as rye in the grazed areas.

Above: On May 1, I decided that none of the rye was growing very fast and applied fertilizer to opposite quadrants of this grazed bed. I broadcast granular 5-10-5 agricultural fertilizer at the rate of 60 pounds of nitrogen per acre, a common dose. Growing rye every winter fixes lots of atmospheric CO2 (which is 0.04% of the atmosphere) but does not fix nitrogen (which is 78% of the atmosphere). Carbon is great for soil, but to decompose the dead plant tissue, soil bacteria soak up lots of nitrogen and temporarily prevent plants from using it to grow. If this was happening in my garden then the nitrogen I added would increase plant growth, if there was plenty of nitrogen then adding more would not affect plant growth much. The darker green color where fertilizer was applied suggests that the growth of rye has been limited by lack of available nitrogen.

Above: Today I made some quick height measurements with a yard stick while reading the numbers to my phone to see if deer grazing or fertilizer had increased the height growth of rye. It looks like the added nitrogen ("Fertilized") might have made a difference and an even bigger difference was due to keeping the deer at bay all winter ("Exclosure").

Above: A couple of days ago I lifted an S110 infrared camera on a new Aerobee Rig and 8.1 m of carp pole. I used a long pass filter with a 610 nm cutoff (similar to Wratten 25). I took both nadir and oblique photos.

Above: I also put a PowerShot S100 for normal RGB photos on the Aerobee Rig to get some oblique shots. I used a special short pendulum shaft.

Above: This is a vertical infrared photo over the fertilizer experiment. These vertical shots reveal the ground between the rye plants and that influences the NDVI results. That can be good if you are interested in how much plant material is present. But the amount of ground visible varies with view angle, so it's hard to get photos with consistent or representative proportions of soil and plant. So I also took some infrared photos with the camera at an angle to exclude the soil.

Above: Oblique shots like this made it easier to compare the health of the rye plants without including the soil surface (which could have added information about how much plant biomass was present).

Above: In Fiji I sampled the pixels in this floating point NDVI image with haphazardly placed circles to compare grazed and ungrazed rye.

Above: There is not much difference between the NDVI of rye plants inside and outside of the grazing exclosures. I think there is more biomass of rye where it was protected from grazing, but the health of the plants might not differ much.

Above: This sampling allowed a comparison of fertilized and control plots in the grazed area. Fiji does all the math.

Above: It looks like the effect of the fertilizer is captured by the NDVI results. The NDVI image used for this analysis was calibrated using four targets and Ned's calibration plugin. There are still a lot of variables in this process which involve some guesswork, so I don't have much confidence in the absolute NDVI values or even in the relative difference between the treatments.

Above: This is an uncalibrated NDVI result. This seems to reveal a greater effect of fertilizer that the calibrated result. So I like this better.
Conclusions
- Deer grazing probably reduces the growth of rye enough that I'm glad I know about it. I don't know what I will do about it next winter.
- A cover crop of winter rye makes a conspicuous difference to the organic matter content and structure of the soil, but the added carbon must be matched with added nitrogen. I have already bought some seeds of hairy vetch, a legume which fixes nitrogen and works well as a winter cover crop. I will plant it mixed with the rye this fall. Maybe the deer will hate it.
- The calibration procedure does not remove all of the uncertainty from producing NDVI results. Several steps must be done carefully and consistently so the results are substantially more reliable than uncalibrated results.
- The ground surface between crop plants is typically captured in nadir (vertical) photos and also in oblique photos when plants are small. If NDVI results combine both plant and soil, information can be captured about the amount of plant biomass, although separating this from information about plant health is problematical. When camera altitude is low, the proportion of ground visible among the crop plants can vary substantially with view angle and this can compromise interpretation.
- The Aerobee Rig is intended for kite and balloon aerial photography, but it is very handy for pole photography. The camera does not end up as high as it does with a Juno Pole Bracket, but it's very easy to get vertical photos by letting the Aerobee dangle downwards on the flexible connection.
- I no longer have an excuse to delay harvesting the rye and planting 100 tomato, pepper, and eggplant plants.
8 Comments
What a great article!!
Reply to this comment...
Log in to comment
"Graze Anatomy" Groan!
What made you use the short pendulum shaft? Just desire to keep it off the ground as much as possible? Or was there something about how it moved that made shorter better?
The Aerobee is really great, and I love that the JerkPan is built in if you want it.
Is this a question? Click here to post it to the Questions page.
Reply to this comment...
Log in to comment
Thanks, George.
Come on Tony, you know the title is the best thing about this note. I'm sure Jeff gave me a barnstar because of the title. Yes the short shaft is to keep the camera as high as possible. Height is precious when using a pole. The Juno Pole Bracket provides a real advantage there.
Reply to this comment...
Log in to comment
You do have a rye sense of humor, Chris. A groan is my highest compliment. Some people prefer laughs, but I'm a groan man.
Did you just tape the PVC tube to the end of the segment? Or is it slid over the end, then taped in place? Can't really tell from photo.
I'm trying to think of an easy way to mount the PVC 180-degrees from that configuration, so it comes back toward the user. That way when close to vertical, it's not having to bend around so far, allowing you to use less of the tubing. I don't want to take over this post on such a fussy detail of design.
Very interesting ideas on oblique v. vertical use cases. With tiny cameras, such as mobius, might be worth flying multiple to capture straight-down and obliques for such a case.
Great article
Is this a question? Click here to post it to the Questions page.
Reply to this comment...
Log in to comment
I'm impressed but I would have been AWED if it had been done with levitation.
Reply to this comment...
Log in to comment
The flexible PVC tubing is exactly the right size to slip inside the third smallest carp pole section. To stiffen the connection I insert a length of stiff carbon tube inside the flexible tubing. You can see the details in this note: https://publiclab.org/notes/cfastie/12-24-2015/tales-from-the-cryptogam. I think I should insert the carbon tube even farther into the flexible tubing from now on to relieve some pressure from the end of the carp pole section.
I'm not sure what you mean about the PVC when the pole is vertical. With a rig dangling from the pole end, the pole is rarely very vertical. If I wanted a more vertical pole, e.g., for more height, I would use a Juno Bracket. Even with the penultimate pole section, the Juno can hold a camera angled any way you want with the pole vertical or near vertical. So the camera can be 9.4 m above ground, or more if you lift the entire pole off the ground.
When capturing photos for NDVI, you really have to know what your goal is. If the crop plants are small and there is bare soil between them, you can't avoid getting soil in the photos. Even when the crop is mature the soil can often be seen in nadir photos, so if you don't want that you have to shoot oblique photos. If soil will be included in the photos, you have to make sure a consistent and representative proportion is included in all of the photos which will be interpreted. It's a bit of an art capturing photos that can be interpreted for NDVI.
Reply to this comment...
Log in to comment
You could give more details about how to process the images with Fiji and tried to replicate this but I can not make the results conform to the scale of 0 to 1, I still appear from 0 to 255
Reply to this comment...
Log in to comment
The photos were processed with the Photo Monitoring plugin for FIJI which has a complete users guide. If you have any questions you can describe and post them here or here.
Chris
Is this a question? Click here to post it to the Questions page.
Reply to this comment...
Log in to comment
Login to comment.