Introduction
This is the second of two posts about creating an ERD (Entity Relationship Diagram). In the previous post, we looked at how to actually make the diagram. In this post, we'll briefly learn how to add color. While adding color is certainly optional, when understanding the relationships in the network, it helps to group the types of entities that make up a database. What are the pieces that make up the user? How does the system which keeps track of the tags work? And also, how are the users and tags connected?
What you'll need1. An SVG editor:
In this activity I'll be using Inkscape which is the open source version of Illustrator. You can also use Figma or Vectr (you have to sign up, but there is an app that you then download). My plan in writing this tutorial was to use one of those because of their simplicity. However, they appear to each have their own issues importing files, and de/selecting elements. The greatest drawback is that they do not scale text, so scaling your imagine will pull your text out of its position. If you do use those (or a different editor besides Illustrator) you'll probably still need Inkscape to convert the PDF into an SVG so you can import them into others.
Even though Inkscape is really feature rich, it isn't that complicated to do the small things we'll need to. Unfortunately, a major downside for this tutorial is that I am not able to take screenshots. My theory on this is that since Inkscape runs in something called XQuartz, it's not really running in macOS when it's being used, and therefore I do not have access to macOS features when I am focused on that program. I can however take a screencast and get images from there, but they're a bit blurry, sorry!
If you know of any simple SVG editors do tell in the comments below!
2. Your exported PDF from the first tutorial.
Step 1
1. Open up Inkscape!

Step 2
1. Go to File >> Document Properties
2. Choose US Letter (or whatever size you like)
3. Switch from portrait to landscape
4. Close Document Properties

Step 3
1. Go to File >> Import... and Choose your PDF of the ERD Diagram
2. Set the "precision". I choose 130ish, until I'm in the "fine" range.
3. Click okay!

Step 4
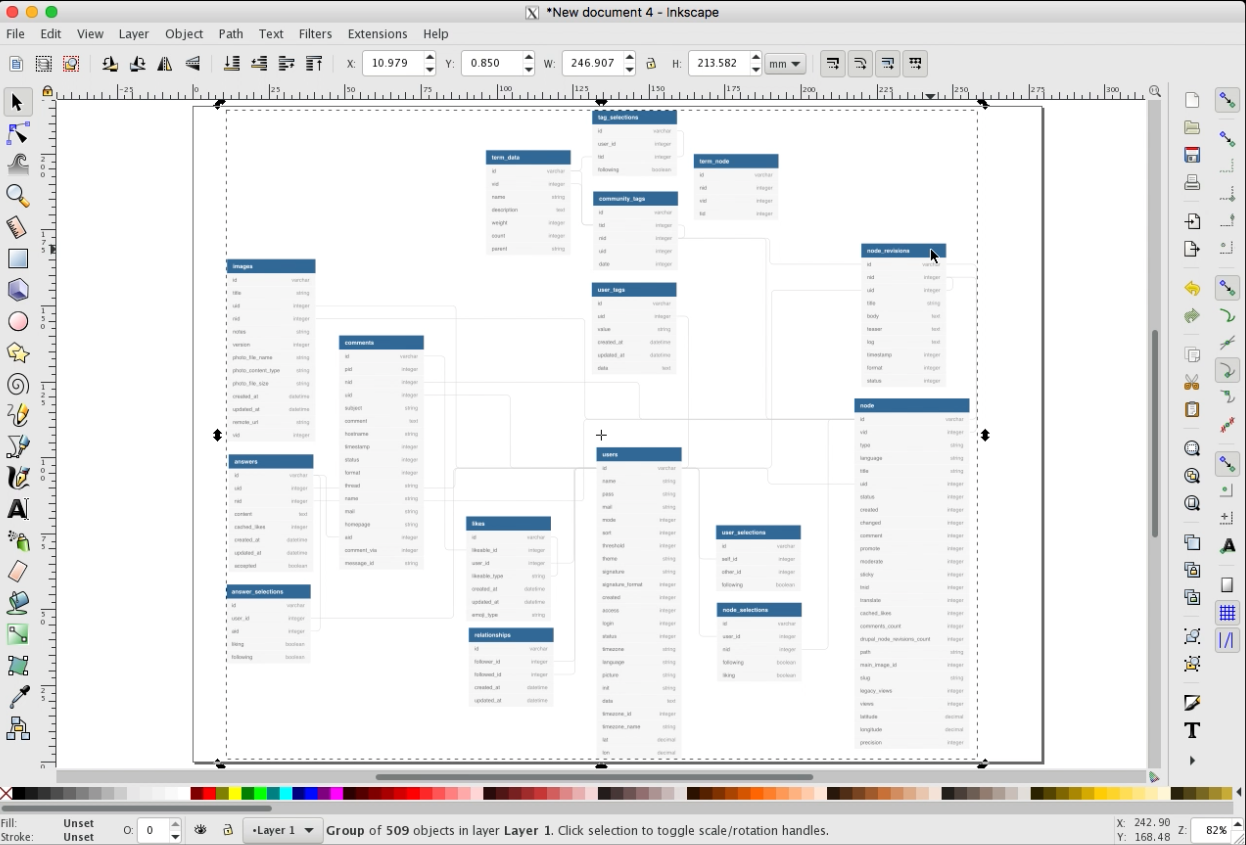
Now that the file is imported, notice that in the lower left hand corner, DBDiagram.io has put the company watermark. In order to remove it, we're going to have to ungroup the layers until it becomes sepperate from the rest of the objects.
The hard way is to repeatedly do:
1. Object
2. Ungroup
The easy way is to simply do Shift + Ctrl + G. Note, unless you've remapped your keys, you'll use Ctrl even if you are on macOS.
3. Do the above until the entire image looks like the following below.

Step 5
1. You can see now that all of the objects are ungrouped.
2. Select the watermark by starting in one corner and dragging to the other. It might seem obvious, but keep in mind that the watermark is ungrouped to the lowest level so it may be made up of a lot of paths.
3. Hit Delete!

Step 6
1. Now, select all of the contents, again by "drawing a square" around them.
2. Go to Object
3. Click on Group (or just use Ctrl+G

Step 7
Now we'll color in the "header rectangles".
1. While the object is now grouped again, it will make your life more difficult to ungroup the entire thing. Instead what you can do is "drill down" into the group by double clicking on one of the headers. As soon as the header is selected, you'll be at that level for all of the headers. Then, just Shift + Click on the headers that you want.
2. In this case, I'm going to make the headers having to do with nodes orange, so I'll click that color on the color bar below.
3. I'm going to repeat this process for the other headers, note the "1" on the left which indicates that more colors are available by scrolling to the right.

Step 8
Now we're going to color in the lines. My rule of thumb is that any line reaching it's corresponding foreign key "belongs" to the object with the original key. So for example, in the case of a "node", any object that has line going from something "node-like" to the foreign key "nid" belogs to the node object.
1. Open up the Fill and Stroke panel
2. Select all of the lines you'd like to change (using Shift+Click)
3. Choose "Stroke paint" and then the "eyedropper"
4. Select the color
5. Click on "Stroke style"

Step 9
1. Change the units of measurement to "px" (pixels)
2. Make the width 2.000 (or however you'd like)
Repeat this process for the rest of the lines.

Step 10
These are just a few things that I like to do, but they're not neccessary.
Step 10a: Arrange the "through's"
Whenever I have a X through Y, I like to show this by making the line dashed and pulling it out a bit.
1. Create the color as you would any other line
2. Under "Stroke style" go to "Dashes" and choose your preferred size
3. Adjust the line by scaling it back and forth until you have it a bit outside of the red line. Note, it just happens to be that there's a red line behind this one. Were it not the case, I'd just make the line dashed and be done with it.
Step 10b: Overlay "break away" lines on top of one another
The other thing I like to do aesthecically speaking, is to have lines break away from a "main lines". Notice on the image below how the line crosses over.
1. Select the line
2. Push and pull back the line until it is overlayed on the desired main line.

Step 11
All that's left to do is export the image to your desired format! Most programs would have you use an export function buy Inkscape allows you to save the file in different formats simply by using "Save as".
1. File >> Save As...
2. Pick the location, name your file and choose the format in this case, PDF (I forgot to indicate the location but the format selection is above the "Cancel" and "Save" buttons)
3. After clicking "Save", this will bring up the PDF configuration dialogue box. I just leave the configuration as is, but change it however you like and then click "Save".

Step 11
Admire your work!

0 Comments
Login to comment.