Goals
After building the stability upgrade to the Desktop Spectrometry Starter Kit, I needed to darken the exposed wood surfaces to reduce reflections and ambient light inside the spectrometer, which could affect the spectra we collect.
In this question, I posed some possibilities for darkening the inside, and although there are some other promising options, I thought I'd start with what seemed simplest -- painting the interior black, which took about 10 minutes.
Note that the current (as of Sept 22 2016) Desktop kit doesn't have bare wood, so this upgrade is really for those who've done the wooden stability upgrade.
Materials
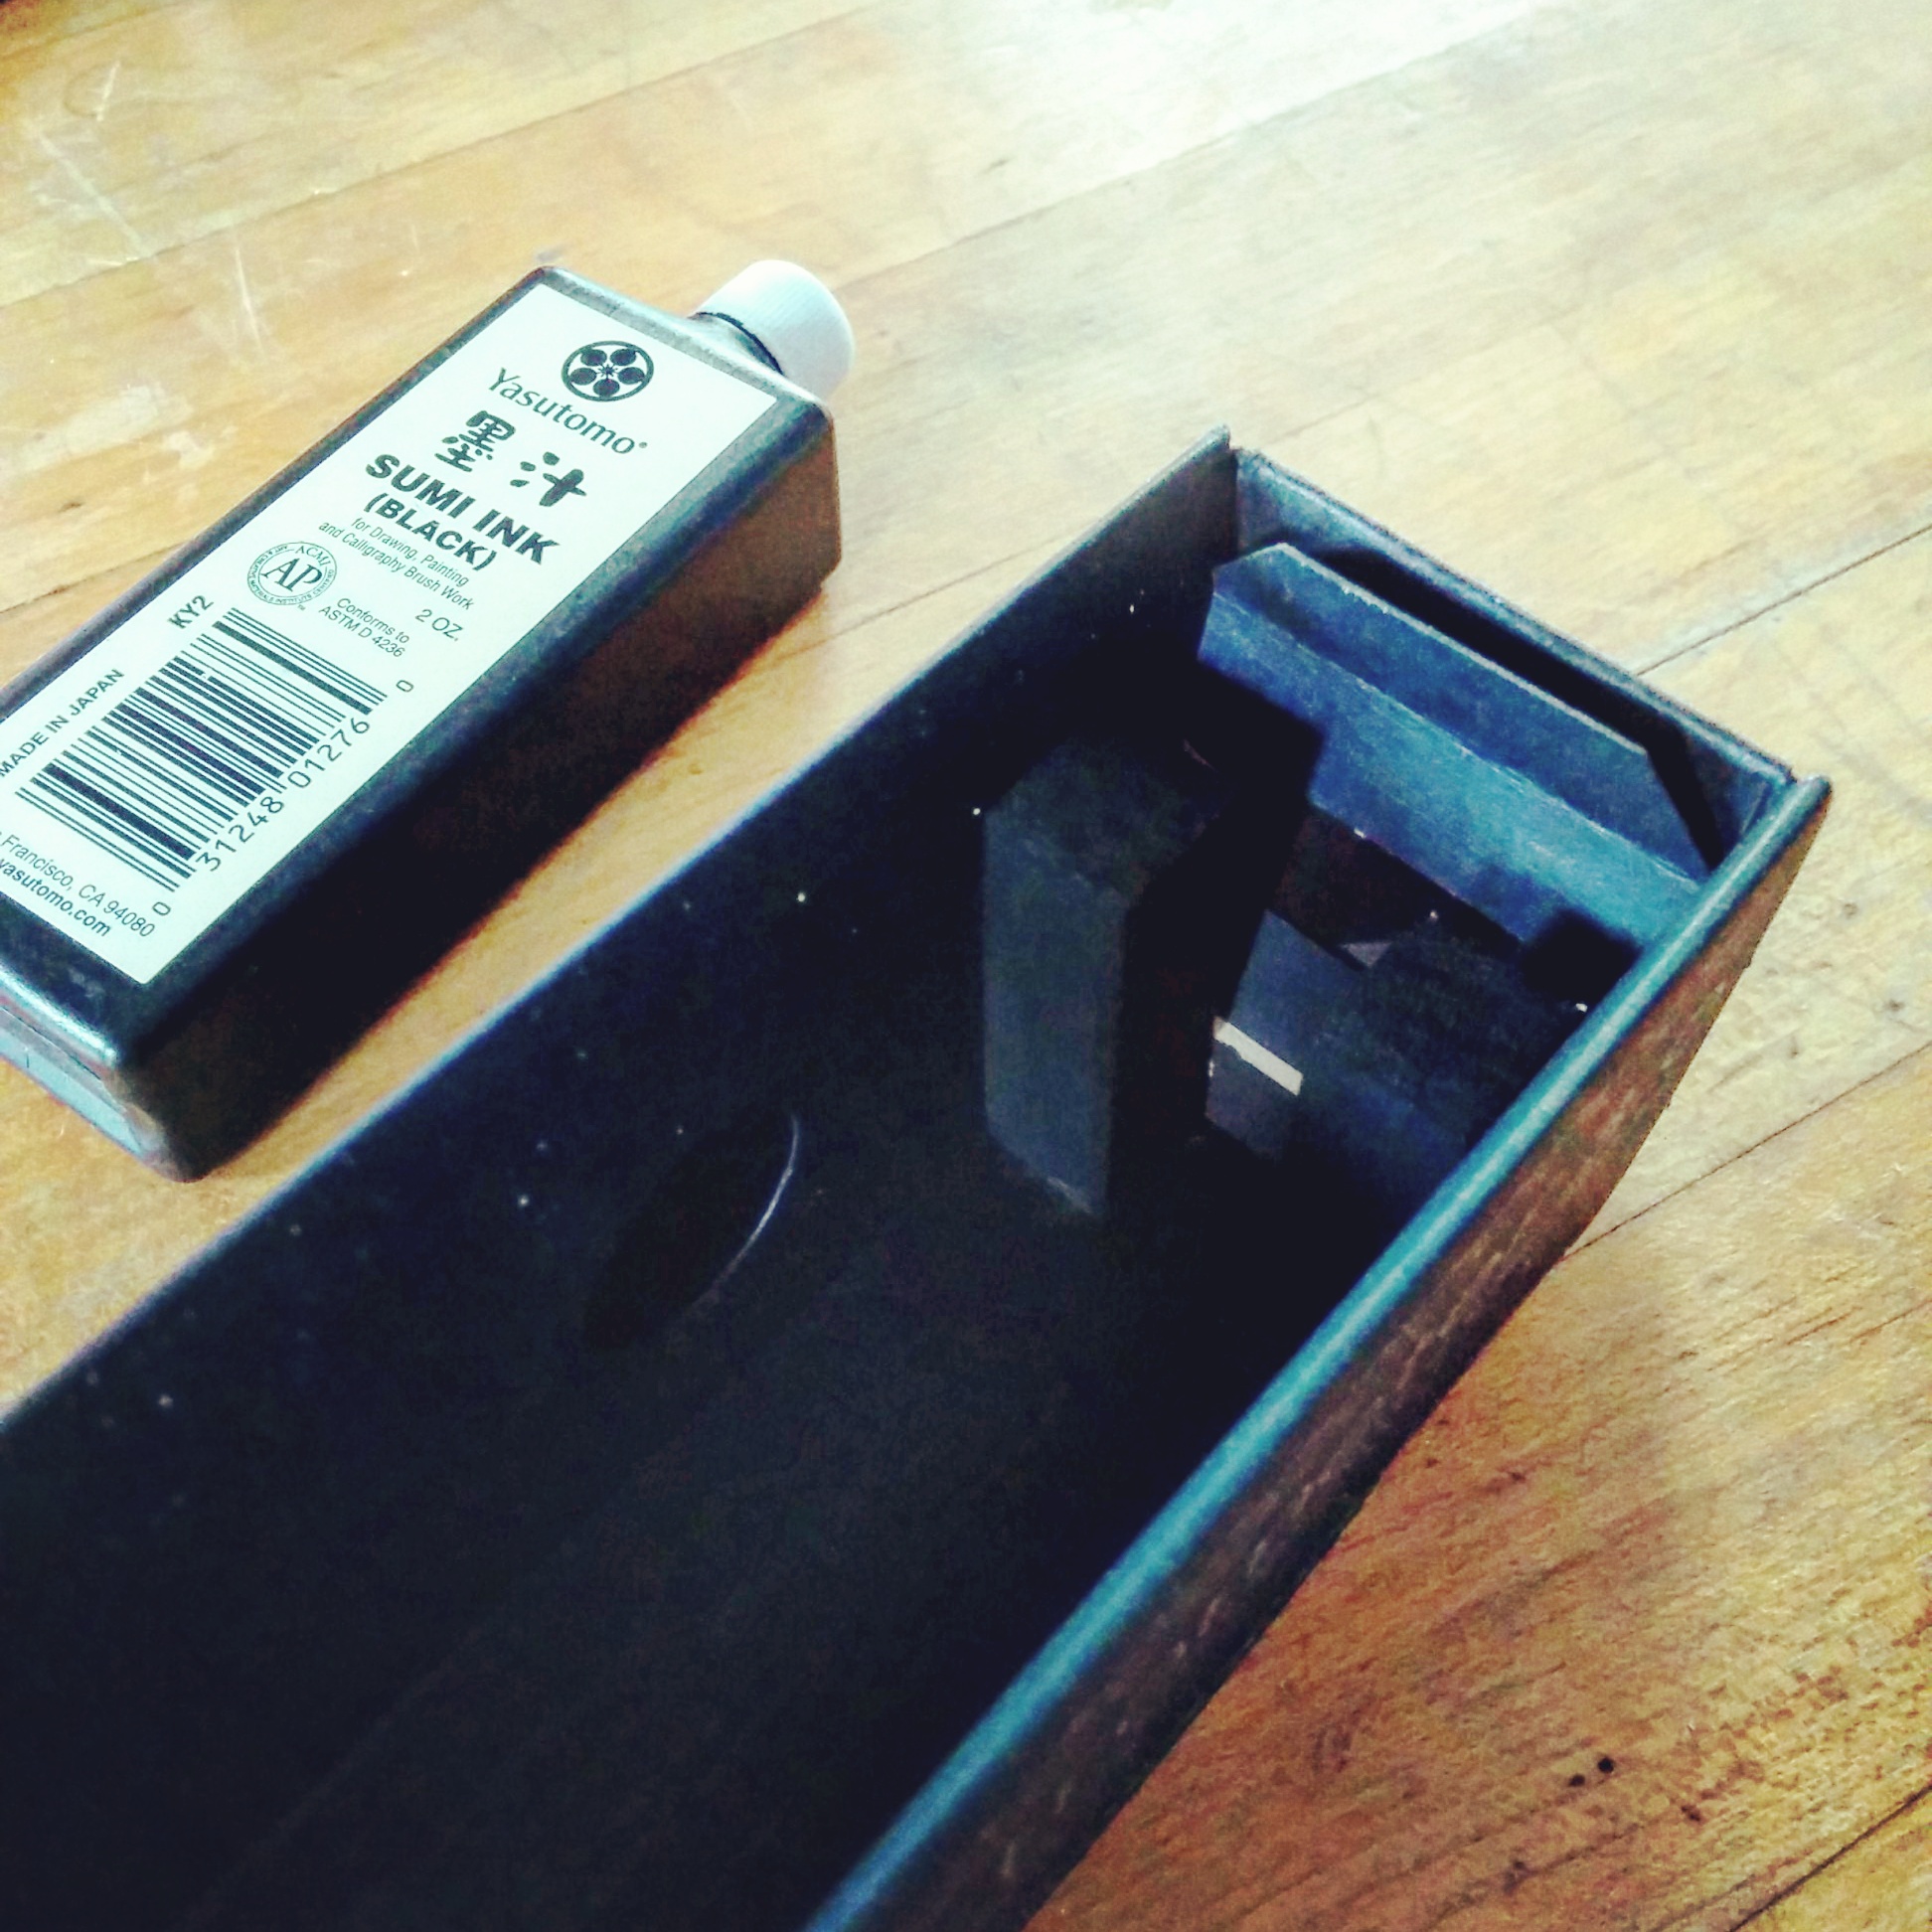
I have some pretty cheap Sumi ink, the kind used for Japanese calligraphy -- I see Yasutomo brand ink for $3-7 per 2 ounce bottle online, which is WAY more than you need. I also used an old paintbrush -- this ink is water soluble, and while you shouldn't get it on your clothes, it washes out of the brush pretty easily. But you could use a cotton swab if you don't have a brush.
Sumi ink is really dark (hard to photograph, which is kind of the point), and importantly is matte -- no reflections. But you could also use a tempera paint, which is quite matte, and even easier to clean up. Finally, if you have matte black acrylic paint, you could paint onto metal or plastic surfaces, if you have some other spectrometer design than the one shown here.

Step 1
I put a small amount of the paint into a jar to more easily wet the brush, and began painting it on pretty thick -- the wood absorbs it quickly so I just figured I'd get full coverage.
I painted it inside the box, since the new upgraded pieces are a little hard to get in and out, but you could paint it before putting it in the box and it might be easier.
Step 2
I painted the whole area forward of the webcam; basically anything in the field of view of the camera. I could've painted right around the webcam, but figured there wouldn't be much reflection back there; if you do this, please tell me whether it makes a difference before/after painting all the way back.
I also considered taking off the DVD and painting the sides of the wood blocks which support it, but ultimately didn't. I'll post a spectrum soon and we'll see if there's room for improvement.
Step 3
Recalibrate if you moved the DVD, webcam, or slit, then go ahead and start taking new spectra!
Anyhow, that's it -- pretty easy upgrade; please post below if you replicate it and share a link to your data on SpectralWorkbench.org! And -- if you have suggestions on how to improve this upgrade, or alternative methods, I'm eager to hear them!

6 Comments
@warren I have used an automotive type flat black rust paint which is available locally and comes as a spray can application or in a 237ml can for brush. Also have completed upgrades as suggested originally by @stoft with some modifications to suit my purpose one of which I tapped a 13/64" - 5,16mm hole with a 1/4-20 tpi thread to mount the spectrometer onto a tripod. Also I used some flat black cardstock to line the interior and just painted the areas that were not convenient to line with paper.
stef
Reply to this comment...
Log in to comment
Wow, that's really cool. Would you be able to post some pictures of your stability upgrade as a response by clicking the button on the bottom of that post? We're eager to collect feedback, even if it's just a confirmation that people are able to successfully build it and upload a photo.
I love the mounting idea too -- actually if you have photos of that and the darkened interior, both would be great to see -- the latter as a "replication" of this page's upgrade. The more people that successfully replicate an upgrade, the more confidence we can have in it!
Is this a question? Click here to post it to the Questions page.
Reply to this comment...
Log in to comment
@warren This shows a metal 1/4-20 metal adapter for a tripod mount also addition of the rear 1.5X2 bulkhead with an indicator power on lead for the scavenged web cam .and @stoft drawing.
Reply to this comment...
Log in to comment
Hi, this is excellent, thanks! Would you be willing to post it as a "replication" using the button above:
Document your attempt to build this? That way in the listing on https://publiclab.org/wiki/spectrometry#Upgrades, it's shown as having a replication?We could also mark it as a replication of this post on the stability upgrade, once it's up - i'm happy to help with that.
Is this a question? Click here to post it to the Questions page.
Reply to this comment...
Log in to comment
Hi there I've adapted the ink+hole upgrade to the foldable specrtrometer and think works pretty well. Ill post an upgrade with some test pictures on the upgrade grid
Reply to this comment...
Log in to comment
That's so cool! Thanks, please do --
Reply to this comment...
Log in to comment
Login to comment.