Infragram Point & Shoot
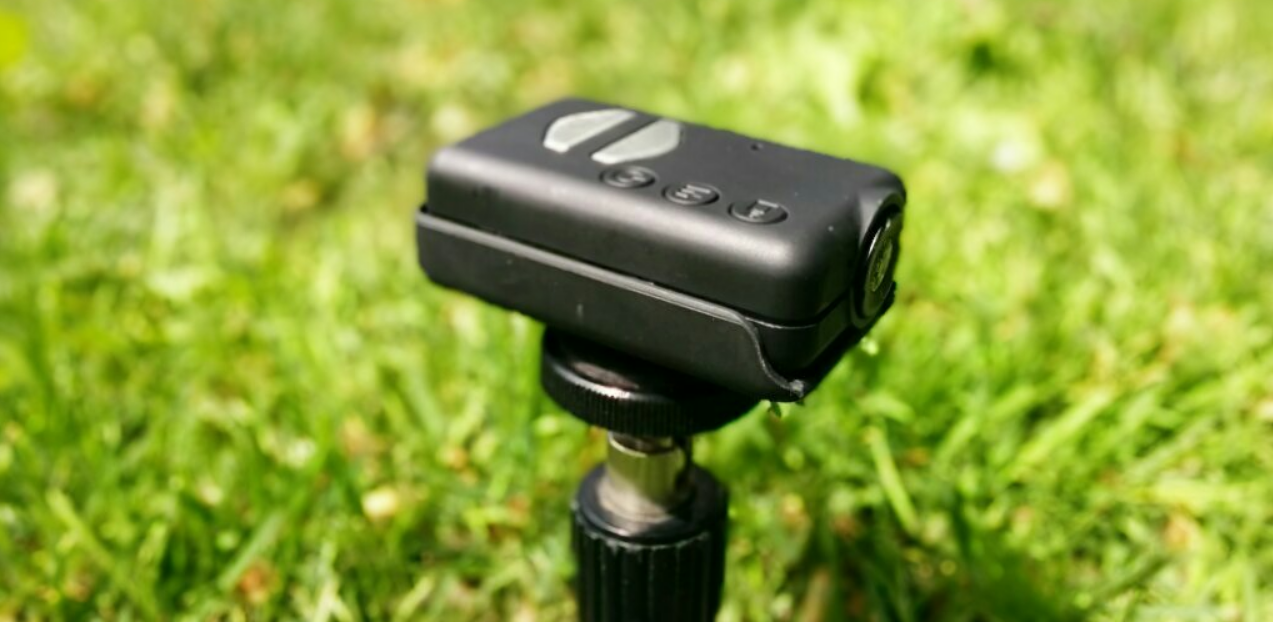
The Infragram Point & Shoot is a handheld, battery powered mini camera (a modified Mobius Action Cam) for doing plant analysis. For any information, support, or troubleshooting not covered here, please look to this epic thread about the Mobius Action Cam at RCGroups.com. An official manual for the Mobius Action Cam can also be found here: http://mobius-actioncam.com/softwareuser-guide/
Basics
Before you begin, to take useful plant analysis photos, you'll have to modify your camera's white balance, so that vegetation looks "bluish" but there is not an overall red tinge to the images. You can achieve this with a custom config file, as described below.
Some cameras may require a firmware upgrade to v1.20. If you've gotten your Infragram Point & Shoot from Public Lab's Kits initiative (through Kickstarter or the Public Lab store), both the config file and the v1.20 firmware should be on the SD card provided (in addition to this documentation!). However, you'll still have to load up the white balance file as described in "Installing config file" below.
Using the camera
There are three basic modes to the camera, which you can switch through with the M button, and each shows a different color on the main LED.

Once you've loaded the custom white balance in the config file (see below) and charged up the camera, you're ready to use it -- just turn it on, press M twice, until you see a RED light. Then you can use the "Shutter" button which looks like: , to take photos. The red light will blink.
Images should look roughly like this:

If you have trouble, please post on this site or join the infrared discussion list.
Installing config file
If your camera did not ship with a config file or you are using a new SD card, follow these steps to get your Infragram Point & Shoot to take properly white-balanced images, necessary for post processing at Infragram.org. This is also relevant for anyone who has a Mobius Action Cam and wants to script or customize its settings.
The config file may also be used to set up Timelapse Mode -- see below at the Timelapse section.
Note: The WB setting in the config file should be "7" but occasionally we've found that some cameras require an "8" -- if you have trouble, please post to the plots-infrared list.
- turn the camera on with the "Power" button while also pressing "Mode" until the red light blinks 3 times (5-6 secons) to generate a config
- plug it in via USB and wait for the disk to appear
- replace the generated config file with this one in the home directory: SYSCFG.TXT
- repeat turn on pressing mode.
Timelapse
To set the camera to Timelapse mode:
- Turn on the camera
- Press M twice to enter Photo Mode
- Press the shutter button () to start the timer, and look for the blinking red light:

Updating firmware
v1.20 firmware:
Excerpted from RCGroups.com:
1. Download the firmware .zip archive file and un-zip it. Copy the actual firmware file (always named FWTLCAM.BIN as noted above) from it's identifying folder into the camera's flash card root directory (the one that opens when the camera connects as a removable drive). This can be done with the card in the camera connected to the computer as a Removable Drive, or externally in a card reader. But do NOT rename the file. If you do, the camera will not install it!
2. Disconnect the camera and turn it off.
3. Insert the flash card containing the new firmware file into the camera (if not already in the camera).
4. Press the Power button until the BLUE LED turns on and begins to flash. RELEASE THE POWER BUTTON AS SOON AS LED FLASHING BEGINS! If you keep pressing it longer, you may turn off the camera before the update process is done. DO NOT PRESS ANY BUTTONS WHILE THE INSTALLATION IS IN PROGRESS (about 20 sec. to complete)
5. To confirm the firmware is being loaded into the camera, the BLUE LED will continue to blink during the upload process.
6. When the FW installation is complete, the BLUE LED will turn off for about 2 sec. and the YELLOW LED will then turn on solid, indicating the FW file is has been automatically deleted from the memory card.
7. You're done! The camera will be in the normal start-up standby mode ready for use.`