Dual camera kit electronics
Introduction
To get the cameras to trigger simultaneously, we chose to trigger them via USB using a feature of the CHDK.
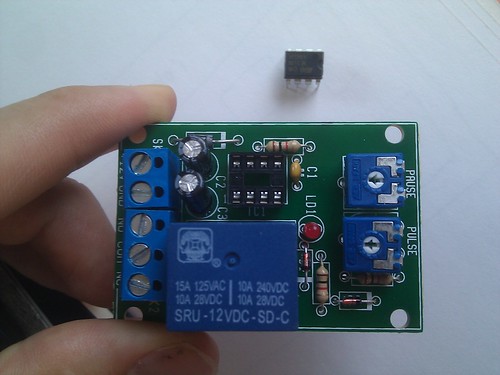
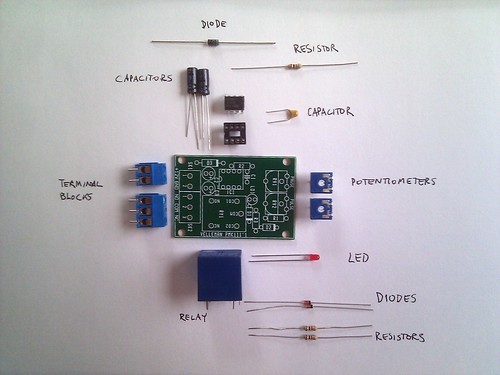
Assembling the 555 circuit
- Pretty good instructions come in the 555 timer package
- Potentiometer confusion
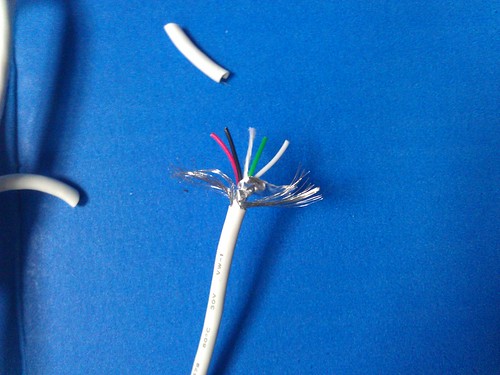
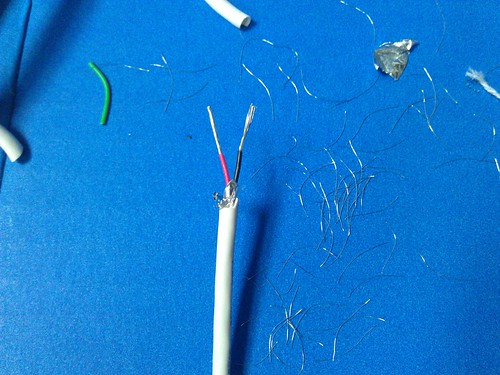
- Stripping and attaching the USB cables
Connecting the batteries
Battery selection
- Two different batteries are needed:
- a 12 volt battery to run the timer, and
- a 5.5 volt (or more) for actually triggering the camera.
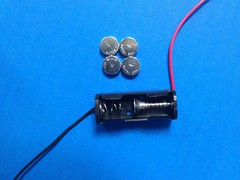
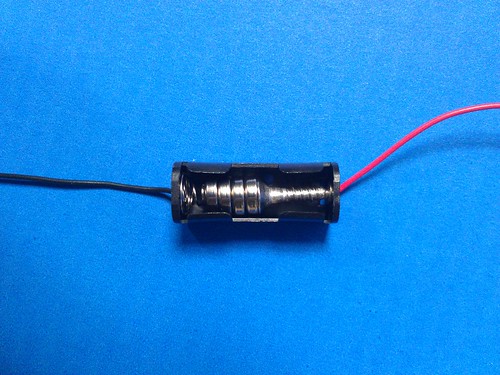
To keep things simple, and because it's hard to find an efficient, cheap and lightweight way to hold 4 cell batteries, here we show how to fit 4 coin cell batteries into an N-type battery holder, which is provided in the dual infrared kit -- using a small wood screw.
This is a bit of a "hack" but has worked very well - 4 1.5 volt batteries is ~6v and very little current is needed to actually trigger the camera.
Attaching to the 555 timer (extra wire)
(coming soon)
Splicing USB cables
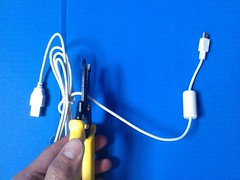
Using a wire stripper, cut at least 8 inches of USB cable, preserving the smaller connector. Strip off the plastic wrapping to expose the smaller wires within.
Image dump (more description coming soon):
