The basic Community Microscope is great for looking at really tiny things - like, 10-100 microns in size. But #microplastics such as collected with a trawl like #babylegs are a bit bigger -- between a grain of sand and a grain of rice.
For these, we need 2 things:
- a lower magnification microscope
- one that lights the sample from the same side as the camera - "front lighting"
I'm building on the notes and brainstorming in this question: https://publiclab.org/questions/jiteovien/08-08-2018/can-the-community-microscope-analyze-ocean-microplastics
There is also an activity on analyzing microplastics: here: https://publiclab.org/questions/maxliboiron/07-19-2018/how-to-analyze-plastics-forensically
Differences from other microscopesOur basic microscope design has the lighting opposite the sample, so it's back-lit. This design will primarily front-light the samples, and look down on them from above, like in this diagram by @jiteovien:
Note that @maxliboiron has said a second light source from below is good; I think there are some ways to do this since our stage is usually a plexiglas sheet, but in this example i'm sticking to lighting from above.
Adapting the Community Microscope
The best part about this activity is that it uses the same parts as the basic "intro" version of the Community Microscope. (Buy a kit here!)
First, follow the steps in this activity to assemble your stage.
Next, follow these steps to modify your webcam.
Note that even if you have already built your Community Microscope Kit, you can flip the lens and "go back" to this dissecting scope design.
Unscrew the small screws behind your webcam (you can skip this if you've already flipped your lens - we just need to get the silver cover off of the lens):


Now, pull off the silver cover - it's just pressed on, no unscrewing needed!

Now, partially unscrew the lens -- I believe it's approximately 2 rotations.

To test the focus, hold the camera about 1 cm away from something tiny - fine print on a dollar bill, a bit of dust, etc -- and adjust the focus a bit so you have it generally in focus. Don't worry, we can adjust this more later. Here's a bit of microplastic debris:

Now close up the webcam again.

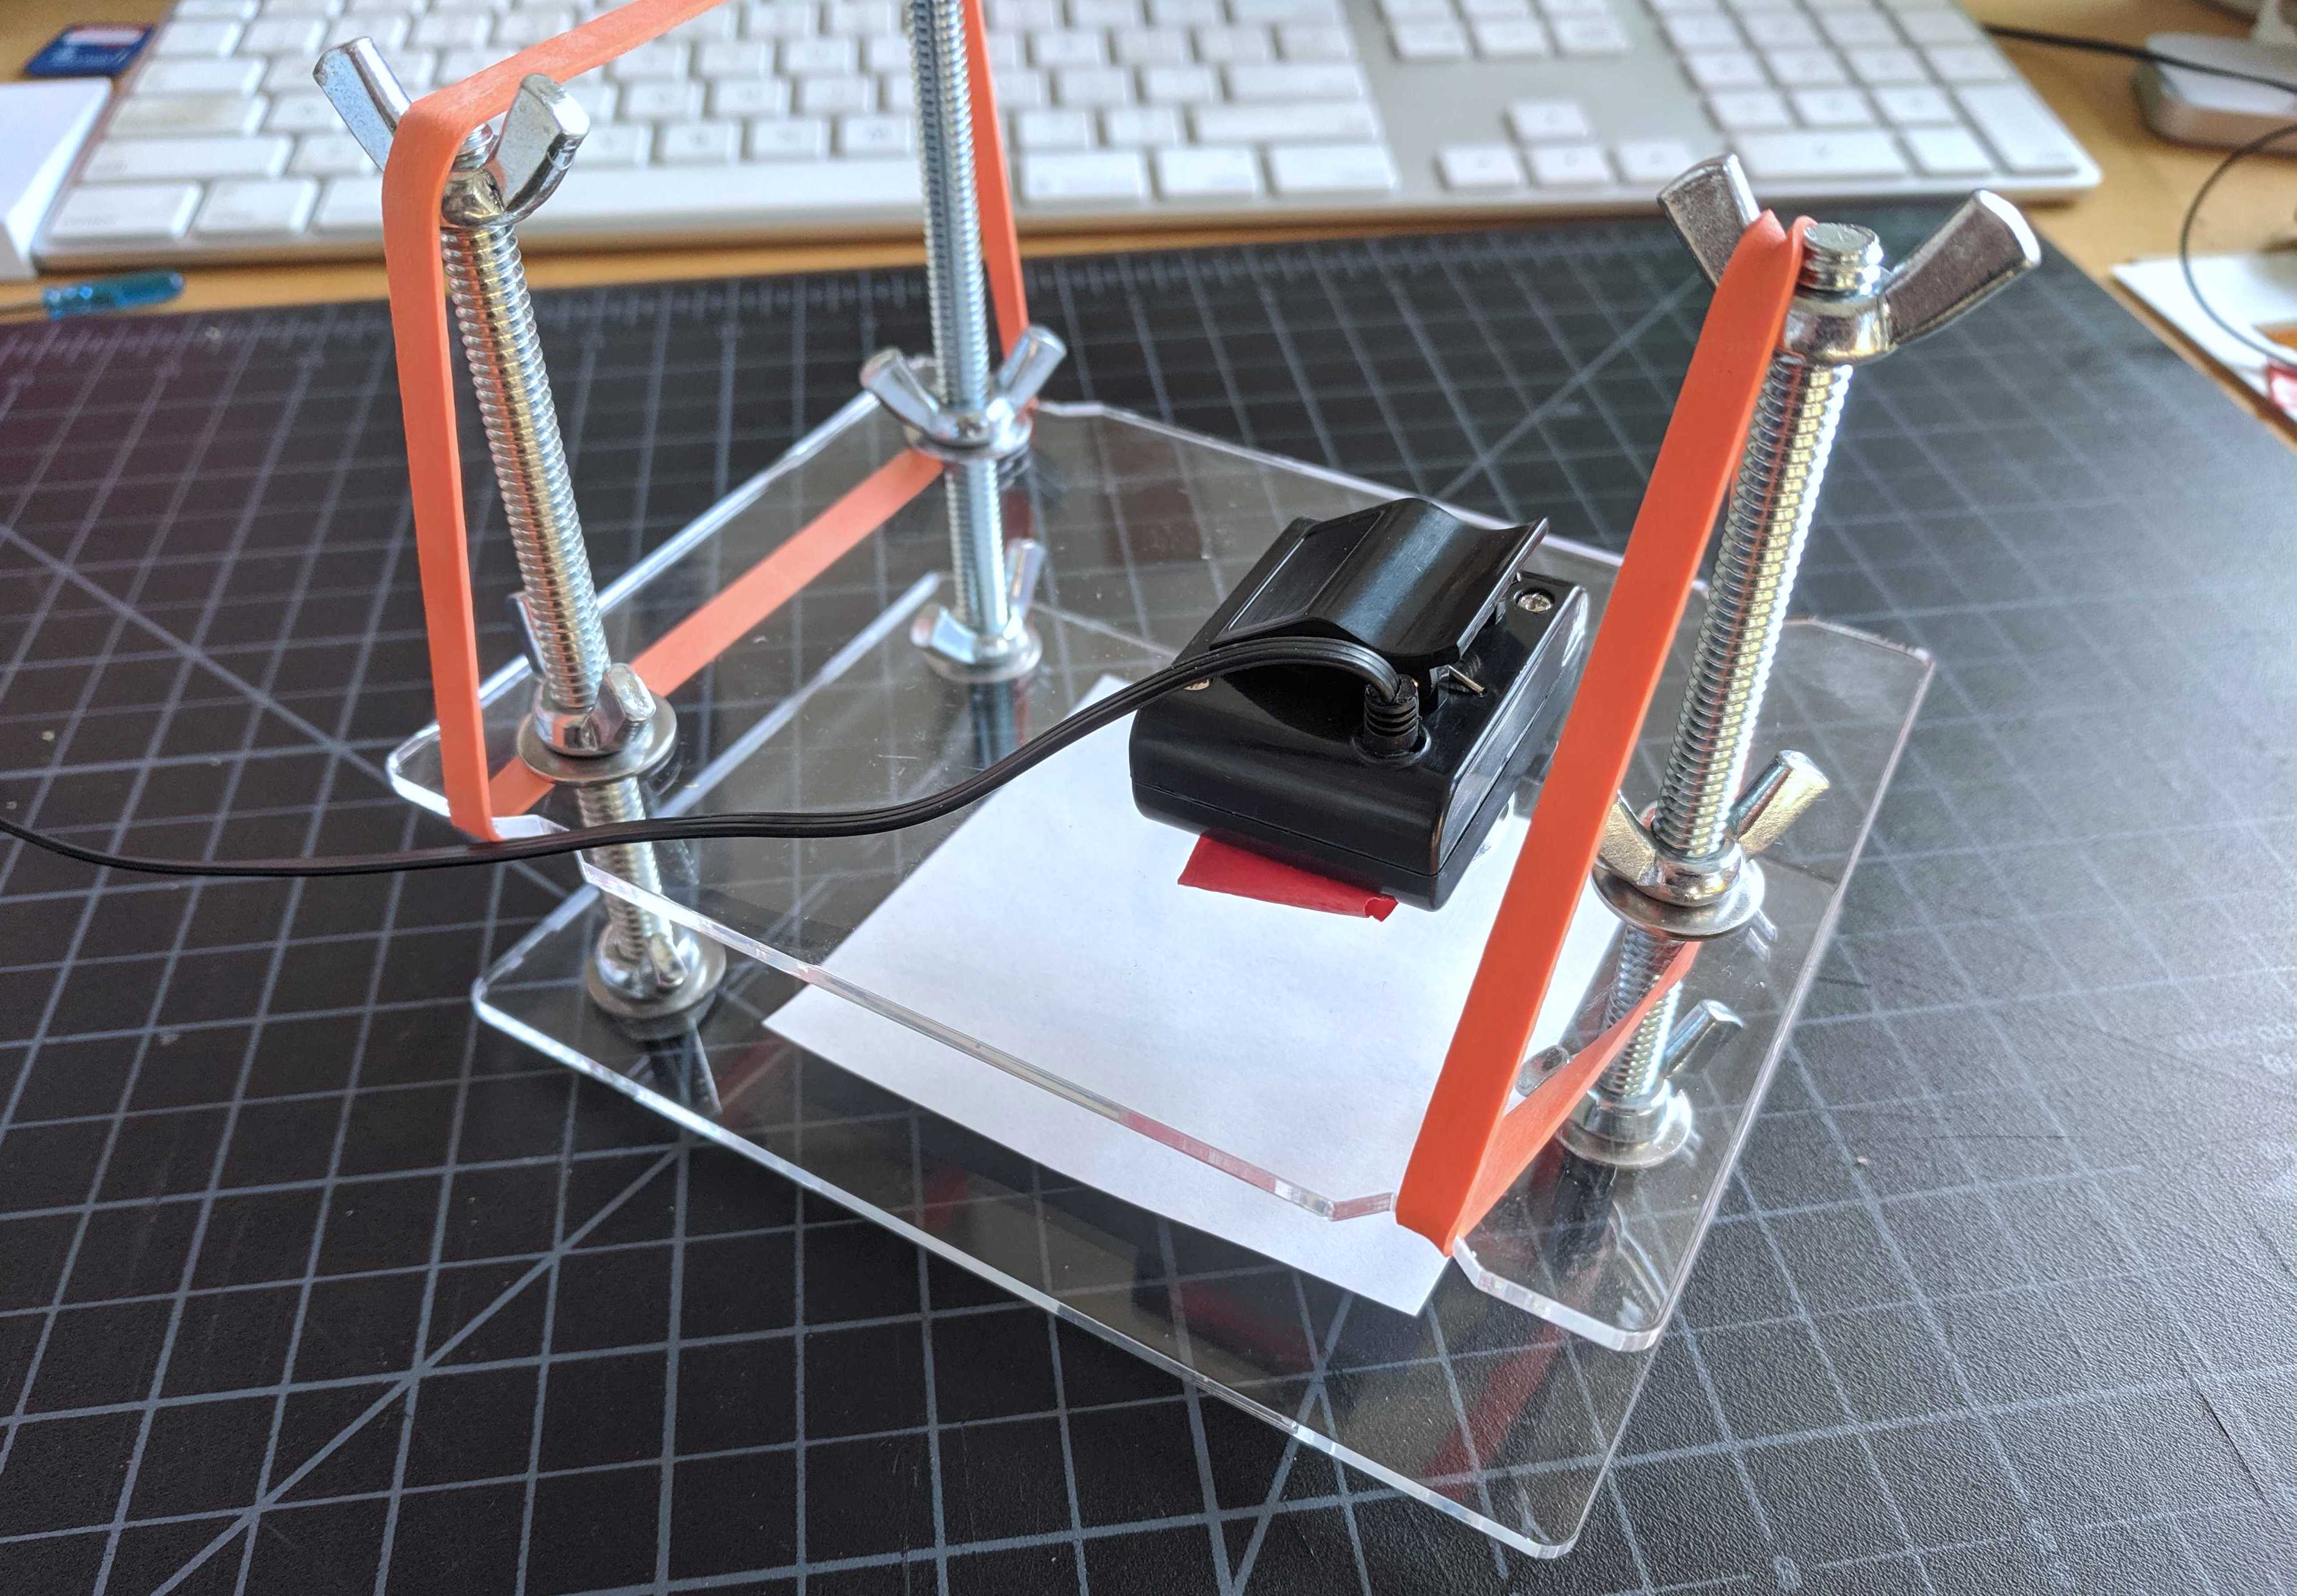
Back to your microscope stage (that you built using the instructions linked above), you'll need a white backdrop; I used a white Post-it, but paper will work fine.
Then add 2 rolled-up pieces of tape on either side of the circular hole on the top plate:

Place your webcam so it looks down through the circular hole, towards the white sheet of paper.


Now you'll have to lower the stage quite a bit. I ended up about 2 cm from the paper, with the lens 1 cm from the paper. Now you can rotate the lens to make finer adjustments, but raising and lowering the stage will also affect focus. Try adjusting both until you can see really fine details -- i used the fine print on a subway card as a reference:


Here's a driver's license:

OK, you're done! I found that the webcam in our kits is sensitive enough that not a lot of extra light beyond ambient light is needed, but it probably depends on what you're looking at.
I'd love to see how people try back-lighting as well! And happy to take any feedback or refinements in the comments below. And -- share photos of your builds please!
Thanks!
4 Comments
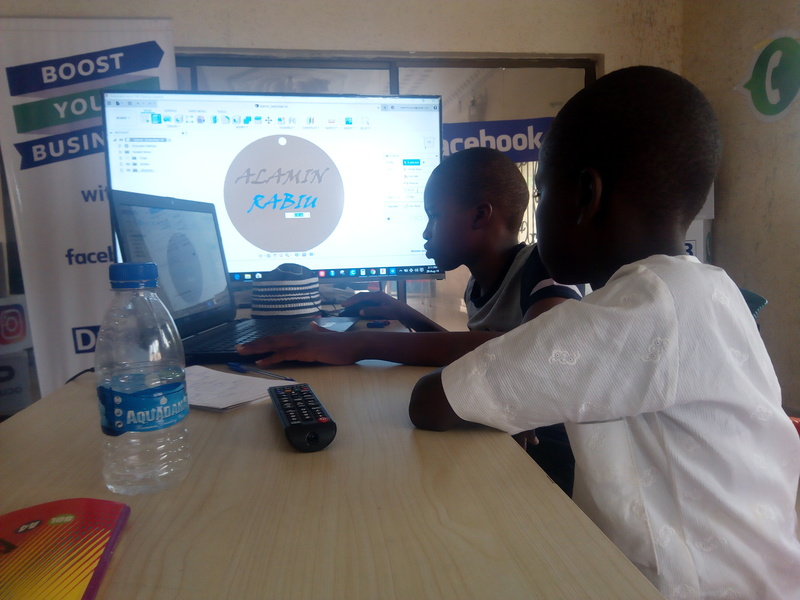
This project is incredible, i have seen it is made yesterday when i volunteer to join the ongoing Envirosense Hack Series in Abuja by Vilsquare, Make and Public Lab USA.
We tested two water samples the results were mind blowing.
So glad to hear from you! Also, very glad that the experiment went well yesterday. :D What are you working on at GearHub? Sounds exciting!
No need to put the "USA" after Public Lab -- there are people collaborating here from all over the world.
Is this a question? Click here to post it to the Questions page.
Reply to this comment...
Log in to comment
Hello @liz thanks for the correction. I'm delighted to meet you. At GearHub we use 3D printing to produced functional 3D STEM Kits for education. This is to help young learners be prepared as the workforce for the future. We believe with 3D printing complexity is free therefore we brace up and started teaching this young generation. In addition we teach Sustainable Development Goals to help refine they thinking and how they can identify the problem.
Is this a question? Click here to post it to the Questions page.
WOW @najeebyunusa I am so inspired by this work! I hope to hear more from these wonderful young people very soon!
Reply to this comment...
Log in to comment
Login to comment.