
Smartphone Specialty Carriage
An apparatus to carry and protect a standard smartphone with attachments that attaches to a weather balloon for aerial mapping. Designed by: Peter Wening Conte, Sydney Elizabeth de Polo, Peyton Lewis Fitzhugh, and Steven Malcolm Jump III
Introduction:
This carriage was designed in order to meet our need to fly an IPhone 5 attached to a weather balloon for the purpose of thermal aerial mapping of rooftops using a Seek Thermal Camera IPhone attachment. At the time of this endeavor, we could find no existing information on how to fly and IPhone from a weather balloon and therefore had to come up with our own original design. The goals of our design were stability and protection.
Materials:
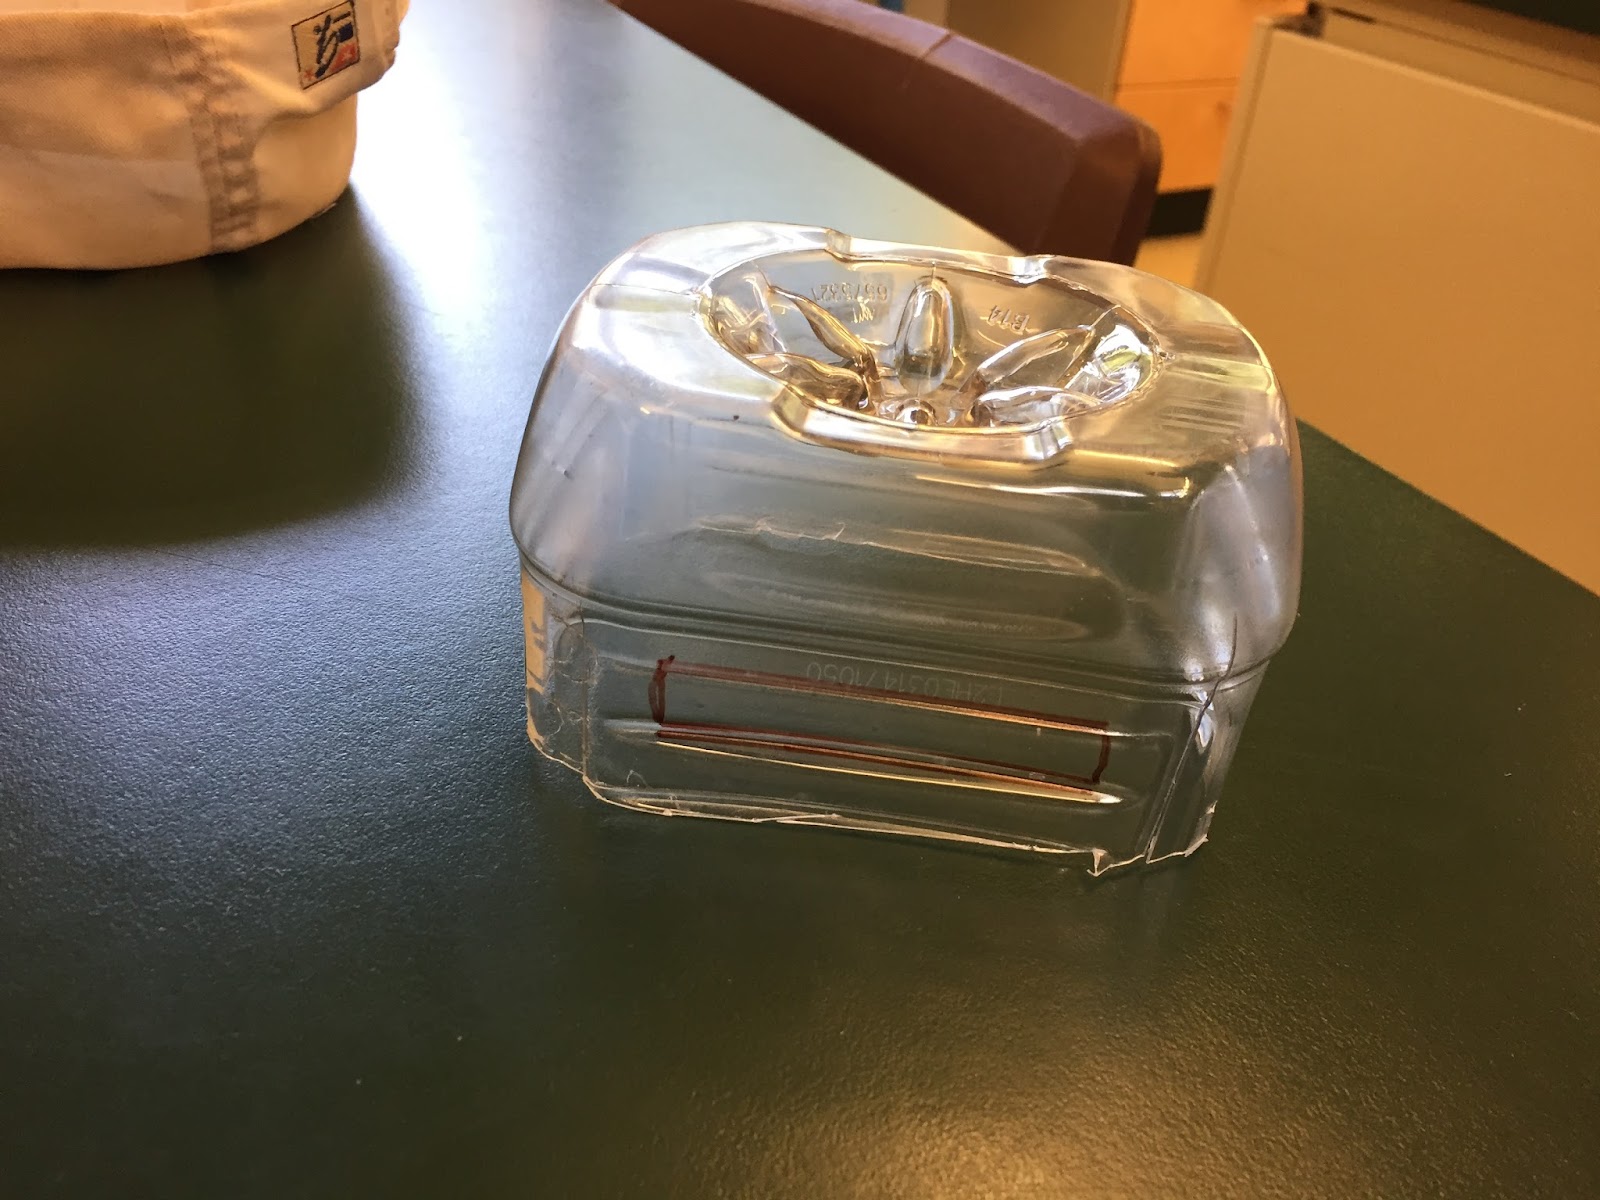
Fruit Juice Plastic Cartons (2) (See Fig 0)
Fig O

Rubber bands that are of the size and strength of those provided in the public lab aerial mapping kit(2)
Carabiner
Duct Tape
Bunsen Burner
Large Phillip's Head Screwdriver with a plastic handle
Pencil
Strong String
Exacto Knife
Scissors
Smartphone
Sharpie
Pointed filer
Headphones
Procedure:
Cut the bottoms off of the two plastic juice containers. Make the bottoms tall enough that they will cover a suspended phone and whatever attachment you may be using. Cut a strip from of plastic from the middle of the bottle. These will be used as a stabilizing fin to stabilize the carriage in the air and prevent spinning.
Using a sharpie trace the width of the smartphone to be contained on to one of the longer sides or front and back of each of each cut-off juice container base. (See Fig. 1)
- Using either the scissors or the exacto knife (whichever way works best in any combination) cut out the traced outline, make sure that the two holes line up and are of equal size.
Fig 1. A half of the apparatus cut from the bottom of the juice jug and the phone slot traced with sharpie
- Using the bunsen burner, heat up the screwdriver until the metal begins to change color. Be careful not to melt the plastic handle of the screwdriver or burn yourself. You may want to use welding gloves for this process.
- Take the heated screwdriver and melt a hole into the exact center (raised bump) on the bottom of each of the two container bottoms. You may need to reheat the screwdriver throughout this step in order to achieve a suitable hole size. We found it easiest (and safest) to have the base half facing up and melting outside to inside.
- Wait for the melted plastic to cool and then use the pointed file to file down some of the ridge created around the melted hole.
- Using the tip of the headphone jack (the part you put into your phone or computer) as a guide, push the rubber bands through the holes. This part is tricky and will take some time and patience. Do not pull the rubber band all the way through.
- Put the pencil through the two loops of the rubber bands on the outside, connecting the two halves of the carriage, and pull them tight from the inside.
- Line up the two holes and duct tape the two halves together.
- Attach string to the pencil at the two ends and the center so that the whole carriage hangs level.
- Tape down the ends of the pencil so that the strings cannot slip off
- Tie all of the strings together and attach a carabiner. This will be hung to the balloon.
- Now take the two strips of the juice jug cut at the beginning, tape them together and attach them to the side of the carriage. You may attach a headlamp to this in order to have a flight lamp to keep track of the apparatus while flying at night.
Fig 2. Bottom view of finished carriage with phone and attachment enclosed with headlamp attached to the stabilizer fin.

0 Comments
Login to comment.