
NOTE: This is the least-well-developed part of the process and is a complicated enough project that it deserves its own series of activities and write-ups. These are just some basic techniques and ideas that we played with. Hopefully they will help you get started.
What are we trying to do?
We want to use our microscope to look at things other than tiny rulers. We look at a couple of different samples with a 40x objective and a 100x objective to get a sense of the kinds of images we can produce with this setup.
Try it out!
Looking at a sample under a microscope is a 3 step process -- collecting a sample, mounting it on a slide, and viewing it on the microscope.
1. Collecting a sample.
This is a very large topic with a lot of information available on the wider internet. This page -- http://www.funsci.com/fun3_en/dust/dust.htm -- contains a particularly good writeup of collecting dust samples.
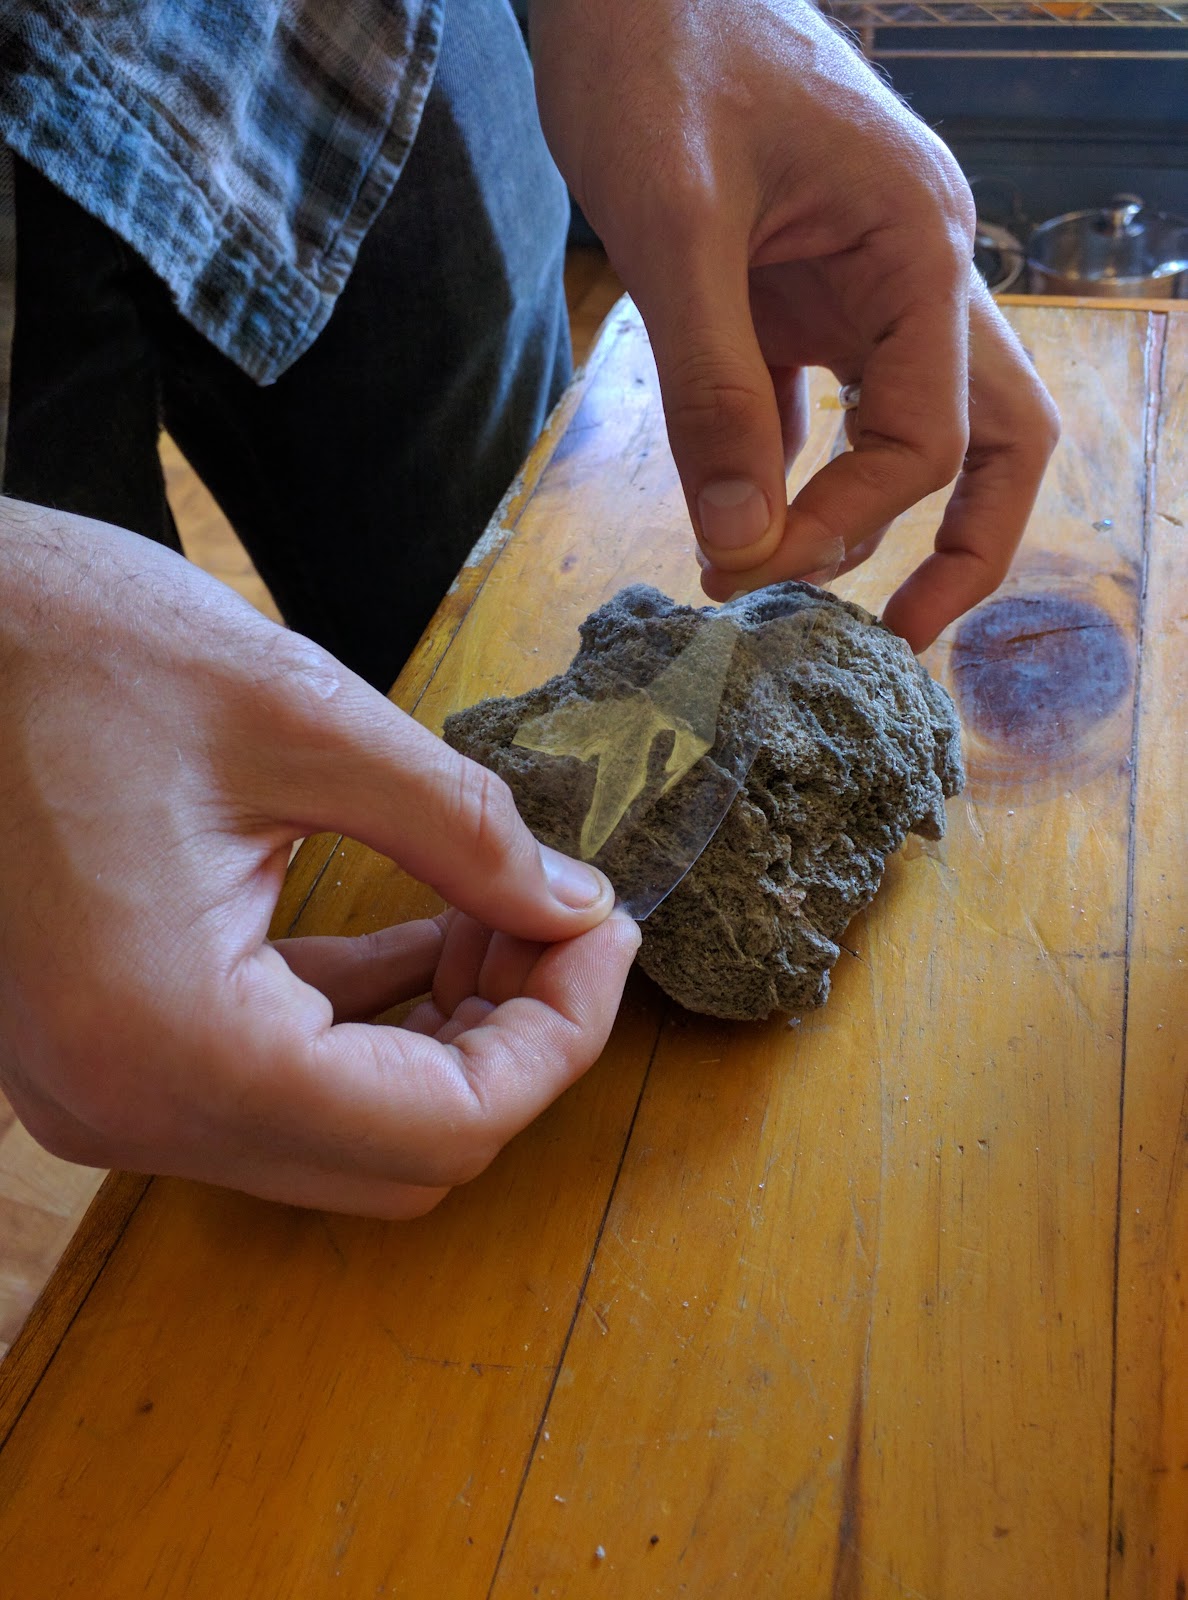
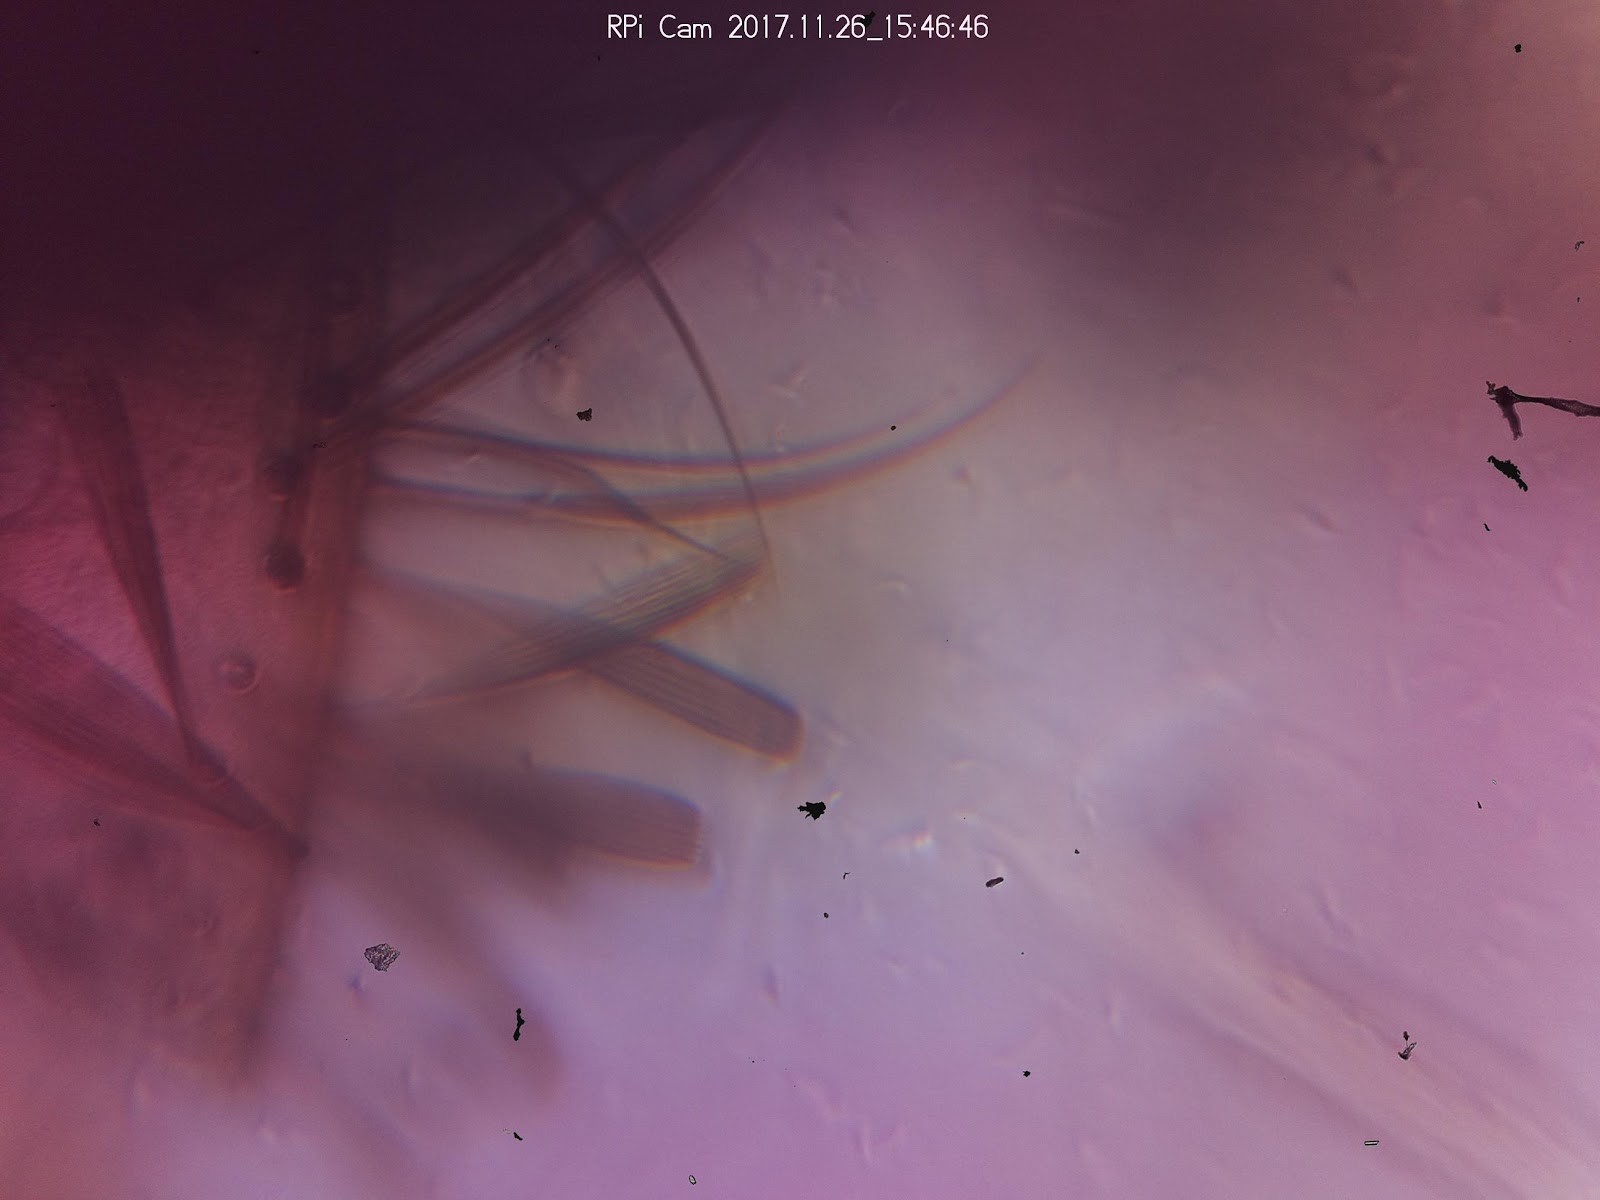
We did some experiments using clear packing tape to collect dust from a rock as well as using a small brush to brush dust particles onto a slide. Your goal is eventualy to get the sample to fit on the slide under a slide cover so it has to be very small.
If you are using tape of any kind to collect a sample you should note that the outer layer of tape on your roll is probably messy and covered in dust, oil, fingerprints, etc. Remove the outer layer and the interior should be much cleaner and more suitable.
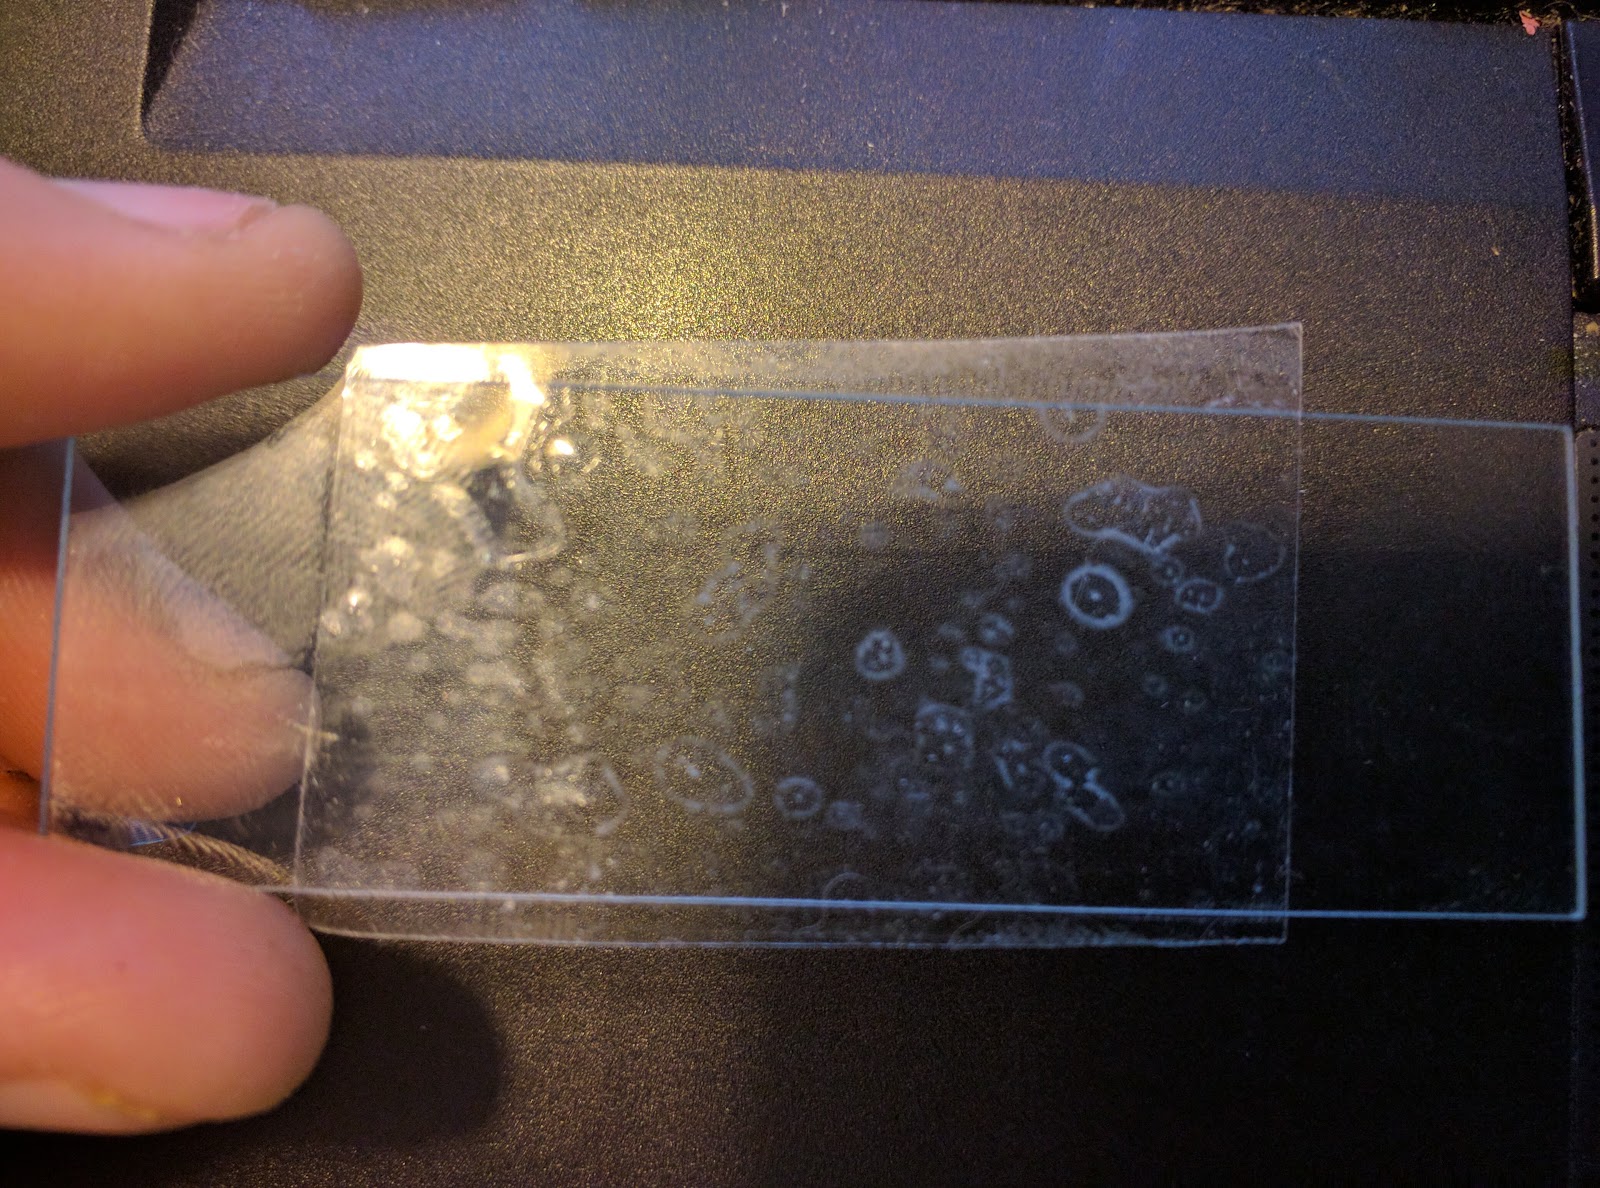
2. Mounting the sample on a slide
The goal here is just to place your sample on a glass slide with a slide cover (or something equivalent) on top of it. It's important that the sample be covered and that the slide cover be stuck to the slide in some way because we will need to place the sample on our microscope stage upside down and the slide cover will prevent the sample from falling off of the slide.
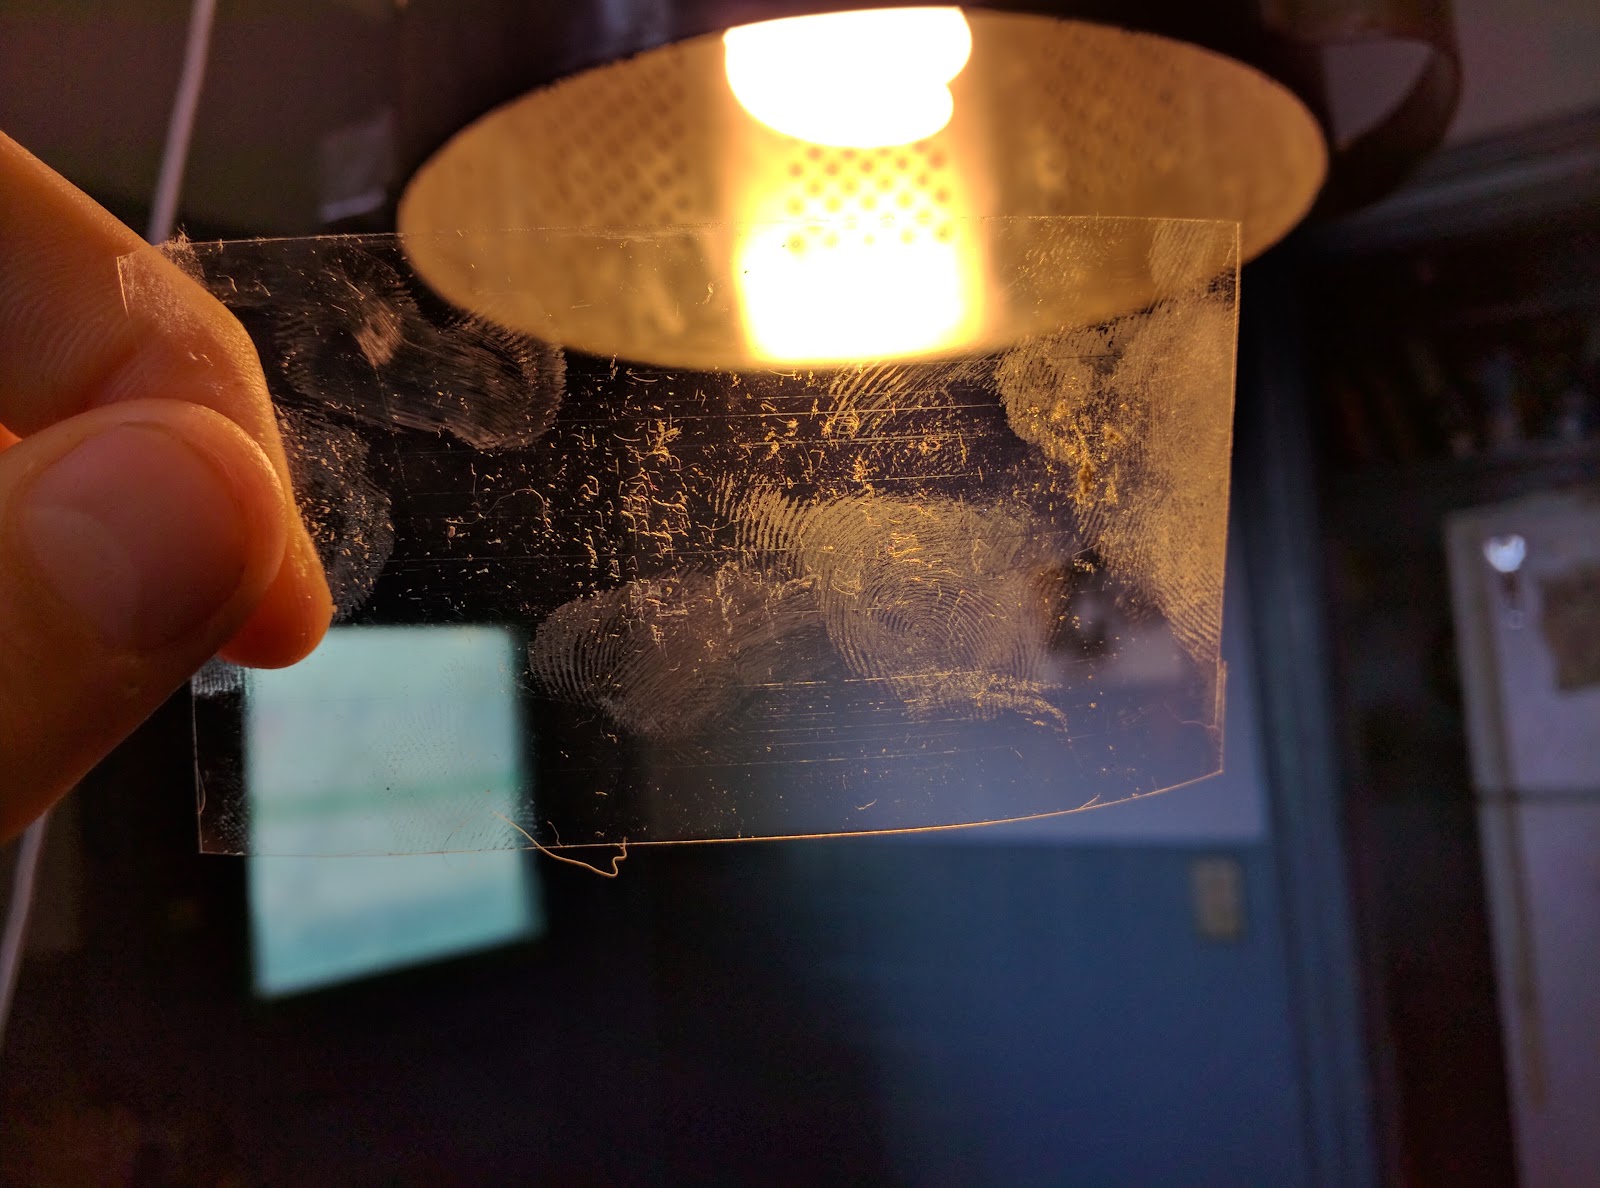
We had some success using packing tape as the slide cover and just taping the tape we used to collect samples onto the slide directly.

This process creates some noticeable adhesive smears and air bubbles in the taping which you can see under the microscope and which might get in the way of some of your observations.
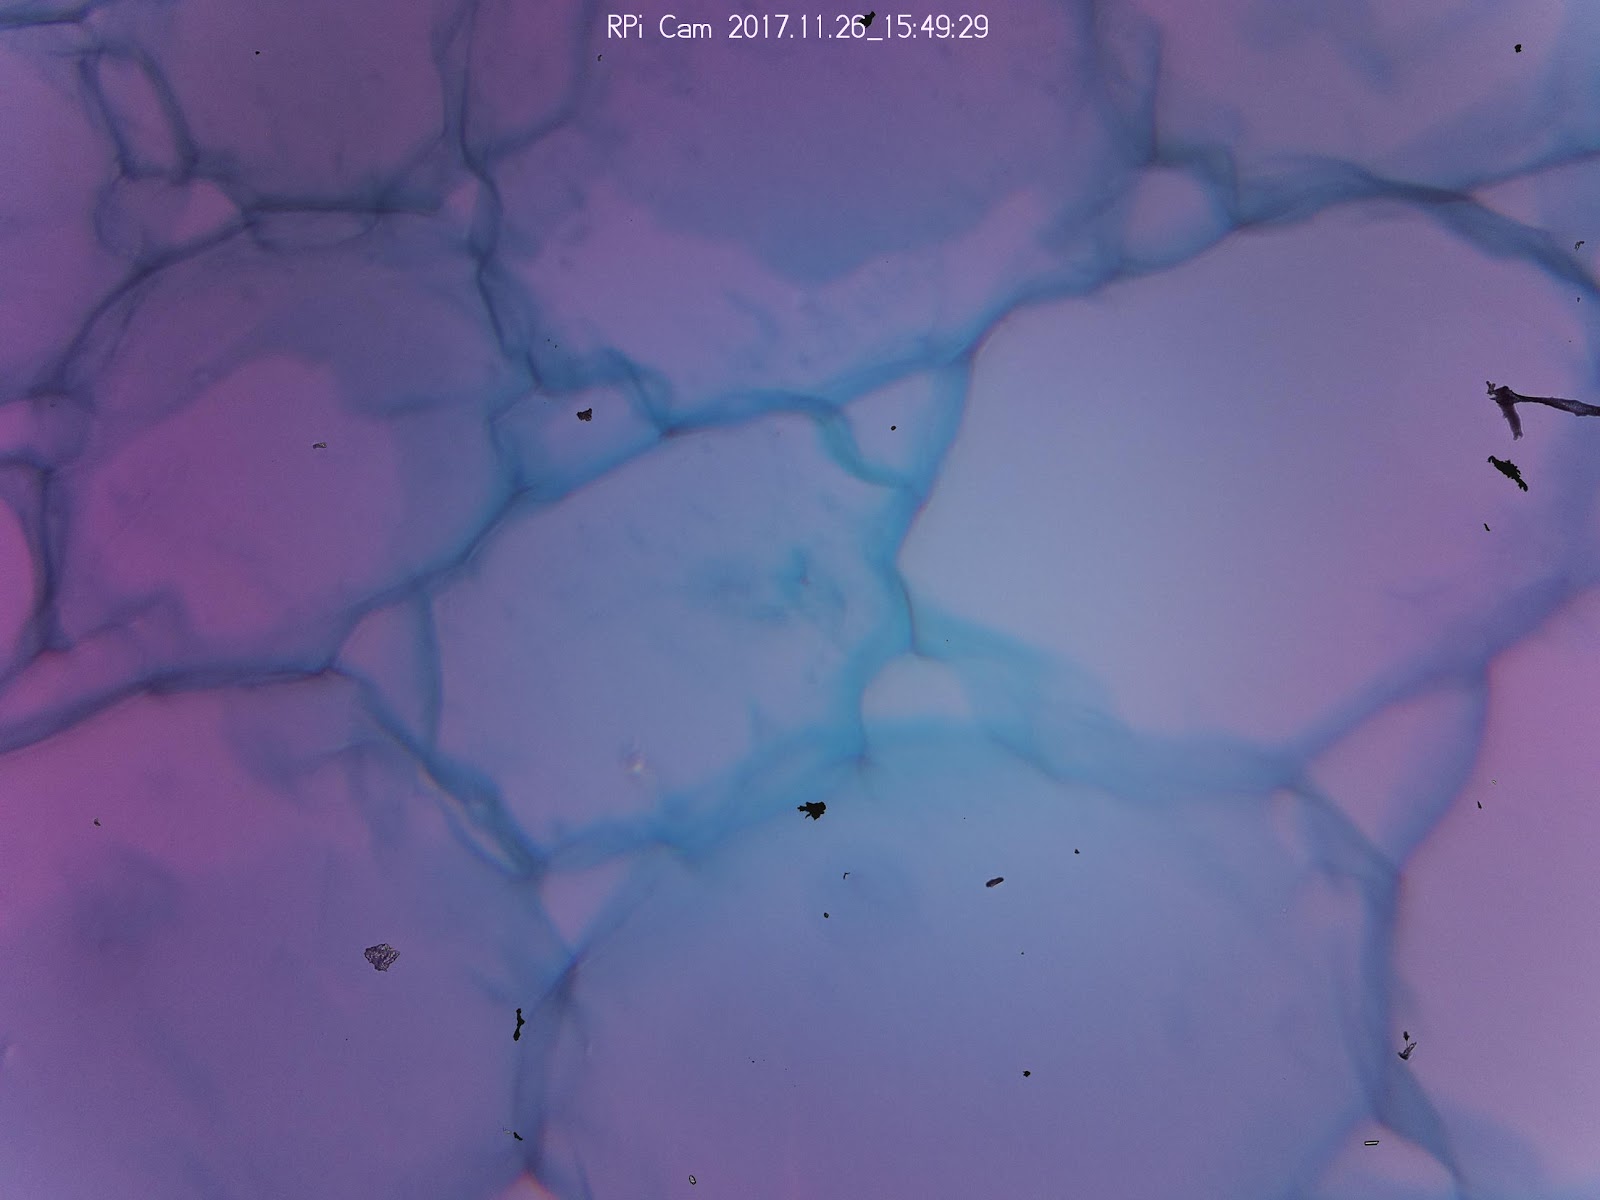
Some images from this slide at 40x are below:
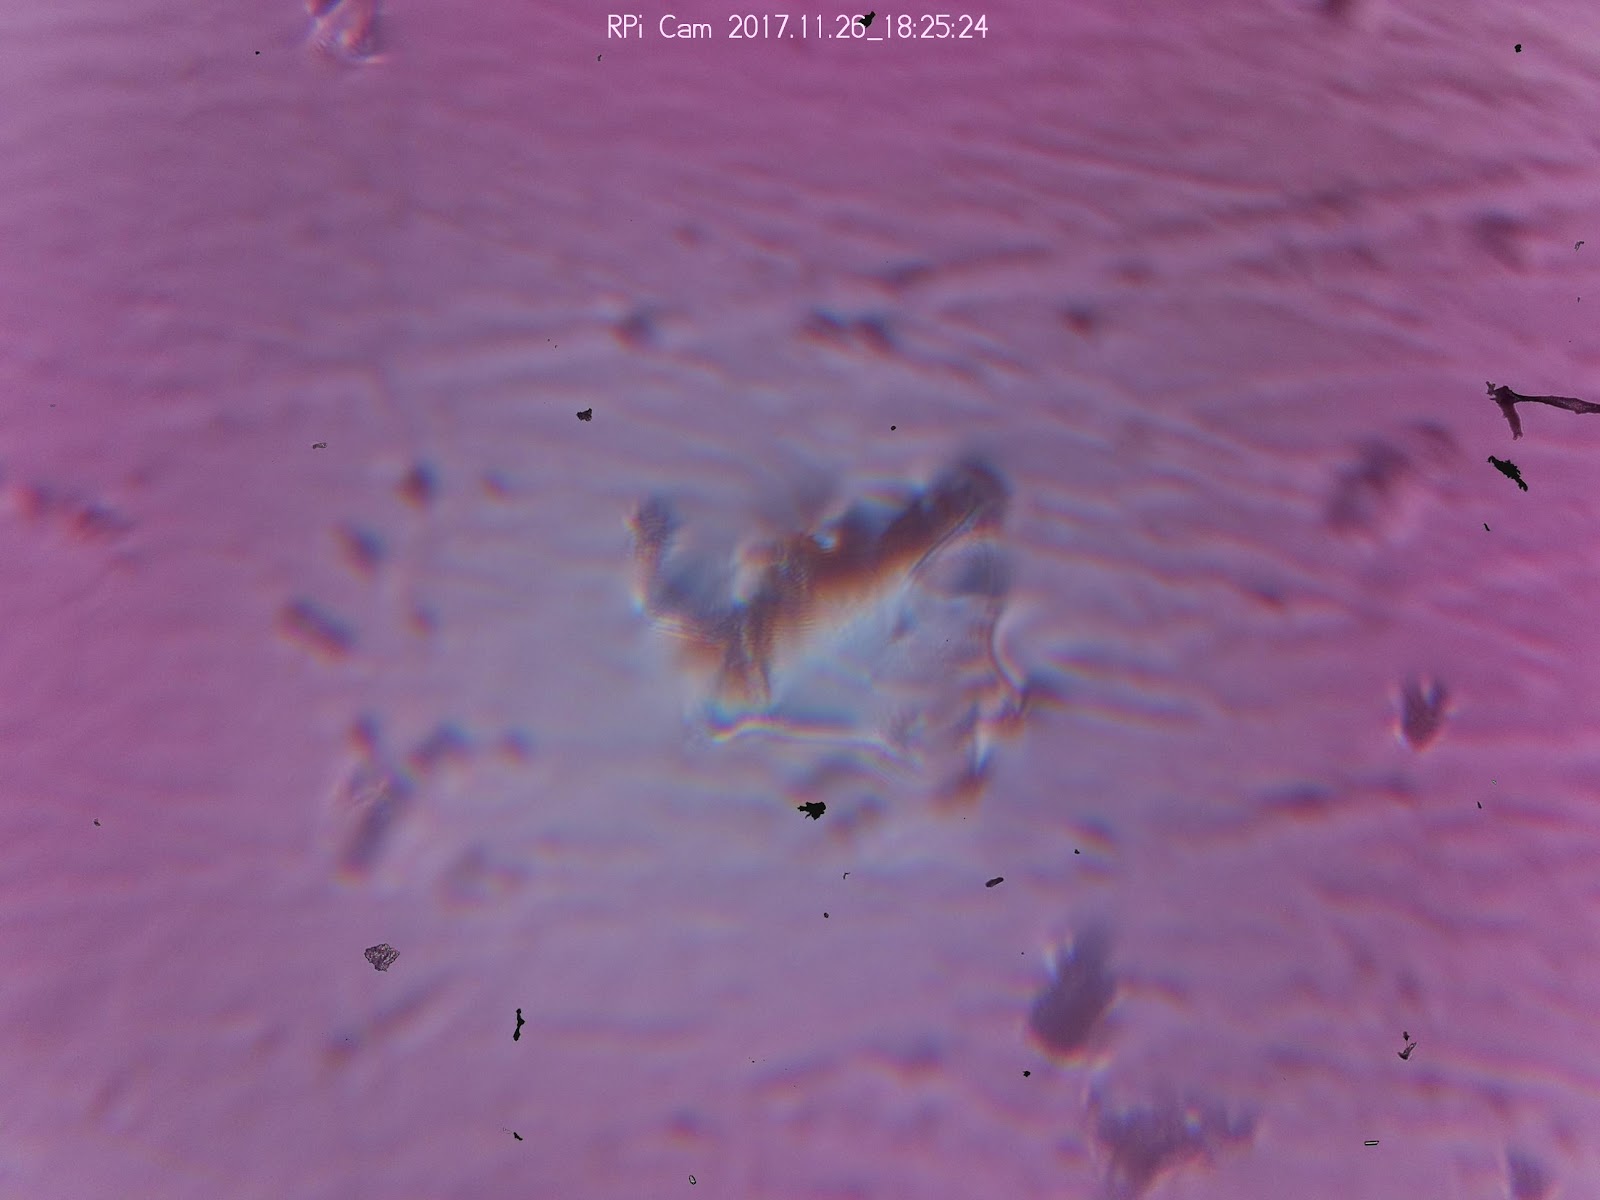
This kind of slide, where a solid object is placed between a slide and a slide-cover, is called "dry-mounting".
Many samples are observed suspended in a liquid and placed on a slide in a liquid droplet. This process is called "wet mounting."
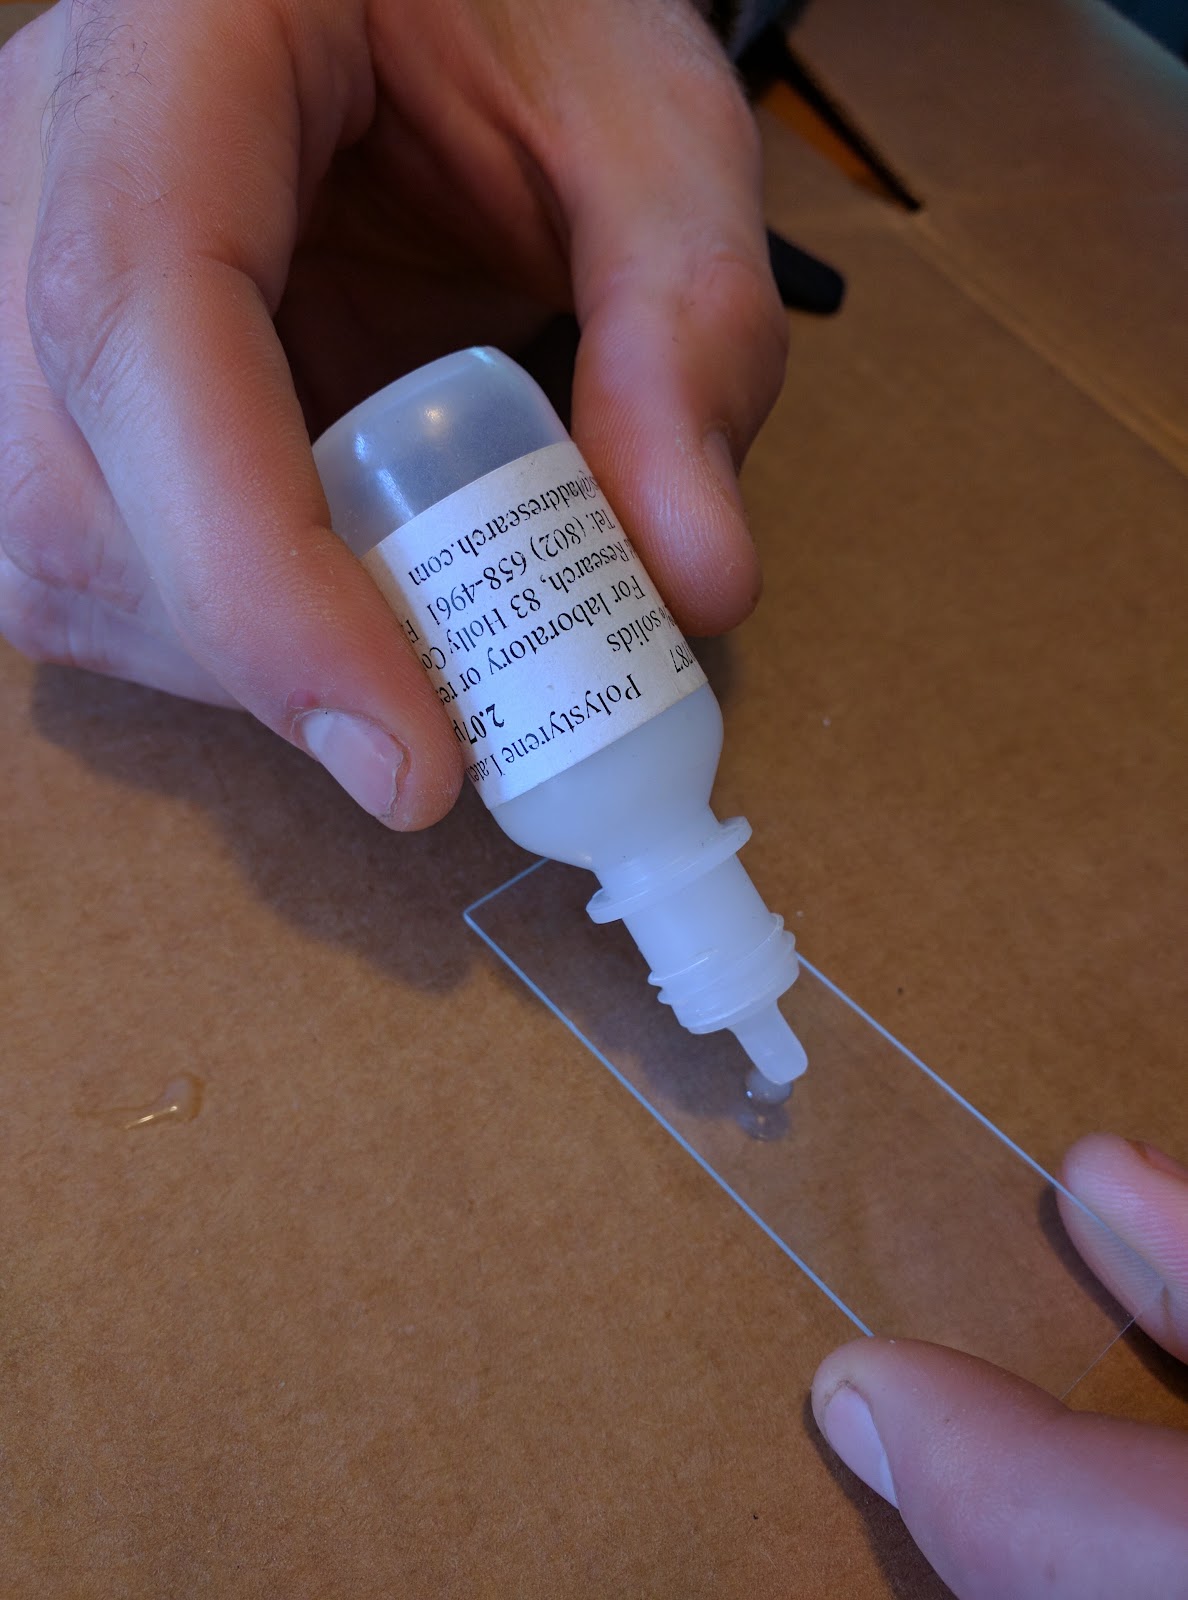
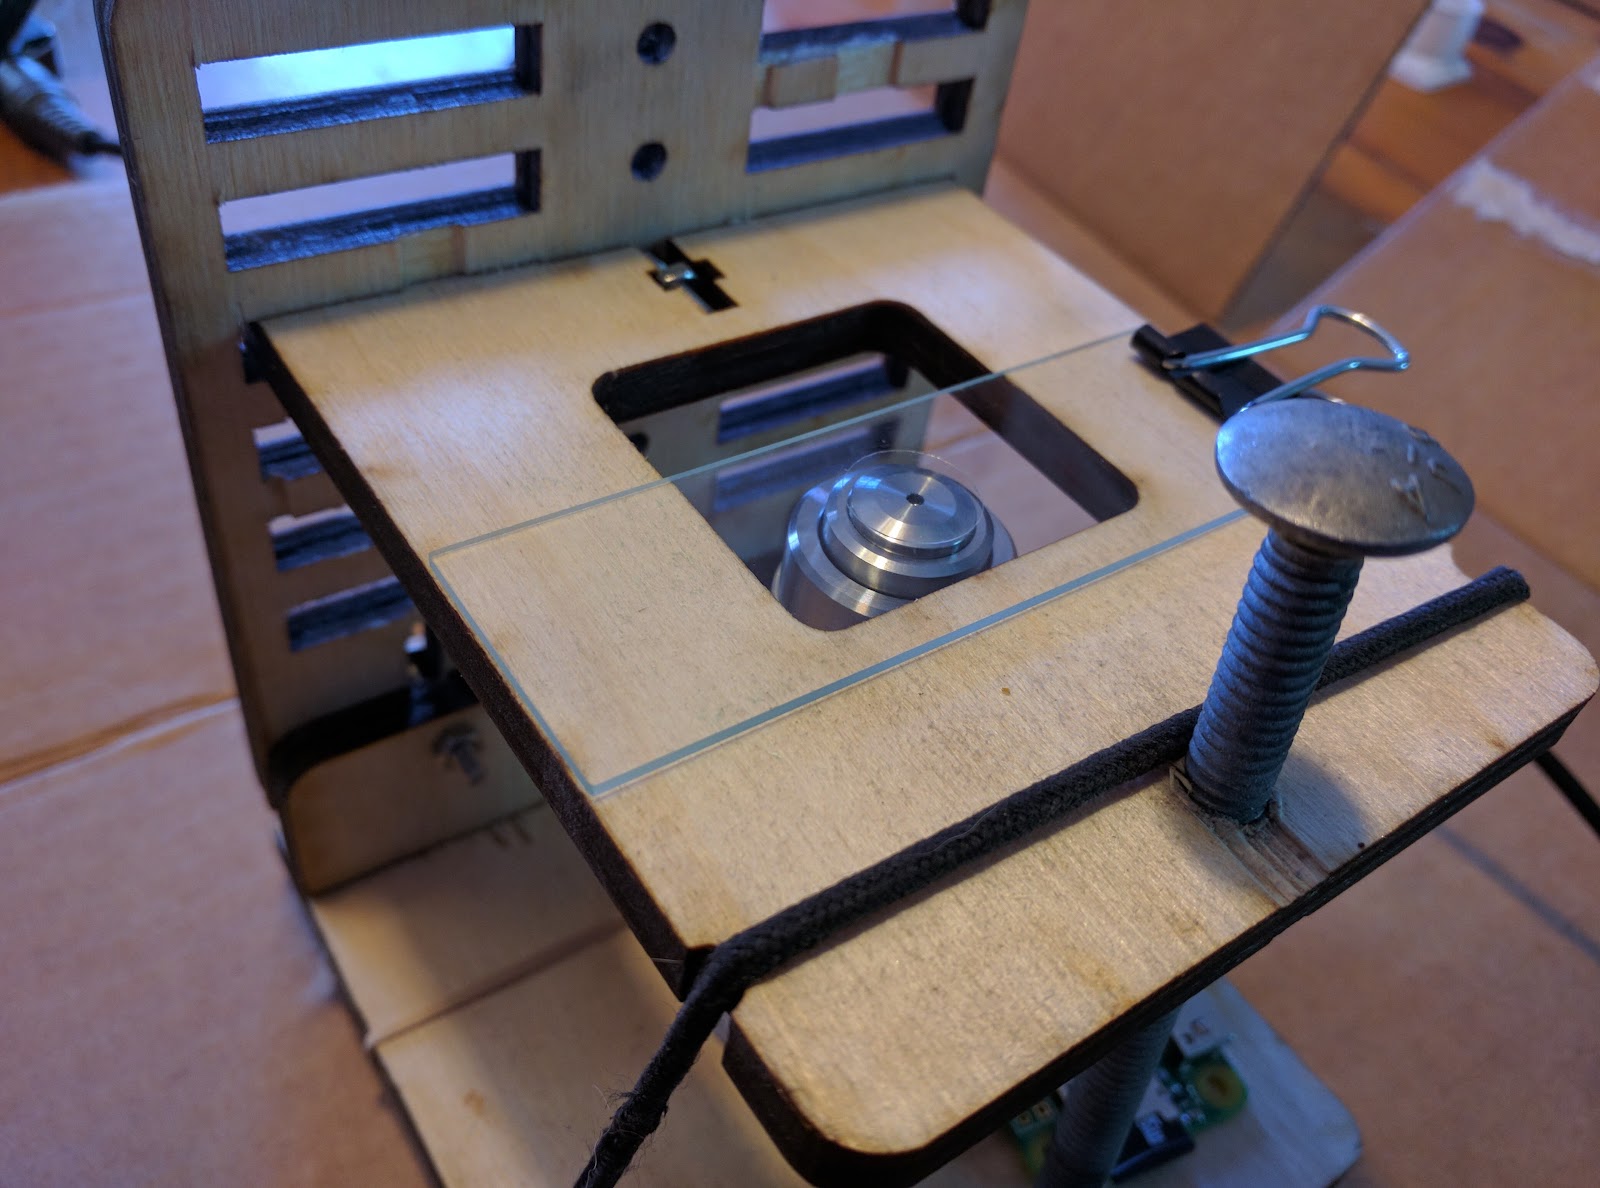
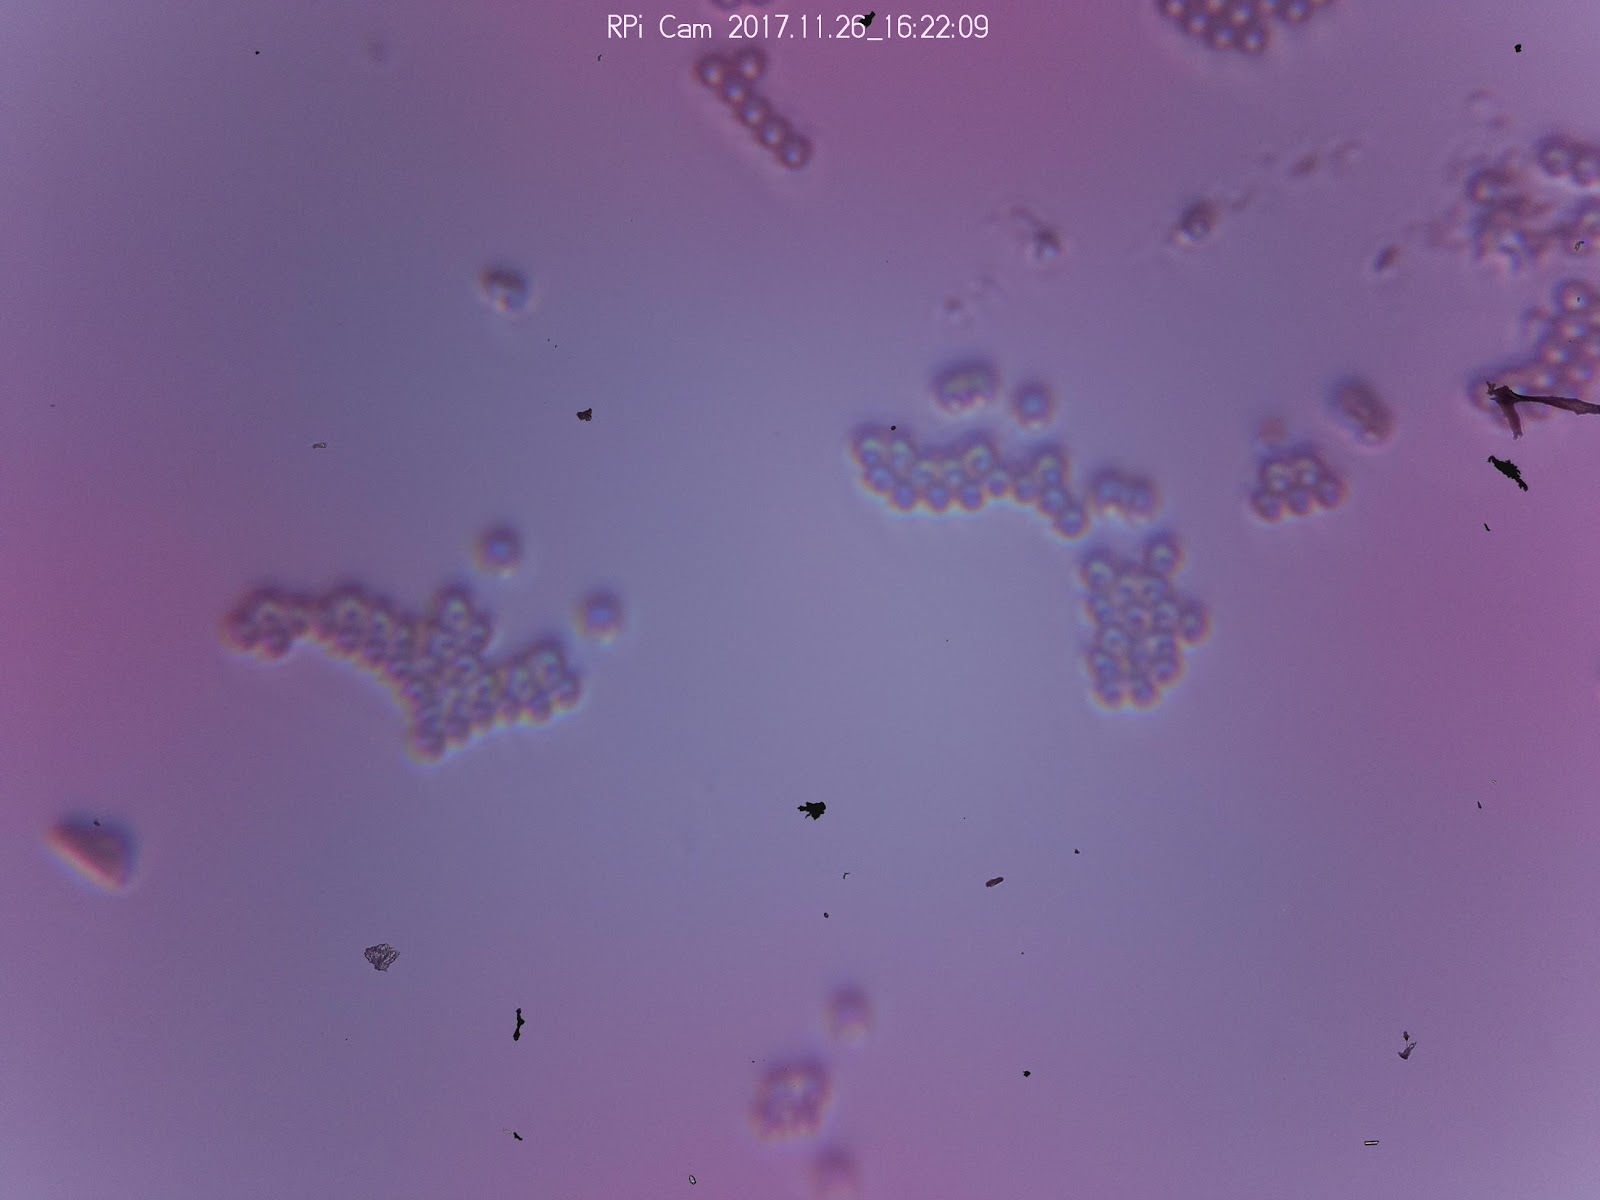
We have this bottle of 2.07um polystyrene latex spheres suspended in a fluid.

Using the dropper attached to the bottle we placed a drop of the liquid on the surface of a slide.
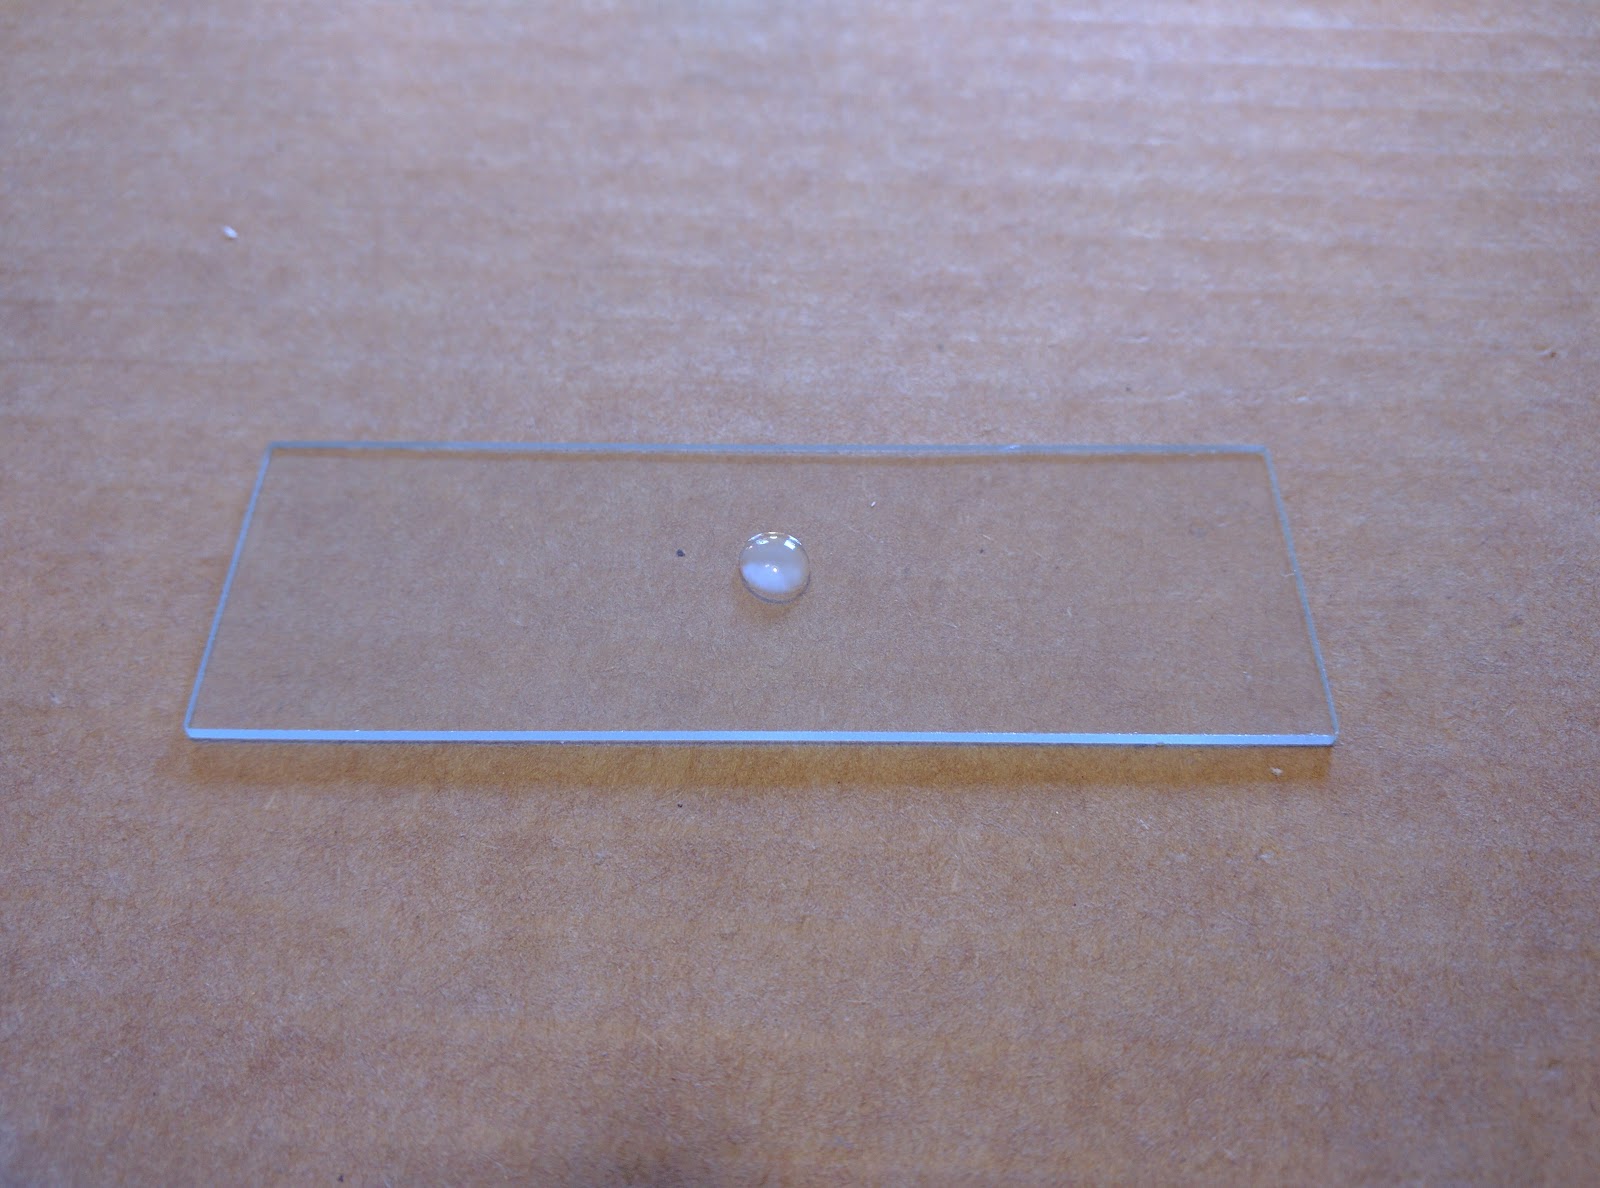
We then carefully placed a slide-cover on top of the liquid. Lowering it at an angle and as slowly as possible.

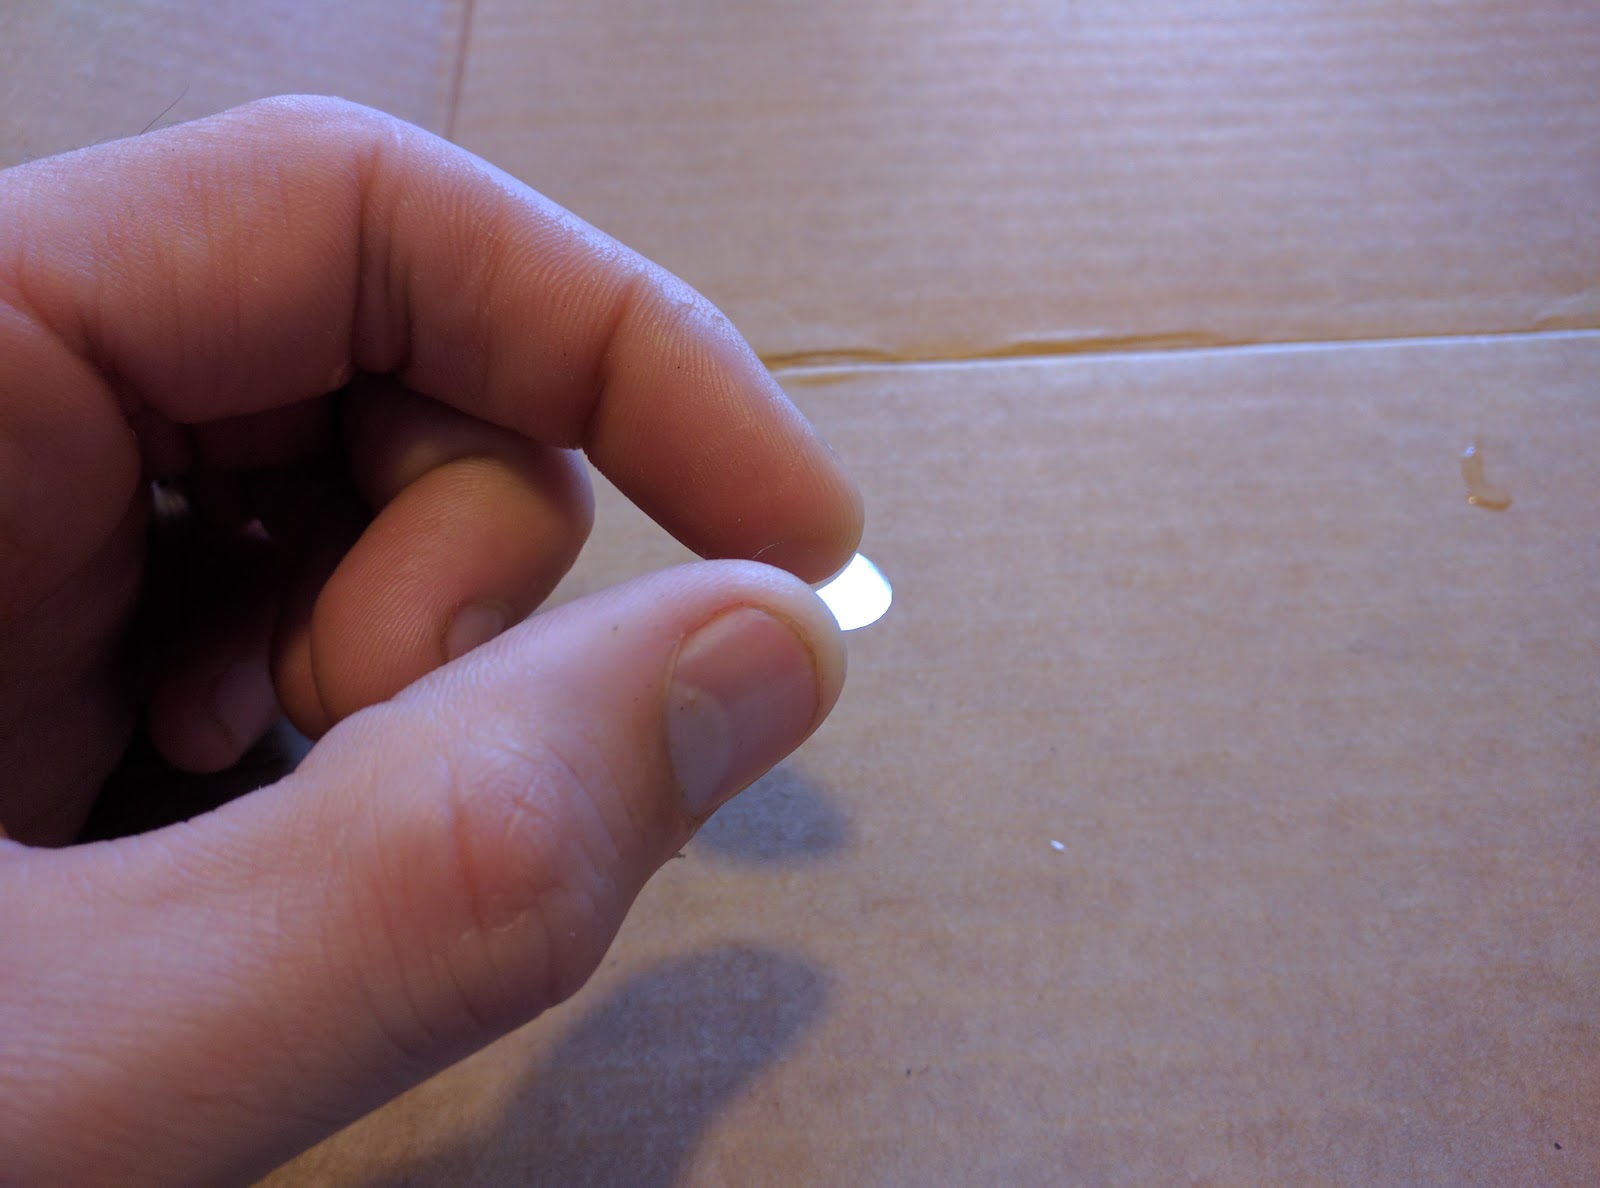
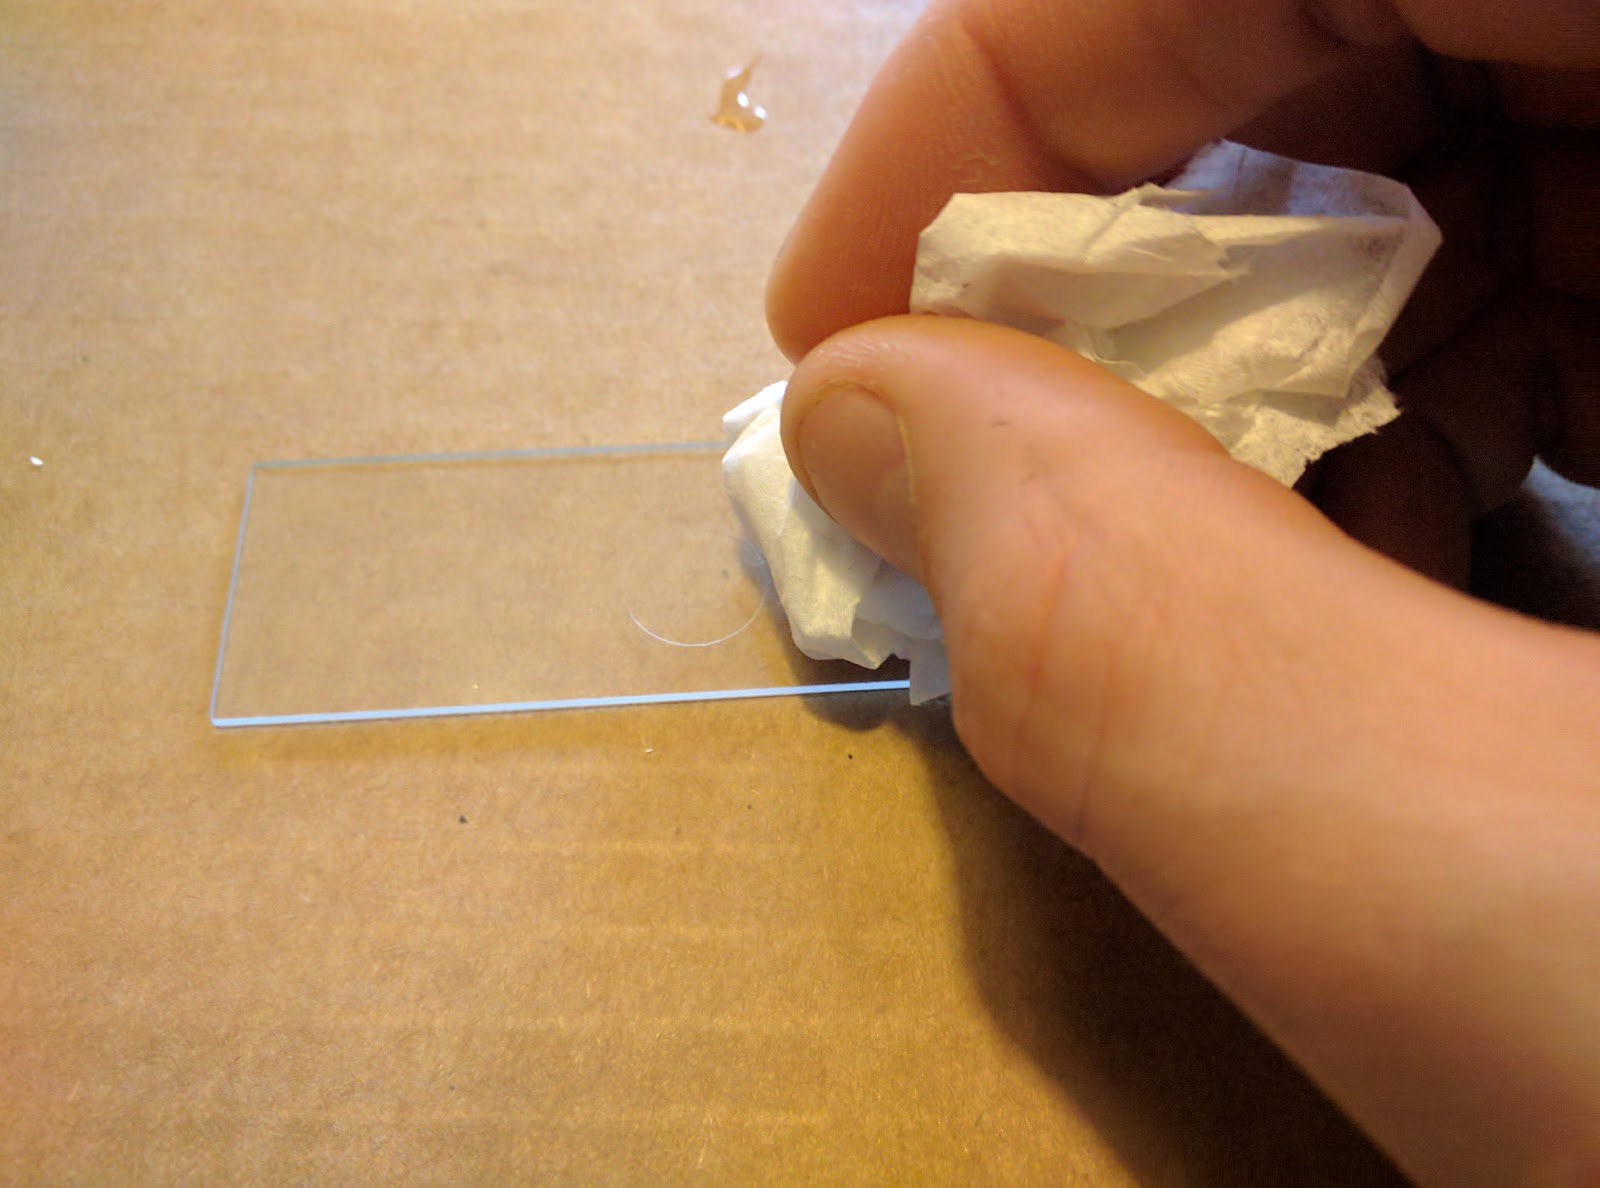
A little bit of liquid was leaking out of the sides and the cover slid around the surface of the slide very easily. I very carefully cleaned this liquid around the edge of the slide cover with a bit of tissue paper.
I placed the slide on the microscope, cover-side down, and examined it.
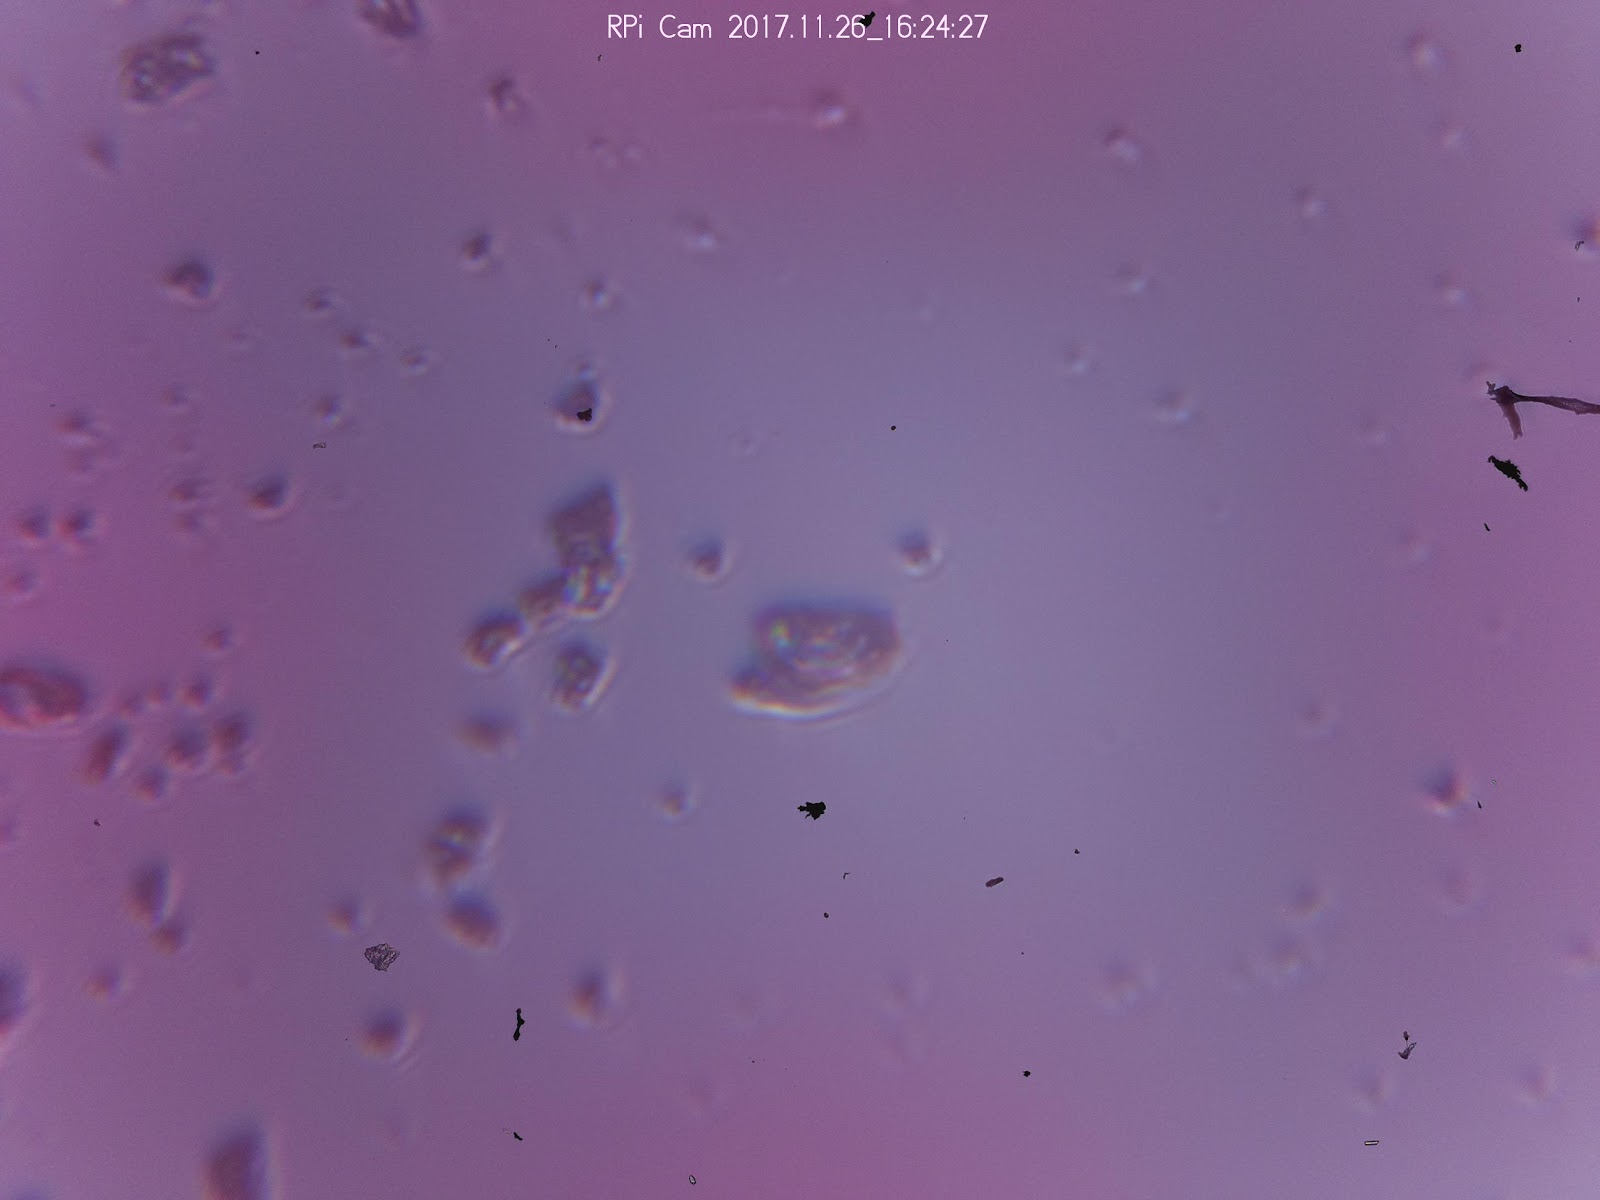
My initial attempt looked like this:
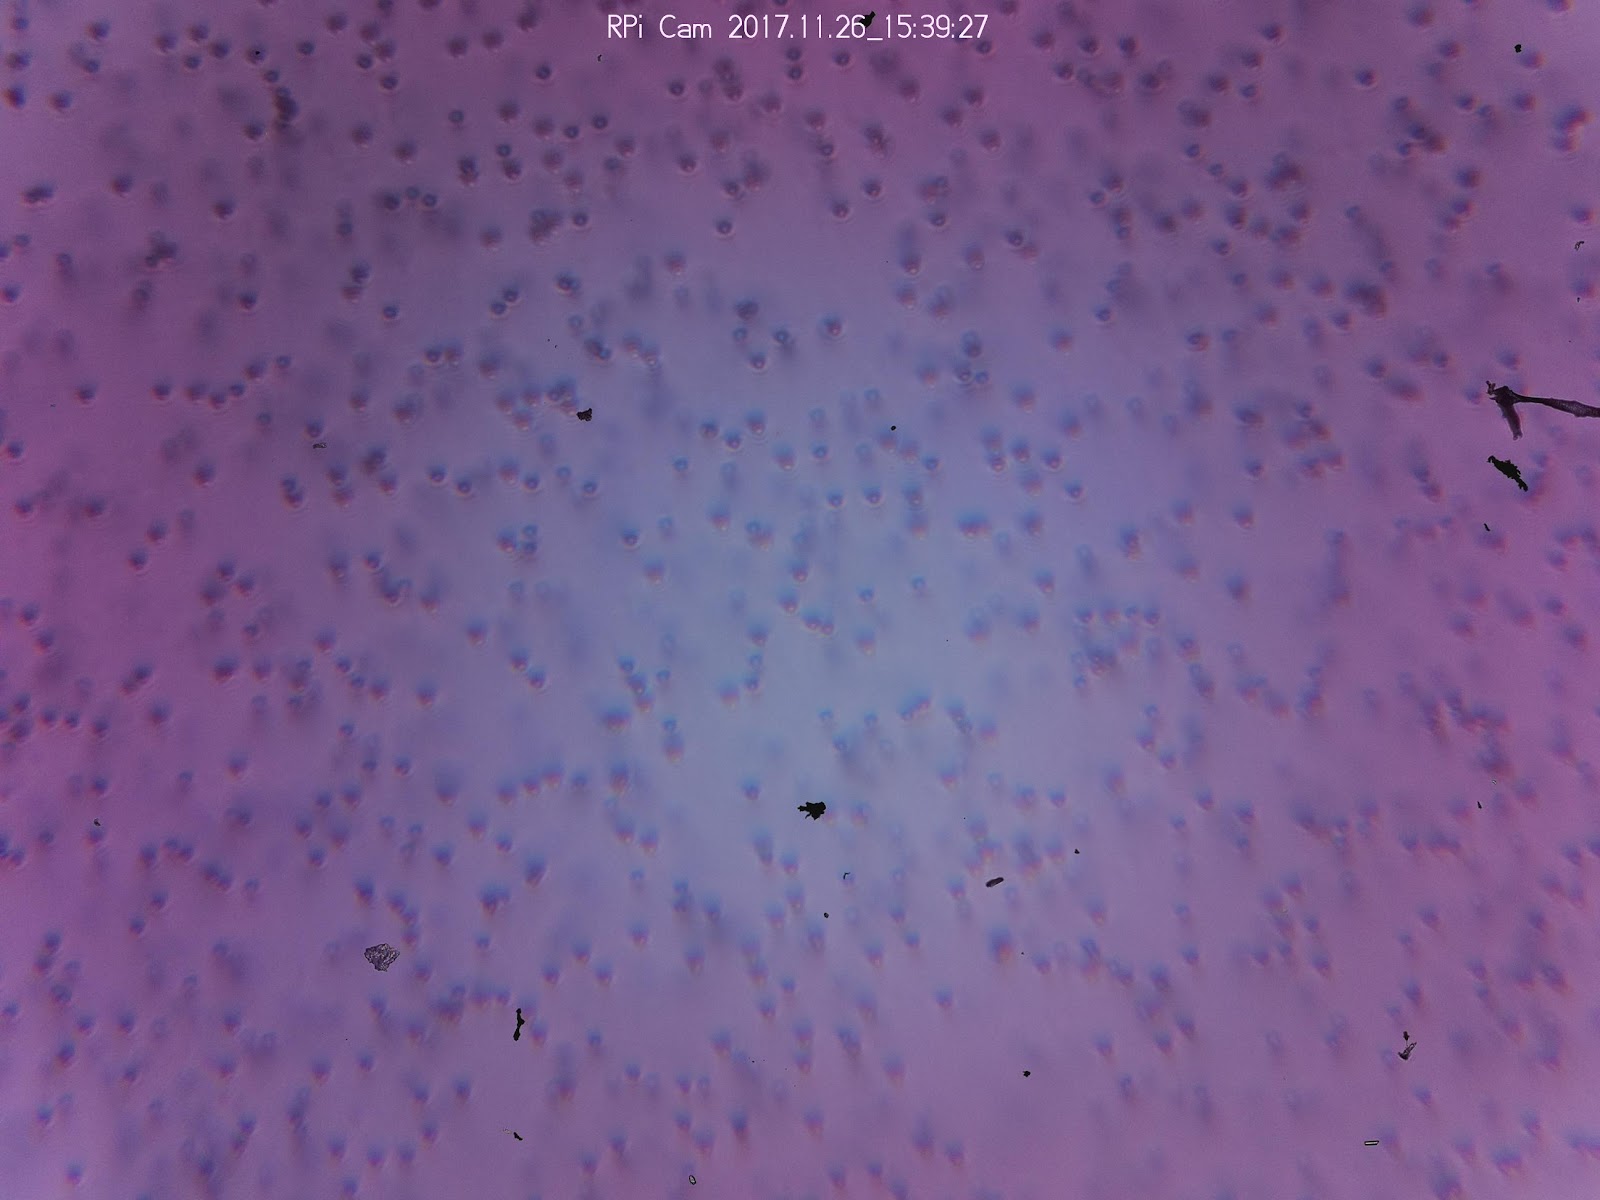
Note the small clusters of little circles. This is because most of the liquid was forced out of the side of the slide and only small bubbles of it remained.
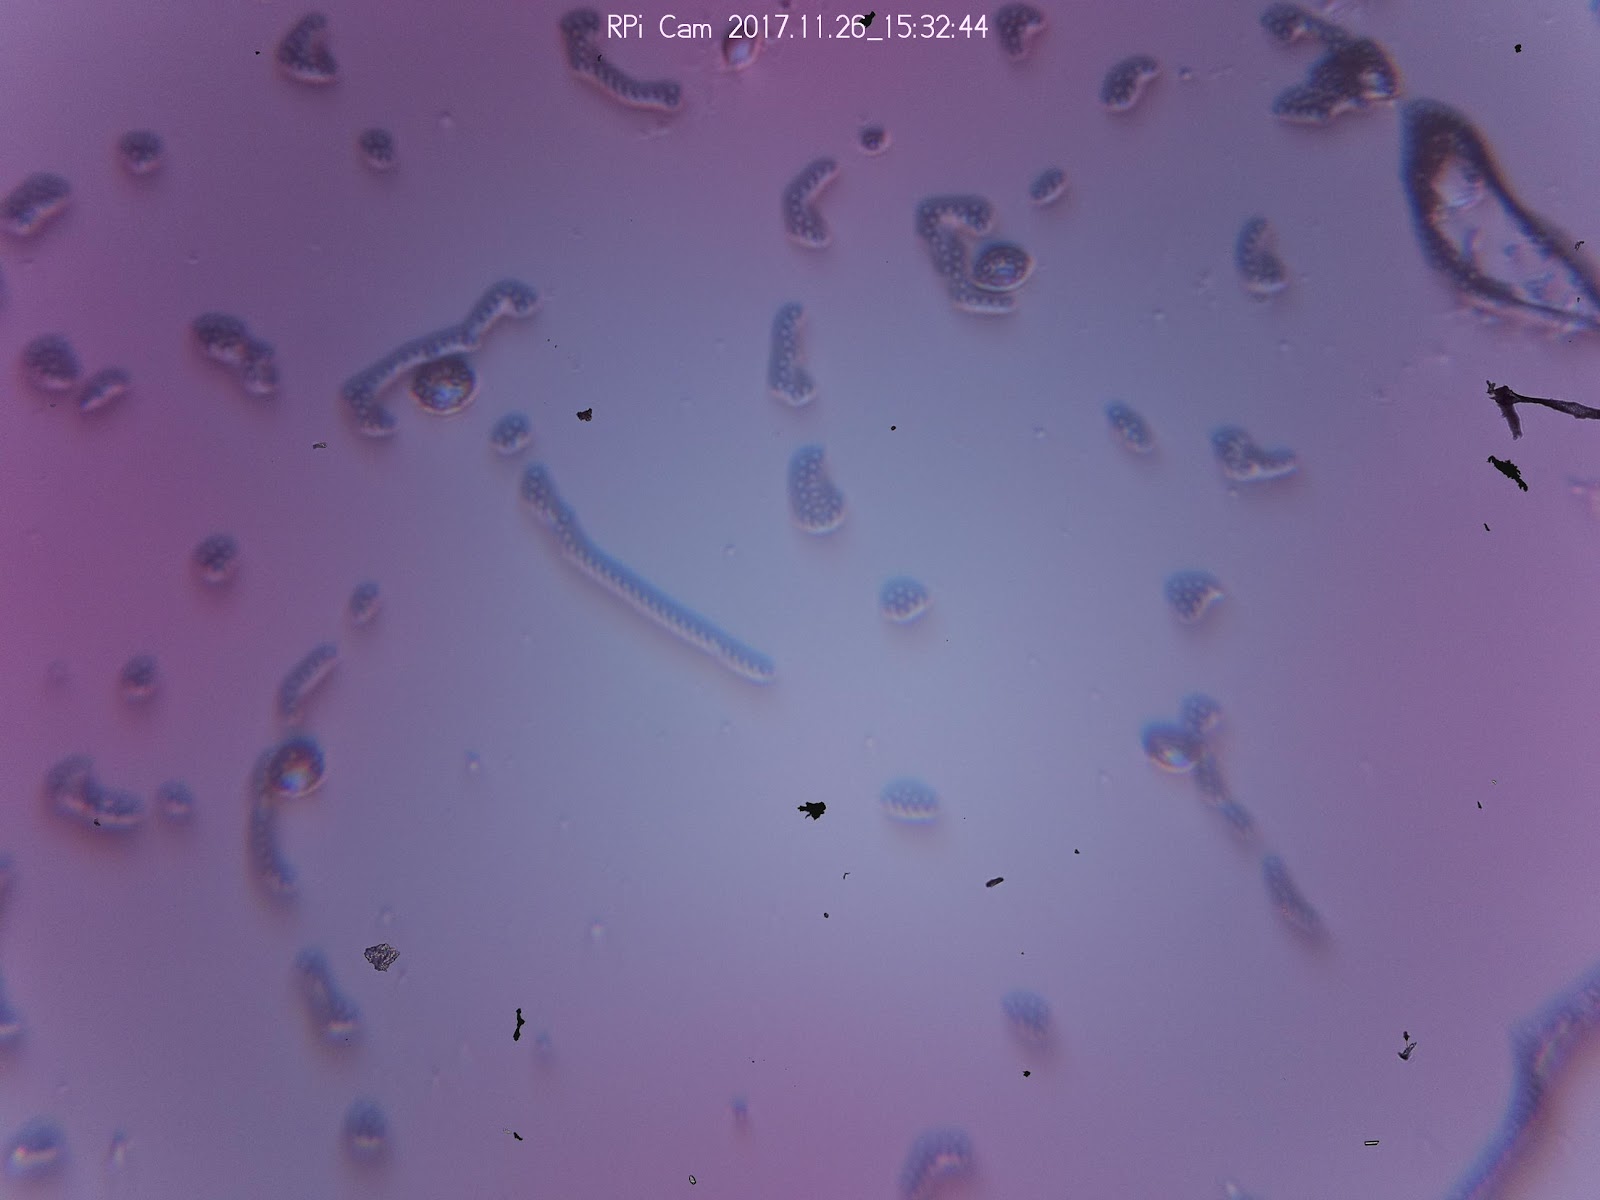
I tried again, this time without drying off the edge of the slide cover and I got images like this:
Note how some of the spheres are in focus and some aren't. This is because they are suspended at different heights in the liquid so we can't focus on all of them simultaneously. This still image doesn't capture it, but the beads were moving around quite a lot in the liquid.
This is a gif from a video I took while I was bringing the beads into focus. You can see them floating around quite a bit. You can also see that focusing creates a lot of vibration and motion.
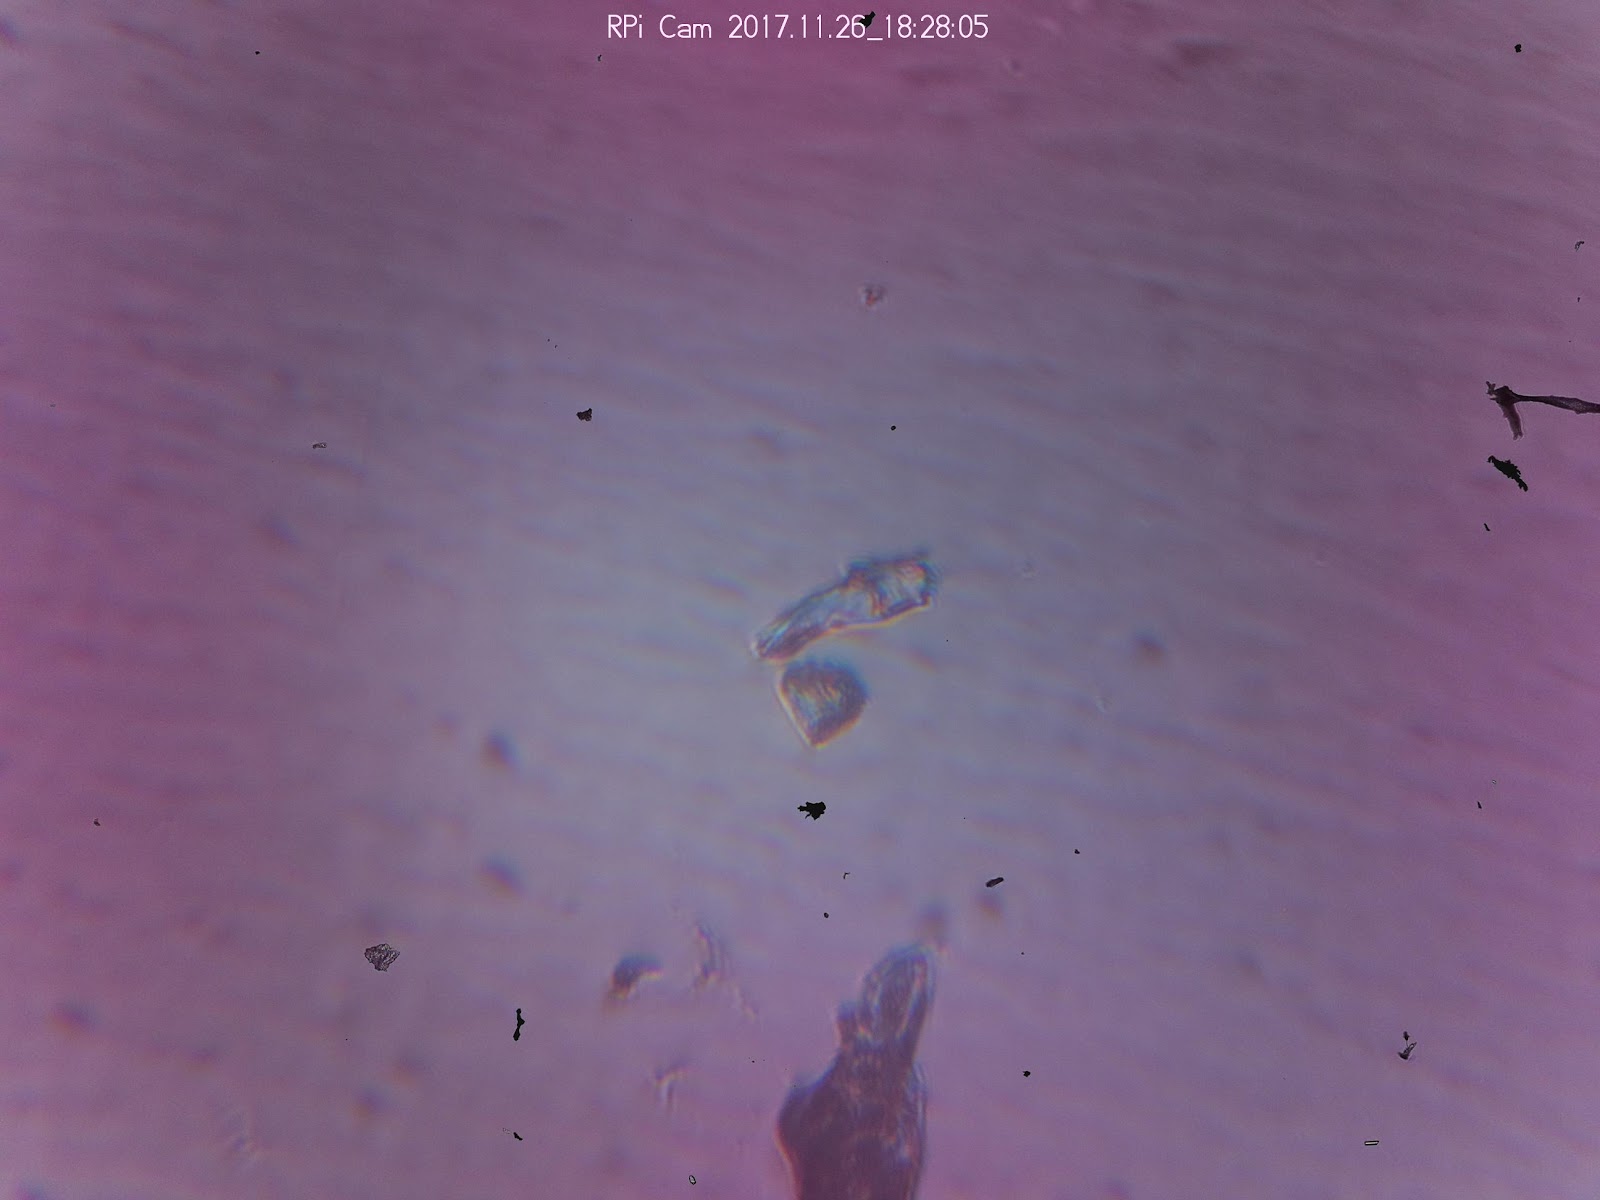
I also looked at the spheres at 100x magnification. Focus with the 100x magnification is much much harder, perhaps because we aren't using the oil that we're supposed to be using.
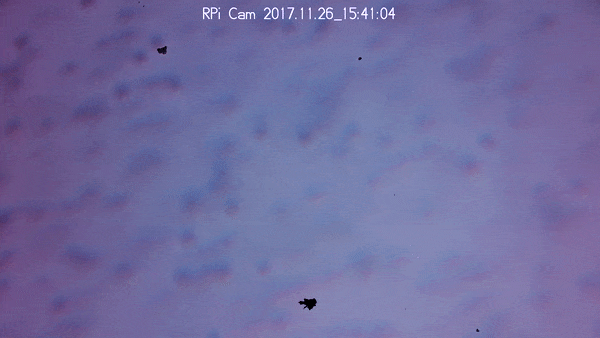
We also looked at some other slides we already had. A sample of dust from someone's windowsill with 100x objective:
Part of a mosquito with 40x:
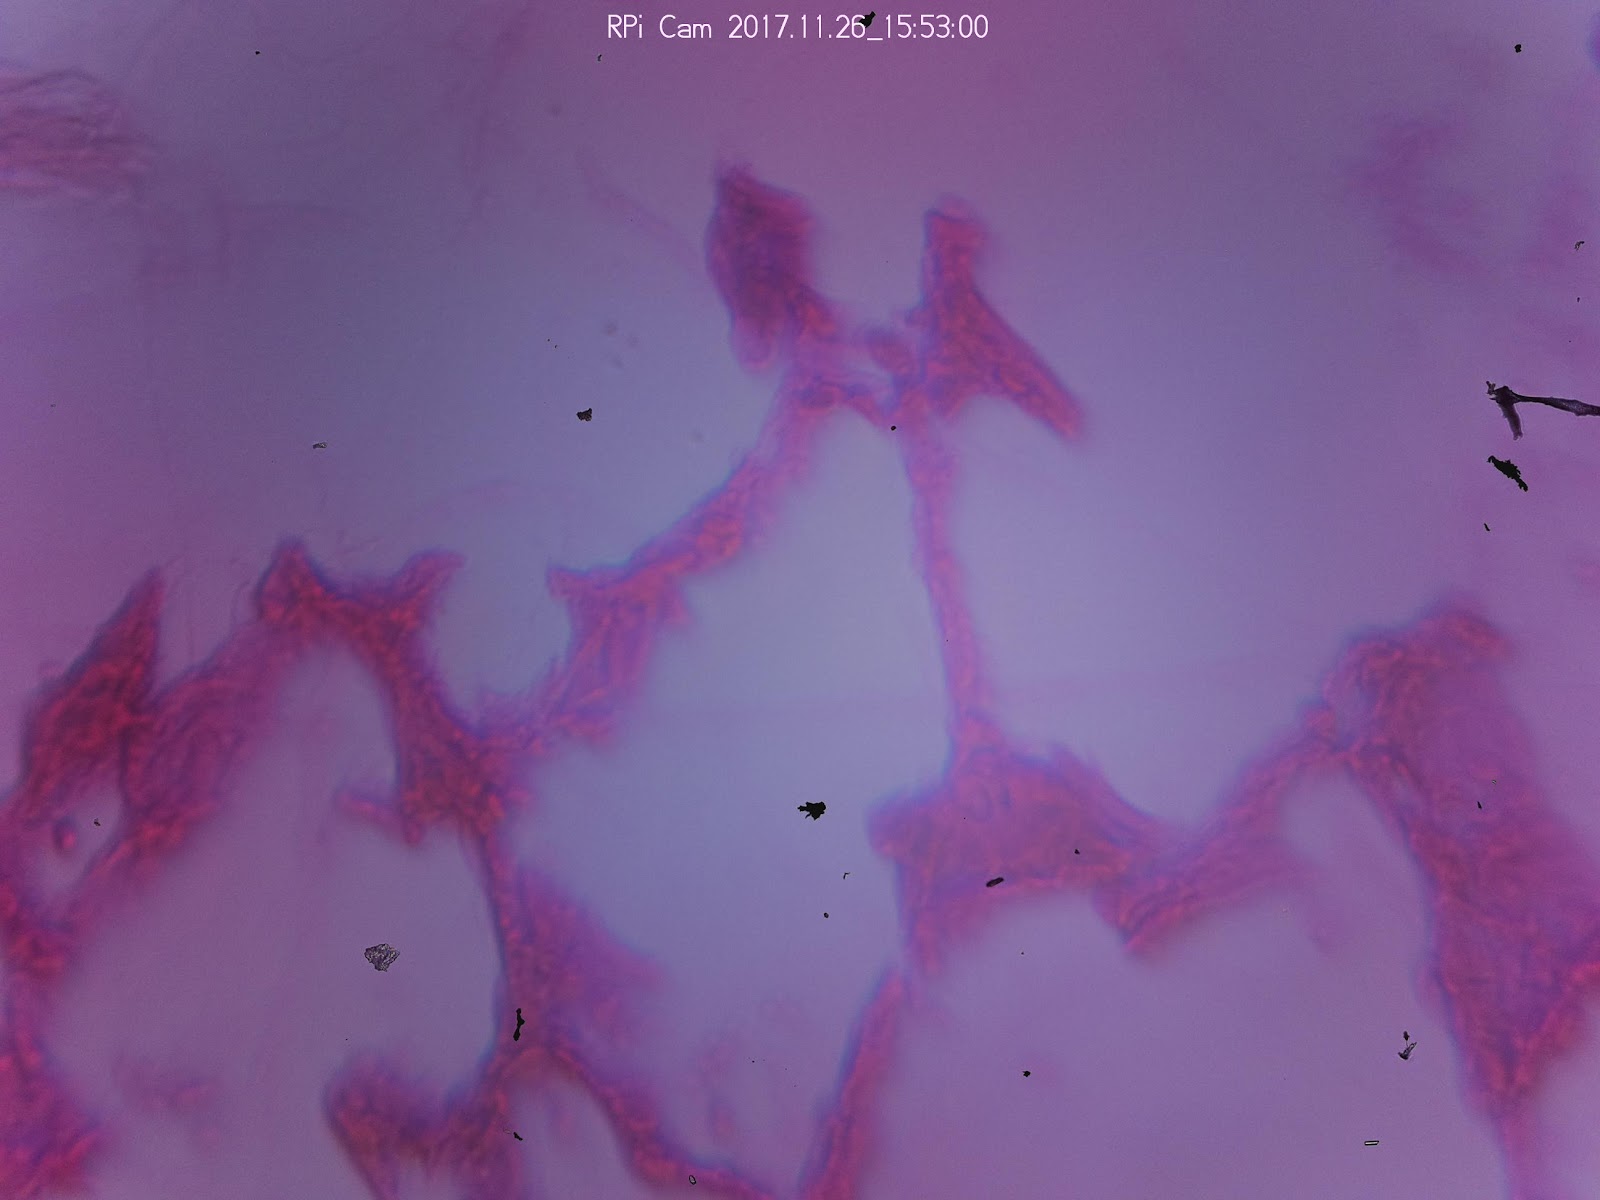
Cross section of sweet-potato stem with 40x:
Section of lung tissue with 40x:
2 Comments
For reference, here is a diagram of lung tissue that better explains what you're looking at:
http://ib.bioninja.com.au/options/option-d-human-physiology/d6-transport-of-respiratory/lung-tissue.html
Reply to this comment...
Log in to comment
@warren awards a barnstar to partsandcrafts for their awesome contribution!
Reply to this comment...
Log in to comment
Login to comment.