Purpose
Documenting round 2 of the bucket monitor test build.
Testing Parts
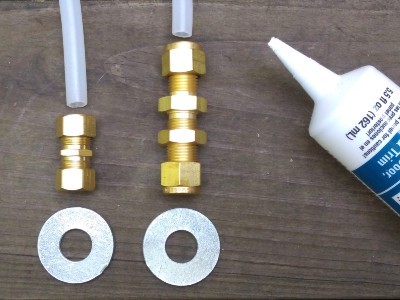
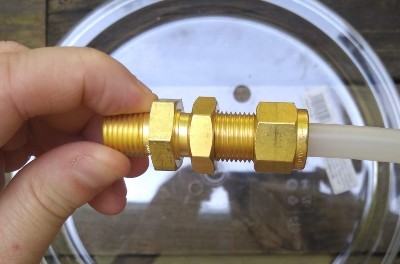
For this build, we are comparing two parts: a 3/8" brass bulkhead fitting from Swagelok ($11-12) and a 3/8" brass compression coupling from Home Depot ($3-6). The Swagelok part is recommended in the original bucket design, whereas subsequent build documents use the smaller part.
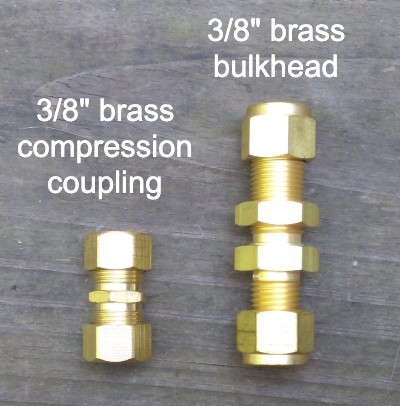
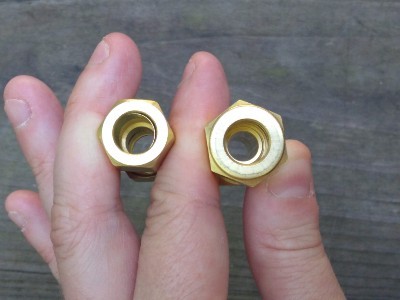
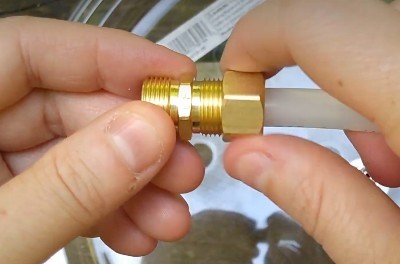
They’re similar, first off, in that they both have a hole in the middle
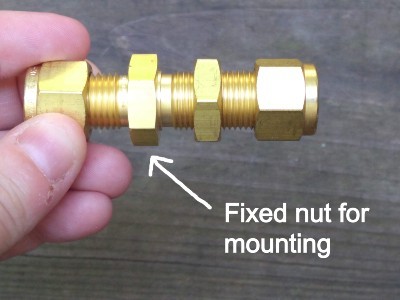
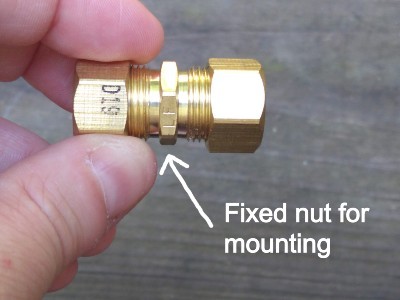
You’ll also notice that both parts have a fixed nut, which acts as a lip. This gives us an edge to mount against the flat of the bucket.
 .
. 
We’ll use a washer and silicone to make this connection airtight.
Building the Outtake Port
Both ports use something called a compression coupling, which is used in plumbing fixtures.
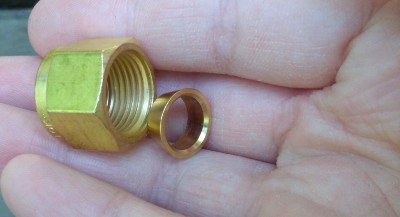
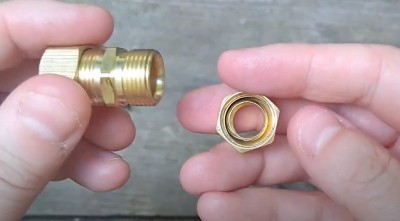
Inside, you'll find a brass ferrule or sleeve that sits inside the nut and slides directly onto the tube.
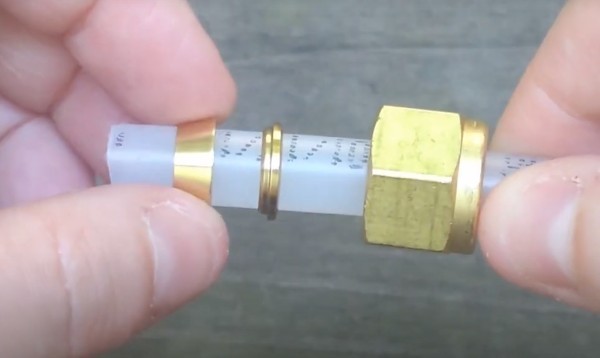
Compression couplings are designed to "catch" the tube by tightening down this ferrule, crushing it as it tightens so that it bites into the soft plastic of the tube. You can't hand tighten this connection, because the goal is to crush the ferrule. You have to tighten it down manually using a pair of adjustable wrenches.
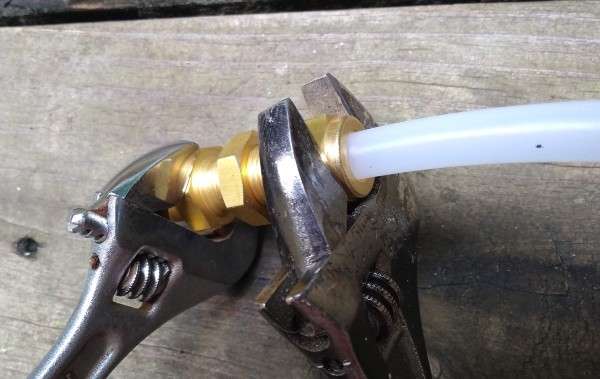
This allows you to get an airtight seal and prevents air from escaping through this fixture.
Building the Intake Port
The intake port is a 3/16" stainless steel bulkhead.
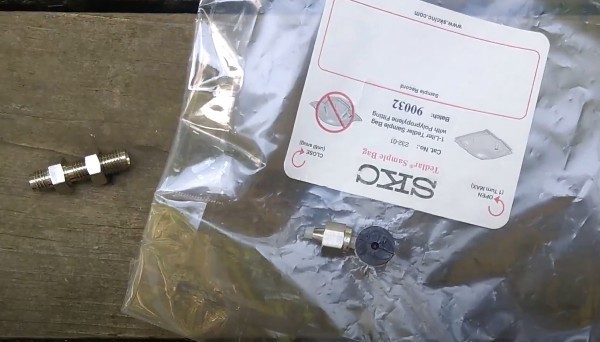
The nut and ferrule are attached directly to the Tedlar bag, which is compressed and tightened to make an airtight seal. This allows you to attach the bag directly to the bulkhead fitting without losing air.
Clear Bucket
For this build, we are also testing a clear bucket.
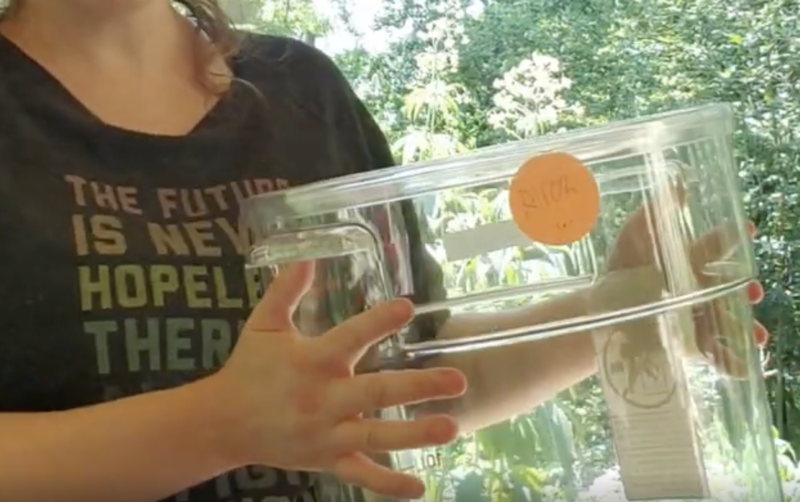
I am using a regular sandwich bag for testing (you can rubber band it over the open valve).
Assembly
This post is part of the Bucket Monitor project.
For more information, see our introduction and project overview.
Subscribe to the tag "bucket-monitor" to get updates when we post new material.

0 Comments
Login to comment.