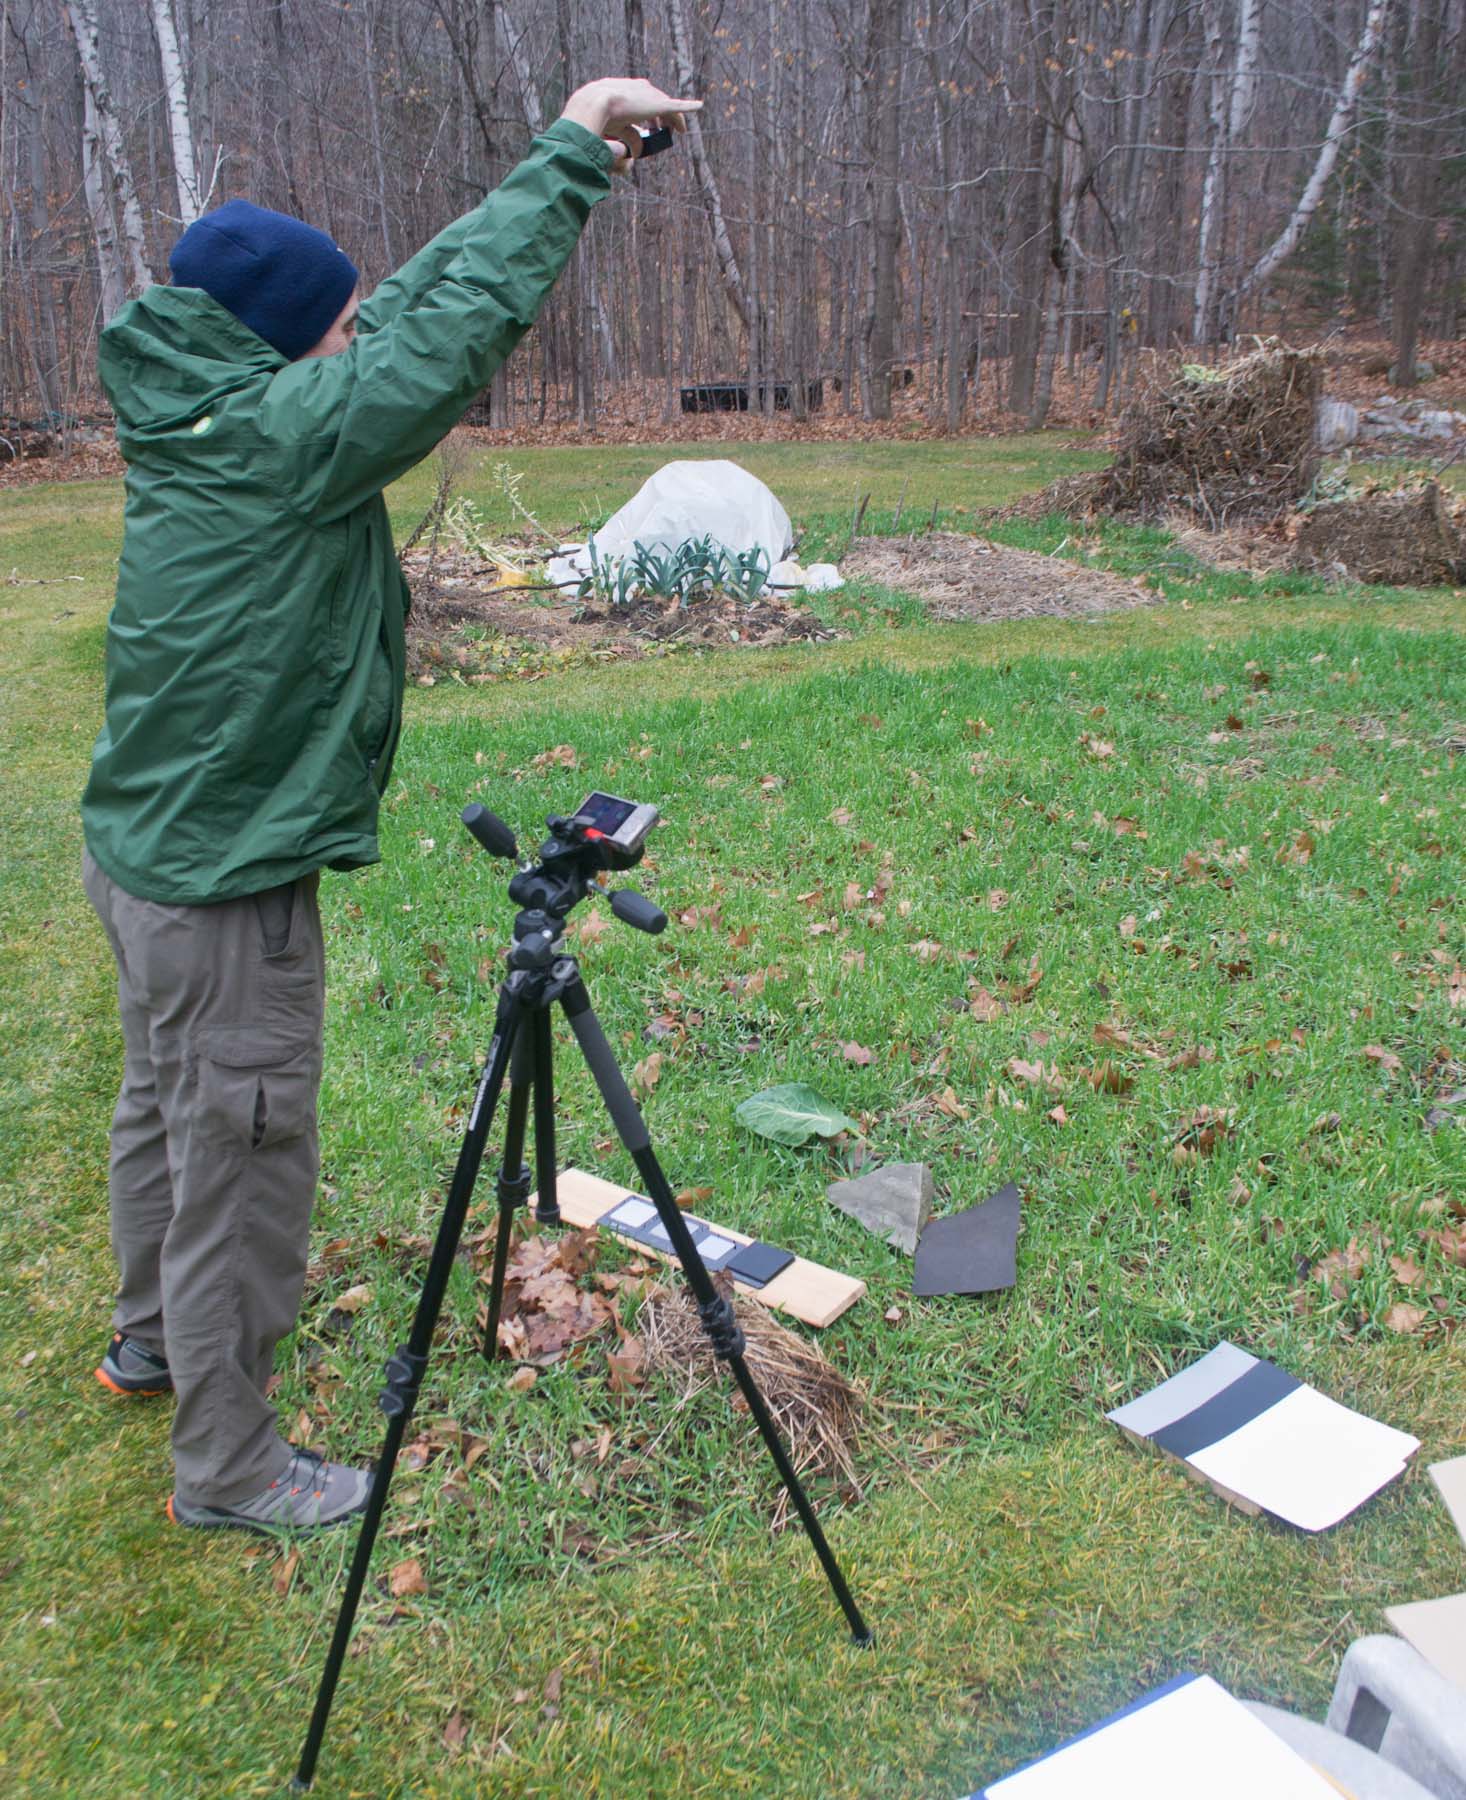
Above: Ned Horning taking an aerial photo of the scene for testing filters and calibration targets. December 16, 2015
Ned and I repeated the test photos I took to investigate the collection of MIDOPT filters and calibration targets. This time the photos included some taken with a carefully matched trio of filters.

Above: Transmission curves for three dichroic (interference) filters. The upper two filters each pass a narrow band of light -- either red or near infrared (NIR). The lower filter passes both of these same bands. All of these filters are very opaque to any other color of light.
The dual band filter in the image above (bottom panel) can be used on a camera that has had it's IR blocking filter removed. It will take photos that can produce a facsimile of NDVI (normalized difference vegetation index). The blue and green channels of the photos will capture mostly NIR light (800-900 nm), and the red channel will capture red with some NIR mixed in (more here). Each photo can produce an NDVI image.

Above: Normal photo of the test scene. Winter rye to the left, lawn to the right.
Alternatively, the upper two filters can be used to take two separate photos of the same scene. One photo will capture only red light (600-700 nm) and the other will capture only NIR light (800-900 nm). The two photos must be taken from the same vantage and then must be aligned (overlain). The advantage of this approach is that the red photo will not be contaminated with NIR light as in the photo using the dual band filter.
These filters could allow a precise comparison of single and dual camera systems for making NDVI images. The wavelength bands used in the two types of system will be about as similar as they can be.
Results with a single camera and dual bandpass filter

Above: Photo taken with a dual band dichroic filter (upper left), and the three color channels of that photo. Healthy vegetation reflects most NIR light and appears bright in the channels that capture mostly NIR (green and blue).

Above: Photo taken with a dual band dichroic filter (upper left), and three images which exploit the NIR channel to highlight plant health. Right: Two NDVI images made using the red channel to represent visible red light (which leaves absorb) and either the blue channel (upper right) or green channel (lower right) to represent NIR light (which leaves reflect). Lower left: False color IR image made by switching channels so NIR is displayed as red and red visible light (red channel) is displayed as green.
Results with a dual camera system and two single bandpass filters

Above: Photo taken through the 660 nm dichroic filter (upper left) and the three color channels from that photo. The only light captured in each channel is pure red light, but the Bayer filters on the camera sensor pass different amounts of red light so the channels differ in brightness. The white balance setting used also influences the channel brightness, and this photo was taken using automatic white balance.

Above: Photo taken through the 850 nm dichroic filter (upper left) and the three color channels from that photo. The only light captured in each channel is pure NIR light, but the Bayer filters on the camera sensor pass different amounts of NIR light so the channels differ in brightness. The white balance setting used also influences the channel brightness, and this photo was taken using automatic white balance.

Above: Three NDVI images made from the two photos taken with either narrow band 660 nm or 850 nm filters, and a false color IR image from these two photos (lower right). The NDVI images were made with different combinations of channels from the two photos.
When a single camera is used with the dual band pass filter, there is only one channel capturing visible light and two channels capturing NIR light. So there are two options for making NDVI images -- either the blue or green channel can be used for NIR. Both of these options are included in the figure above. When two photos are used, there are three channels (from the 660 nm photo) which can be used for visible red light and three channels (from the 850 nm photo) which can be used for NIR light. I have included above only three of the nine possible ways to produce an NDVI image.
Discussion
Which channels should be used?
The selection of channels to use for computing NDVI has a large impact on the resulting NDVI image. NDVI is an index which highlights the difference between the red and NIR light reflected from leaves. Using a bright NIR channel and a dark red channel will result in higher NDVI values than using darker NIR or brighter red channels. This is true when either single or dual camera systems are used to capture photos, although there are many more choices when dual camera systems are used.
There is no obvious best channel to use. None of the channels is likely to produce NDVI values that can be compared to legacy NDVI (e.g., from satellite data). That requires calibrating the technique by placing targets of known reflectance in the photos. Although such targets are present in the photos used here, the NDVI computations here were not calibrated.
Channels which are overexposed (the red channel in the 660 nm photo above) or underexposed (the green channel in the 660 nm photo above) do not capture as much information about the range of reflectance in the scene as well exposed channels. So these channels should be avoided. Otherwise, selecting a channel to use is mostly arbitrary. Pick one that produces meaningful results and use it consistently so your results can be compared with each other. NDVI results from an uncalibrated workflow can never be compared to NDVI results from another workflow. When selecting channels, try to find an NIR channel that is much brighter than the VIS channel. Pixel values for healthy foliage should be several times higher in the NIR channel than in the VIS channel for NDVI values to be in the proper range.
Applying these results to more typical systems without dichroic filters
When the VIS camera in a dual camera system does not have a special filter (like the Bi660 used here), there are different constraints to selecting a channel to use for visible light. The three channels will capture different colored light (red, green, or blue). The red channel often produces the best discrimination between healthy and stressed (or dead) foliage.
When the NIR camera used in a dual camera system does not have as narrow a filter as the Bi850 filter used here, the three channels will differ in the range of NIR captured. For example, a Wratten 87 filter passes all NIR light longer than 700 nm, but the three Bayer filters (which create the three color channels) have different sensitivity within the range from 700 to 1000 nm. So the three channels will differ from one another in wavelengths captured more than they did in the tests here.
Is the dual camera system better than the single camera system?
The dual camera method described here with narrow band filters has important similarities to legacy NDVI methods:
- The narrow red and NIR bands used are similar in width to those used in legacy systems (compared to much wider bands in typical DIY systems based on consumer cameras).
- The two bands used are not cross contaminated. Only red light enters the camera when taking the 660 nm photo, and only NIR light enters the camera when taking the 850 nm photo.
So the NDVI images produced by the dual camera system should be highly meaningful. The usefulness of the NDVI images presented here suffers for two reasons:
- The process is not calibrated so the absolute NDVI values are somewhat arbitrary.
- The dichroic filters produce some vignetting when used in front of the lens. This problem could be ameliorated by installing the filters inside the camera or by using only the center part of each scene either by zooming the lens or cropping the images. It is also possible that placing the filters closer to the front of the lens would help (they were about 1.3 cm from the lens in these tests).
Conclusion
Direct comparison of the dual and single camera approach is difficult because of the complicating factors mentioned (channel selection, no calibration, vignetting). This is a good reminder that many variables influence the NDVI values derived from DIY systems and obtaining meaningful results requires controlling these variables.
1 Comments
Thoughtful discussion. Thanks.
Reply to this comment...
Log in to comment
Login to comment.