This is a research note for a project surrounding the development of a low cost tool for detection of hydrogen sulfide (H2S). The tool uses Ilford B&W Multigrade photo paper inside of a black film canister. Once exposed to H2S, the paper turns to a shade of brown depending on concentration. We are preparing for pilot testing of this tool in Texas. This pilot will focus on two different batches of photo paper, one that is new and the other that is older. We are looking to see if there is any difference in results with different packages of photo paper. This will allow us to better understand whether this test has good replicability for future tests with different packages.
On June 24th, 2015, Megan McLaughlin and I prepared the two batches of photo paper. We followed the procedure on Public Lab for Hydrogen Sulfide Sensing. We cut each 8x10 inch paper into 8x2 inch strips (5 per sheet) before putting them into the water and glycerol solution. The only complication we ran into was an extended drying period of approximately 26 hours, whereas the procedure says it takes 12 hours. I believe this was because the strips were drying in a low ventilated cabinet. Perhaps keep the strips in a better ventilated area for quicker drying. Though, ensure that there is no light exposure as this would affect the results. After drying, I put each batch into their respective black envelopes. This is to ensure they do not get mixed up and exposed to any light.
Our next step is to cut the strips into smaller 2x1 inch strips and put them in film canisters. We will color code the canisters according to each batch. Then, they will be sent to Texas where they will be set in the field.
Photos
Batch 1:

This is the newer photo paper used for batch 1. This pack had 100 sheets of paper in it.

This is the information, including part number, on the bottom of the batch 1 photo paper.

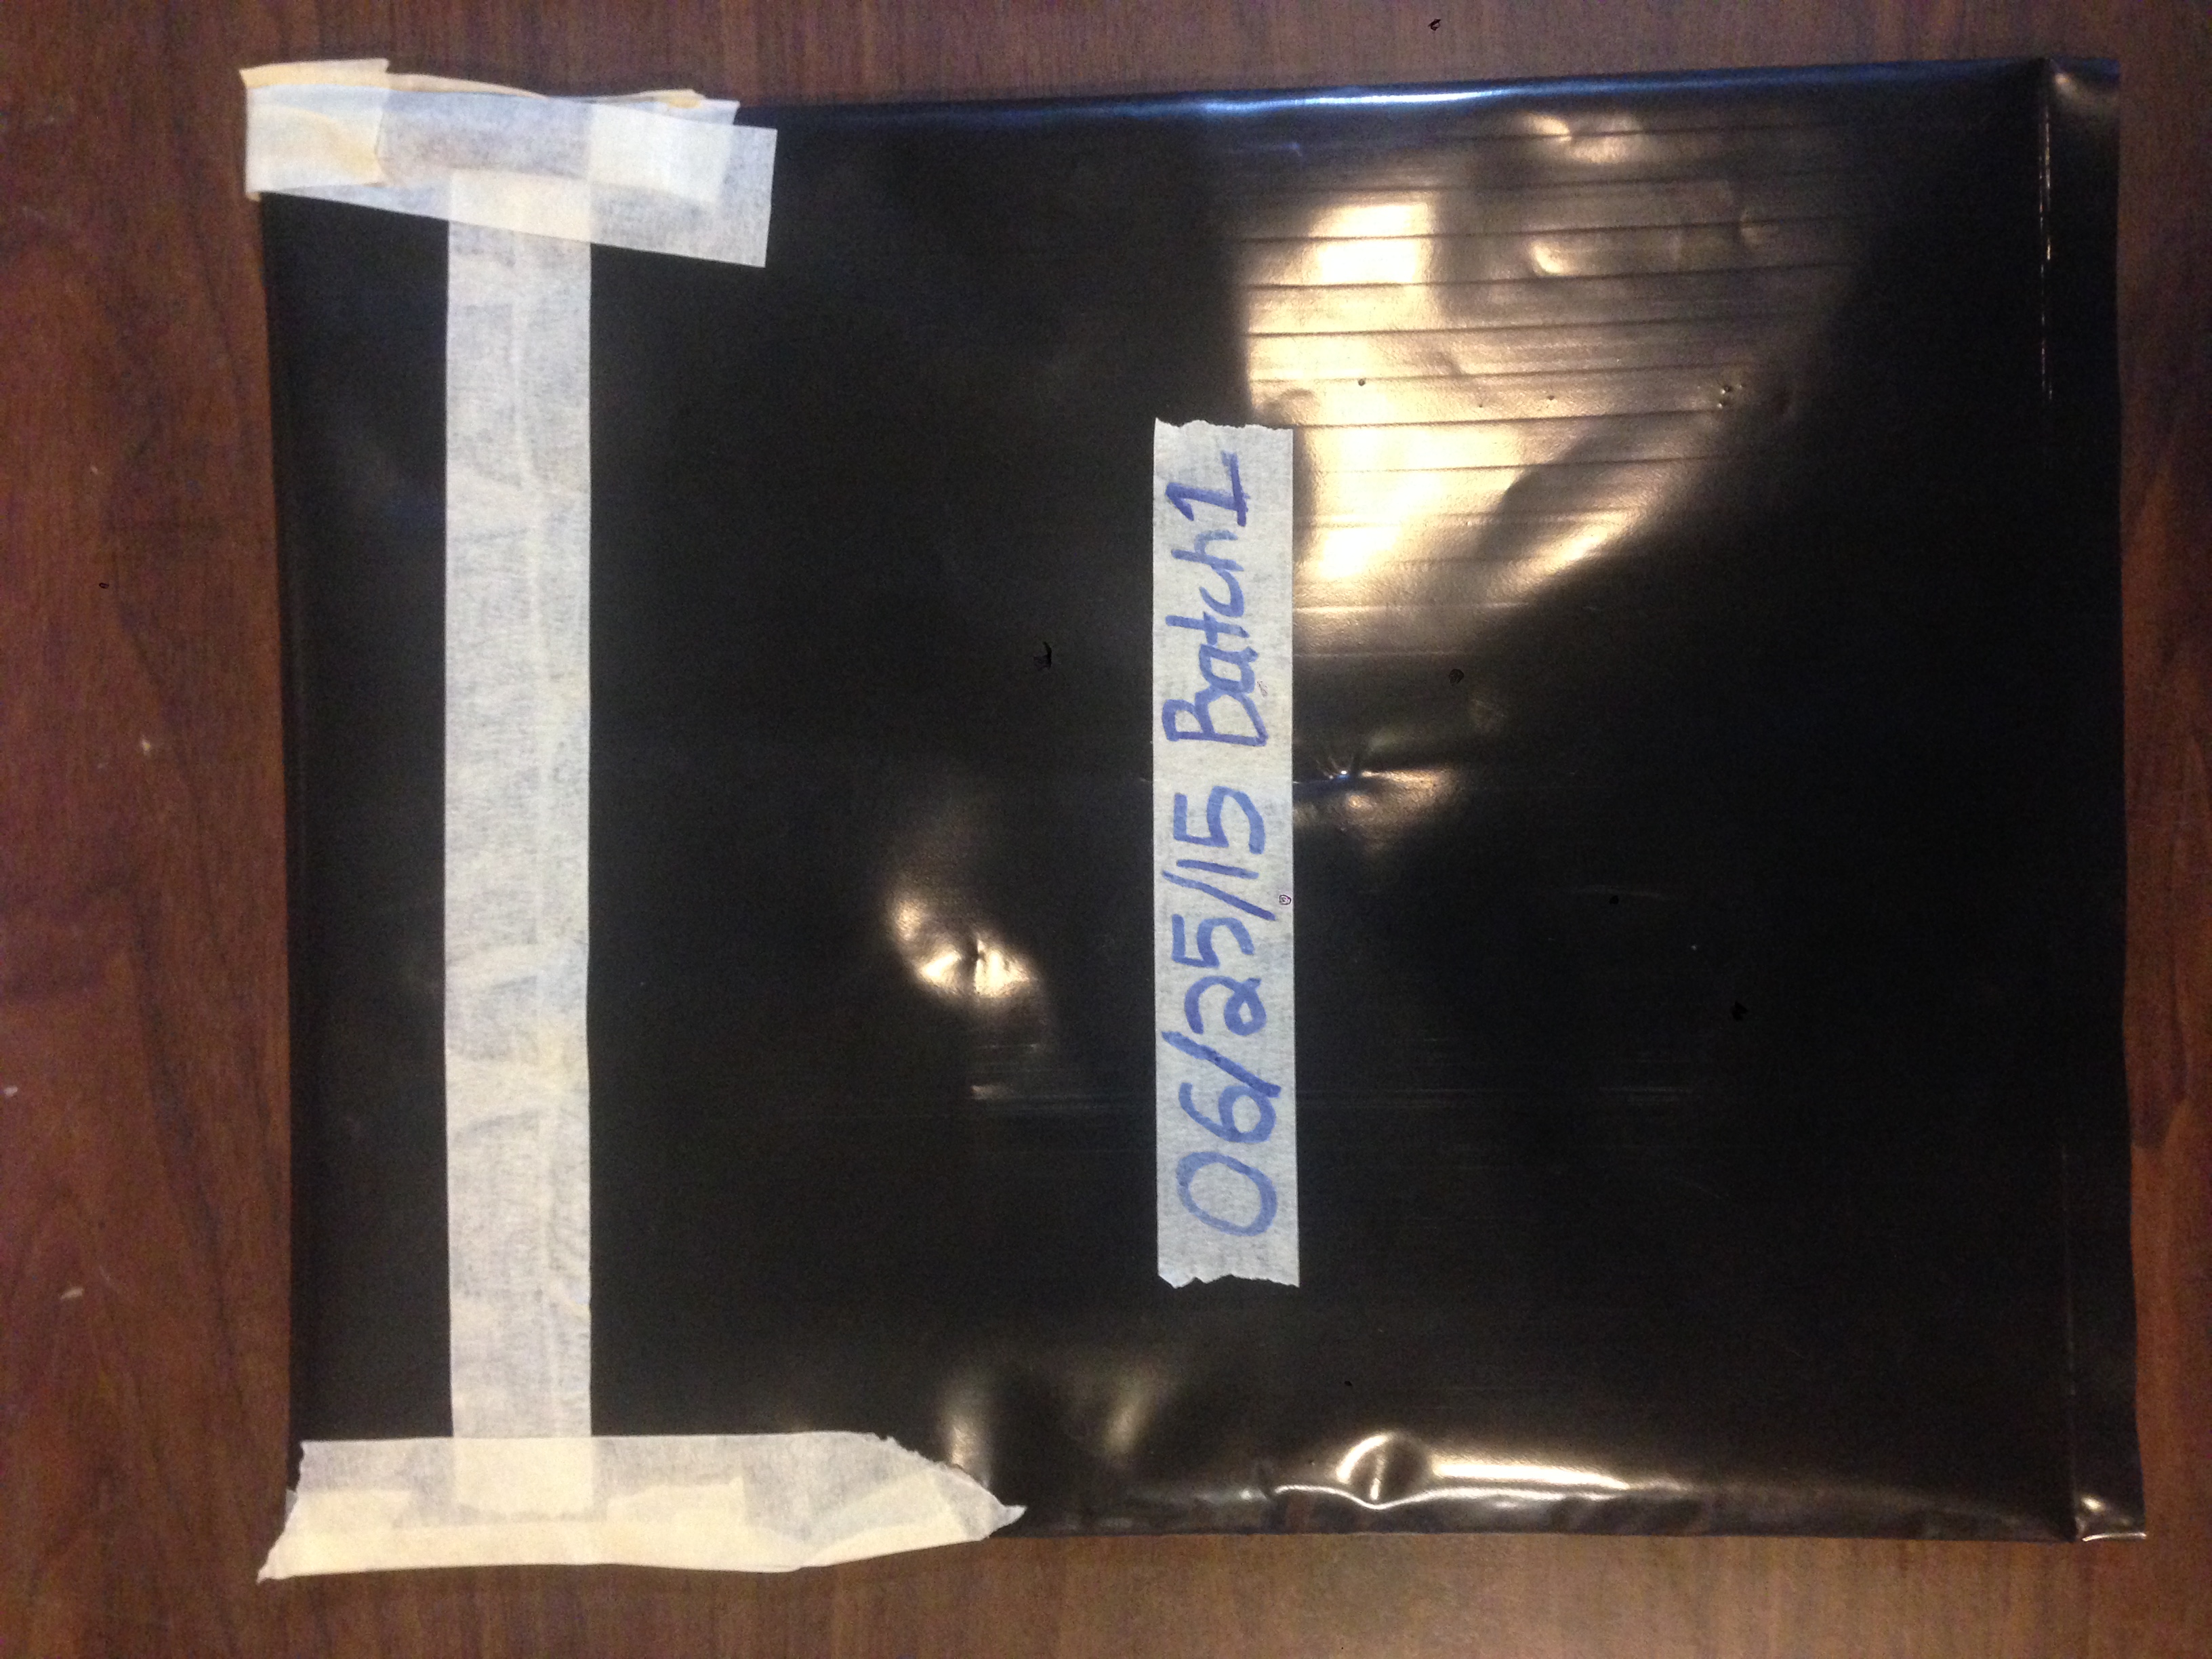
This is the completed and sealed batch 1 envelope. It is dated for when I put the strips in the envelope.
Batch 2:

This is the older photo paper used for batch 2. It was used previously in testing for H2S in Wyoming. This pack had 25 sheets of paper in it.

This is the information, including part number, on the bottom of the batch 2 photo paper.

This is the completed and sealed batch 2 envelope. It is dated for when I put the strips in the envelope. The blue line indicates it is batch 2.
On June 30th, 2015, I proceeded with the next step of preparation. Sara Wylie and I discussed how we want to typify the photo paper canisters for this pilot. We decided on typing batch 1 with yellow duct tape and batch 2 with blue. Collectively, this pilot testing will be group 1 (photo paper made on 06/24/15 and packed in canisters on 06/30/15). Though all the paper made on 06/24/15 was not used it will be used at a later time. The next time I pack another set for testing it will be group 2.
I put blue and yellow duct tape on the appropriate canisters. A total of 36 were created with 18 of yellow and 18 of blue. I cut the 2x8 strips into the 2x1 strips as mentioned before. I then put them in their respective prepared photo canisters.
Next steps include devising a method of individual canister identification. We need to be able to know the group number, time of exposure in the field, and location on each canister. This will be finalized by the end of the week.
Pictures

These are the packed canisters. Next is to individually type them.
On July 3rd, I individually typed all of the canisters. There are three criteria: group number, location number, and exposure time. I already explained group number in the last submission. Please refer above. Location number refers to one of the four sites that we will be testing on. This ranges anywhere between 1-4. The last number is exposure time which refers to how long the canister will be open to the environment. This number is either a 1 or 3 as the canisters will be left out for a total of 1 or 3 weeks.
Pictures

This is the prepared canisters in their shipping box. Note the identification on top of each canister.

Here is a close up of one of the canisters. This one is from group 1 and batch 2 (blue tape). It will be set out for 1 week at location 1.
Additionally, there will be field blanks set out with the normal test canisters. These will be in the field for 3 weeks, but not exposed to the environment (caps kept on). They are to act as our control. Our hope is that these canisters come back to the lab without any discoloration. If there is, then there was a problem with the manufacturing process. These canisters are typed with red tape over the cap. They still have identification tape on the bottom, like the other canisters.
Pictures

Top view of the field blank canister.

Side view of the field blank canister. It isn't easy to see, but towards my hand there is a blue identification tape.
On July 7th, I sent out the package to Texas for testing. Included was the 36 canisters (16 blue, 16 yellow, 4 field blanks), 12 pegs to attach the canisters to, duct tape, two light safe bags to ship the canisters back, one normal bag for cap collection, instructions, and a weekly weather log. The package should arrive by the end of the week; testing begins this weekend.
0 Comments
Login to comment.