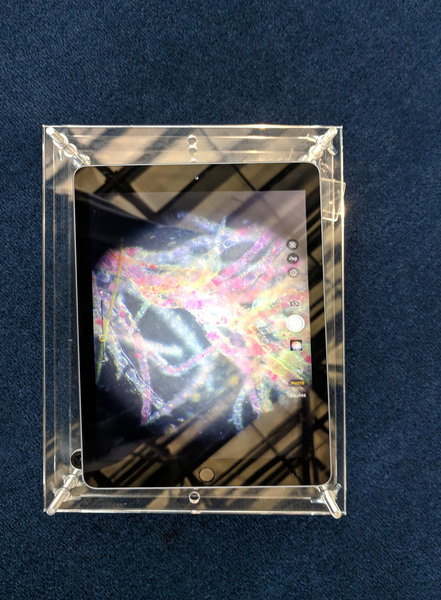
I was talking to @mimiss, our Education Manager and she mentioned that a lot of students and teachers use tablets in their classrooms, so I figured I would see what it might look like to make the Cell Phone Microscope big enough to accommodate at tablet-- I can definitely see how this would be useful in situations where you might want to have several people working around a slide at the same time.
The view from the top

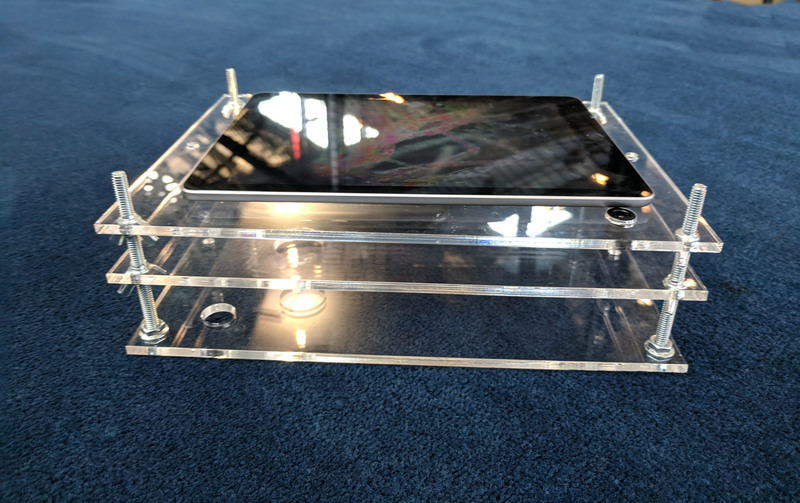
The view from the side

The Design
This is pretty much the same as the Cell Phone Microscope-- this has three stages/levels.
The top stage holds the lenses and the tablet/camera. On this one, I've taken a few different lenses and placed them pointing upwards through a platform. I've made holes for three so that I can experiment with lenses of a few different sizes/price points, and positioned them so that the tablet can be placed over any of them and still be balanced on the top platform.
The middle stage holds the slide/sample. I have chosen to use clear acrylic so that cutting a hole underneath the slide isn't necessary, but I have included a hole in the center of this stage so that the top stage can be removed and the unit used the way the webcam or Raspberry Pi microscope are. If you were to build this with wood or some other material that wasn't transparent you would need to have an opening under the slide for the light.
The bottom stage can simply have the holes for the bolts and nothing else, but I chose to add a bunch of holes here so that I can flip things around and keep adding lenses as I find more to test out.
The lenses include two wide angle lenses (similar to the ones in the Community Microscope with the upgrade lens), which you can buy separately. These are sold for webcams, CCTV's, dashboard cams, security cams, drones, etc.

How it works
For a first round, this was pretty great (lots of the moving pieces were worked out on the cell phone microscope)
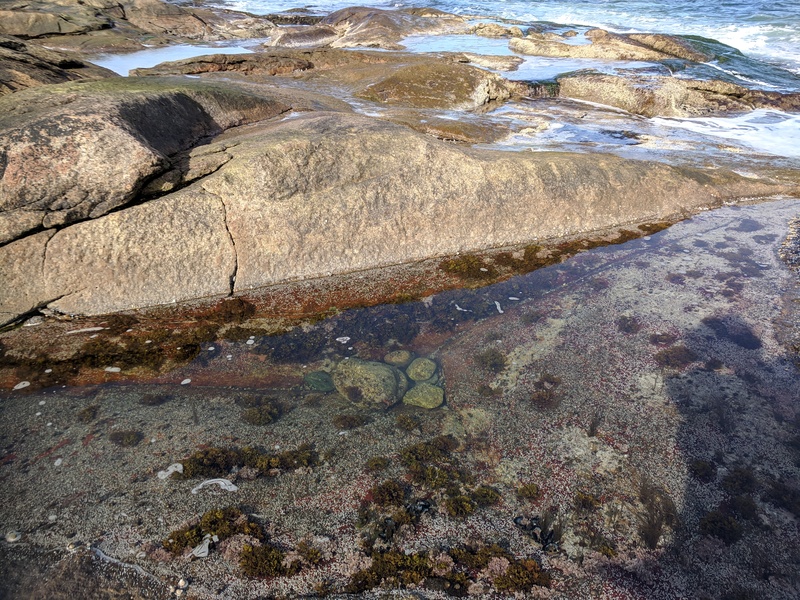
Water samples came from some tidepools in Rhode Island. I only fell in once.

Closeup on some seaweed.

Zoomed out on some seaweed.

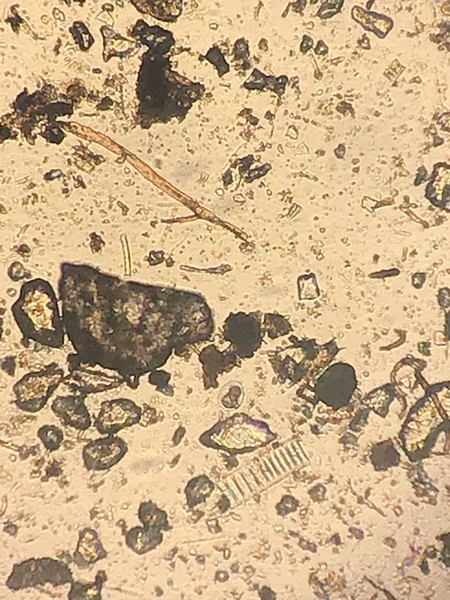
Some sediment/others.

Adjustments/ Next Steps
I haven't checked these lenses against a calibration slide yet, so I'm interested to see where we land.
I'm still fussing with the cut file so that the lenses can be pressure fit into the stage and secured with a little locktite, but I haven't quite gotten there yet, but I'm hoping to have a few standard sizes so that people can swap in a bunch of different lenses without needing to do too much padding/resizing.
Tablet computers don't all have lenses in the same spot, so I'll probably do a survey of popular models, sizes and lens position to see if I can come up with a happy medium that will work for a lot of different devices. That said, with laser files being quick and easy to modify and produce, I don't see why a classroom (or any large group) using the same kind of tablet couldn't have something a little customized.
I think I want to size up the bolts and the holes-- right now I have holes for 1/4" bolts with a little wiggle room, but am finding that the stages wiggle a little too much (so a firmer connection on the base is needed), and despite having a little extra room around the bolts, they tend to bind a little as I'm adjusting the focus. I'm going to try adding a little more space around the bolts on the top two levels, but supporting them a little better with washers/other from underneath.
The focusing is a little more awkward than with the rubberband traction/tension method. I might see what I can find in terms of a REALLY BIG rubberband.
Really excited about the amount of zooming that's possible-- I don't know if my tablet actually has a better camera than my phone, or if it's just the screen size that makes it all a little easier to see.
You can see a PDF of my cut file and a few more notes here: TabletMicroscopeNotes.pdf

6 Comments
amazing the colors in the seaweed in that first picture! No special lights or filters, huh?
Is this a question? Click here to post it to the Questions page.
No lighting effects-- the look of the sample shifts a lot depending on the angle/distance/brightness of the light-- the photo of the sediment at the bottom is set up so that the light is cancelling out most of the colors and we're looking at outlines (kind of like an x-ray effect), while the image in the header is coming a bit more from the side. The two photos in the the note (the zoomed in and out pics) are somewhere between those two.
For these pictures I lit from below using the flashlight on my phone, which I think was a little too bright. I've been using LED button lights which are a little easier to move around, and would like to try something with a dimmer function.
The seaweed I grabbed is reddish/orange to start with, so it's not THAT big a color shift, but I was also a little surprised by how bright everything looks.
(FULL DISCLOSURE: I did photoshop some lint specks off of the carpet, but didn't change anything else)
Reply to this comment...
Log in to comment
You can see a PDF of my cut file and a few more notes here: TabletMicroscopeNotes.pdf
Reply to this comment...
Log in to comment
Is this a question? Click here to post it to the Questions page.
Oh, awesome! And it looks like you assembled it with just two stages, I hadn't thought about that, but it looks like it works!
Reply to this comment...
Log in to comment
I just noticed this great post from @MicroscopesAreCool -- the microscope above is about half way between the laser lens microscope in their post and the Community Microscope. I'm also thinking about replacing the lower stage with wood for some extra weight, and while this version is using screws and hex nuts for focusing, I am scouting for some extra big rubber bands, because I think the traction focus is a little easier than adjusting from below the stage (though we'd have to find something that can easily support the weight of a tablet-- maybe even switching to the 3-bolt arrangement with a slightly less compressed spring would work.
https://publiclab.org/notes/MicroscopesAreCool/12-05-2016/microscope-from-tablet-computer
Reply to this comment...
Log in to comment
Login to comment.